In this post, I’ll show you how to set up pfSense on your computer or in a virtual machine.
If you’re still using the router provided by your ISP,
you’ve probably noticed how limited the security options can be.
When I first relied on my ISP’s router, I wasn’t comfortable knowing
that my web activity could potentially be logged.
So I decided to switch to a private router — an ipTIME device made in Korea.
While a private router is sufficient for most home users,
things change once you start running your own services.
If you host a web server or a NAS at home, basic router security may no longer be enough.
In that case, a dedicated firewall like pfSense becomes essential.
Now, let’s set up pfSense.
Step 1: Prepare the Installation USB
First, download the latest version of pfSense from the official website:
https://www.pfsense.org/download/
Next, create a bootable USB drive using tools such as Rufus (Windows) or balenaEtcher.
Step 2: Install PFSense
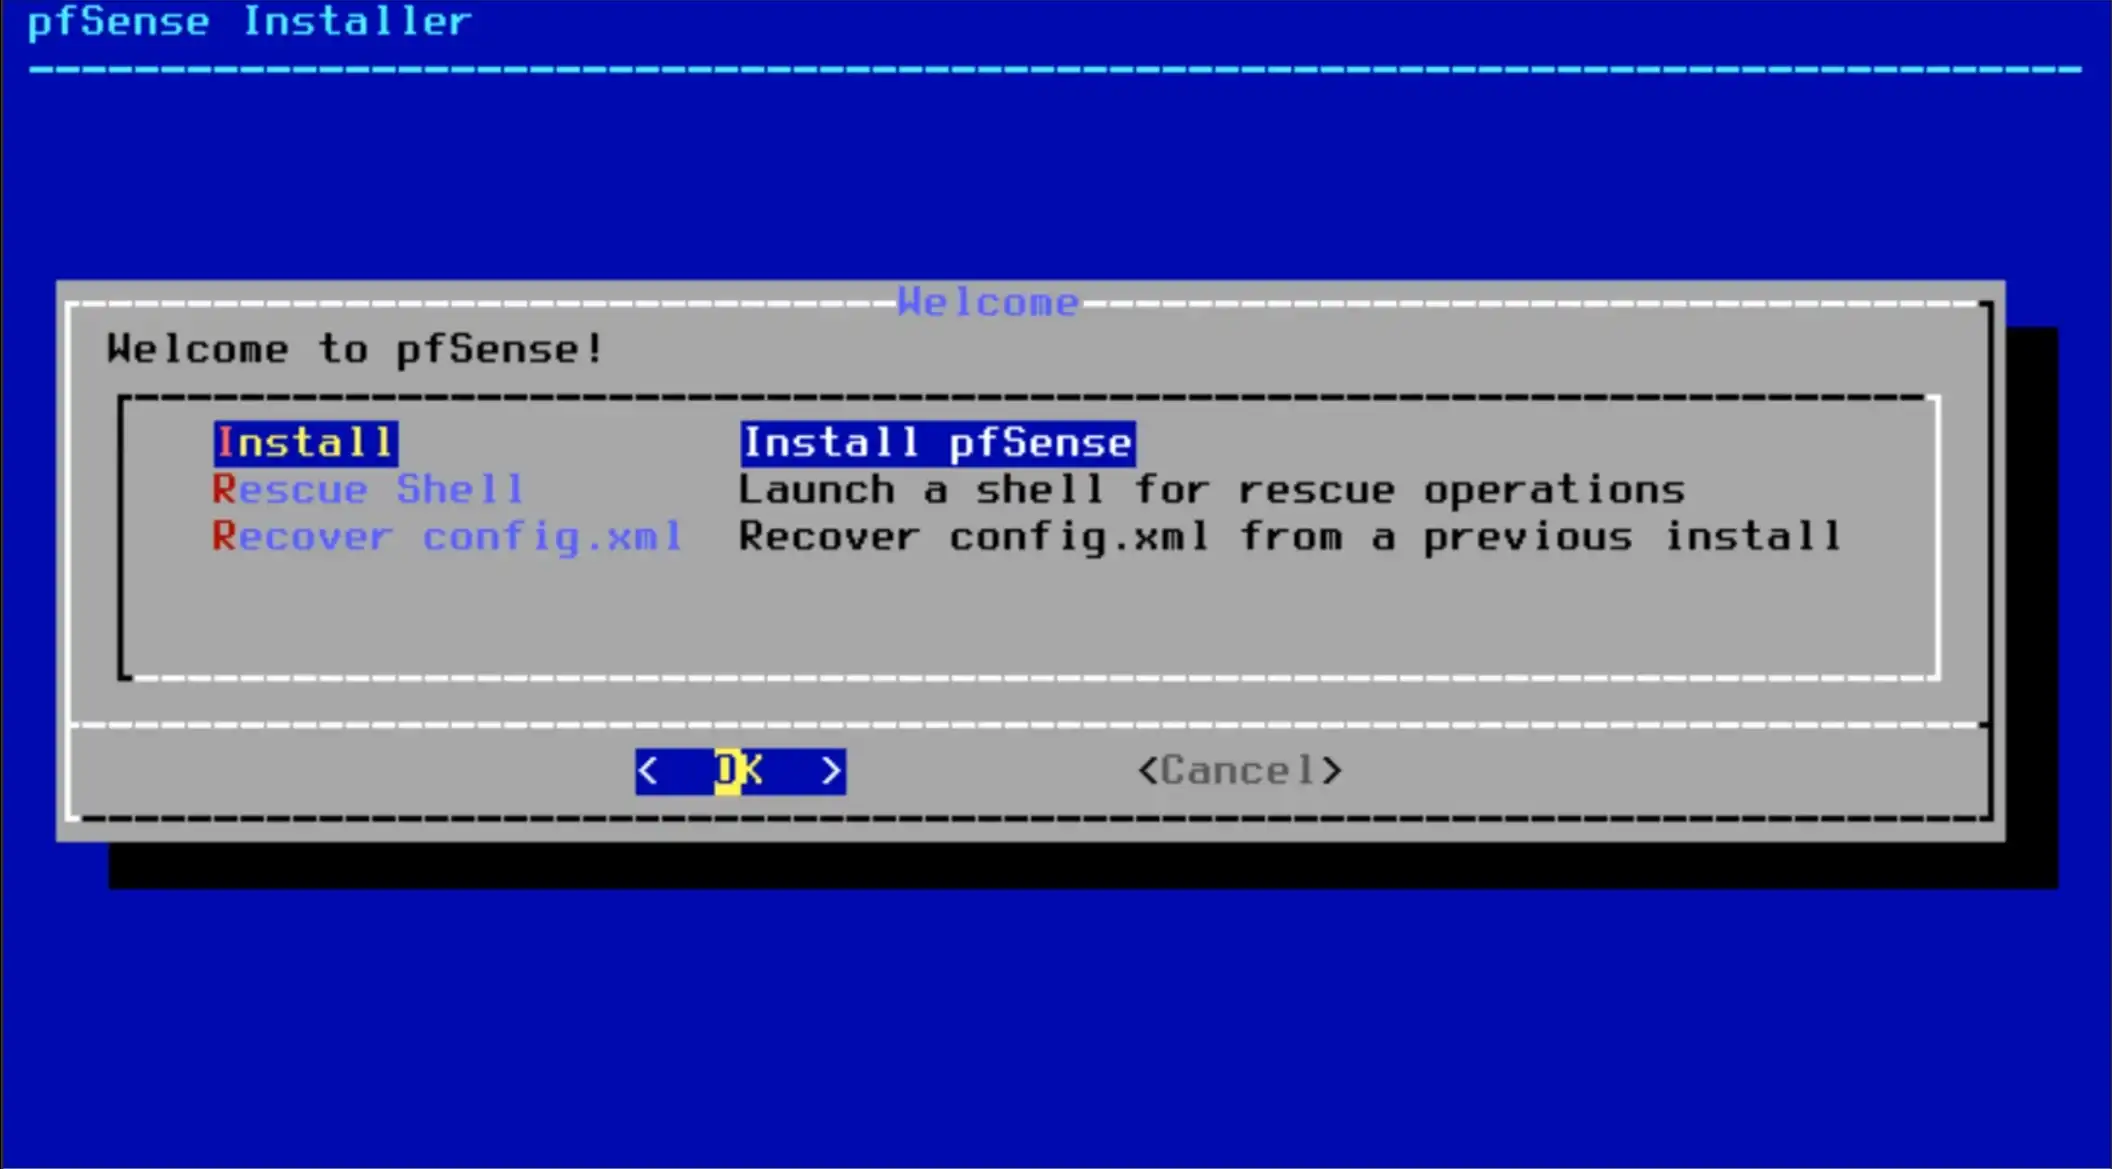
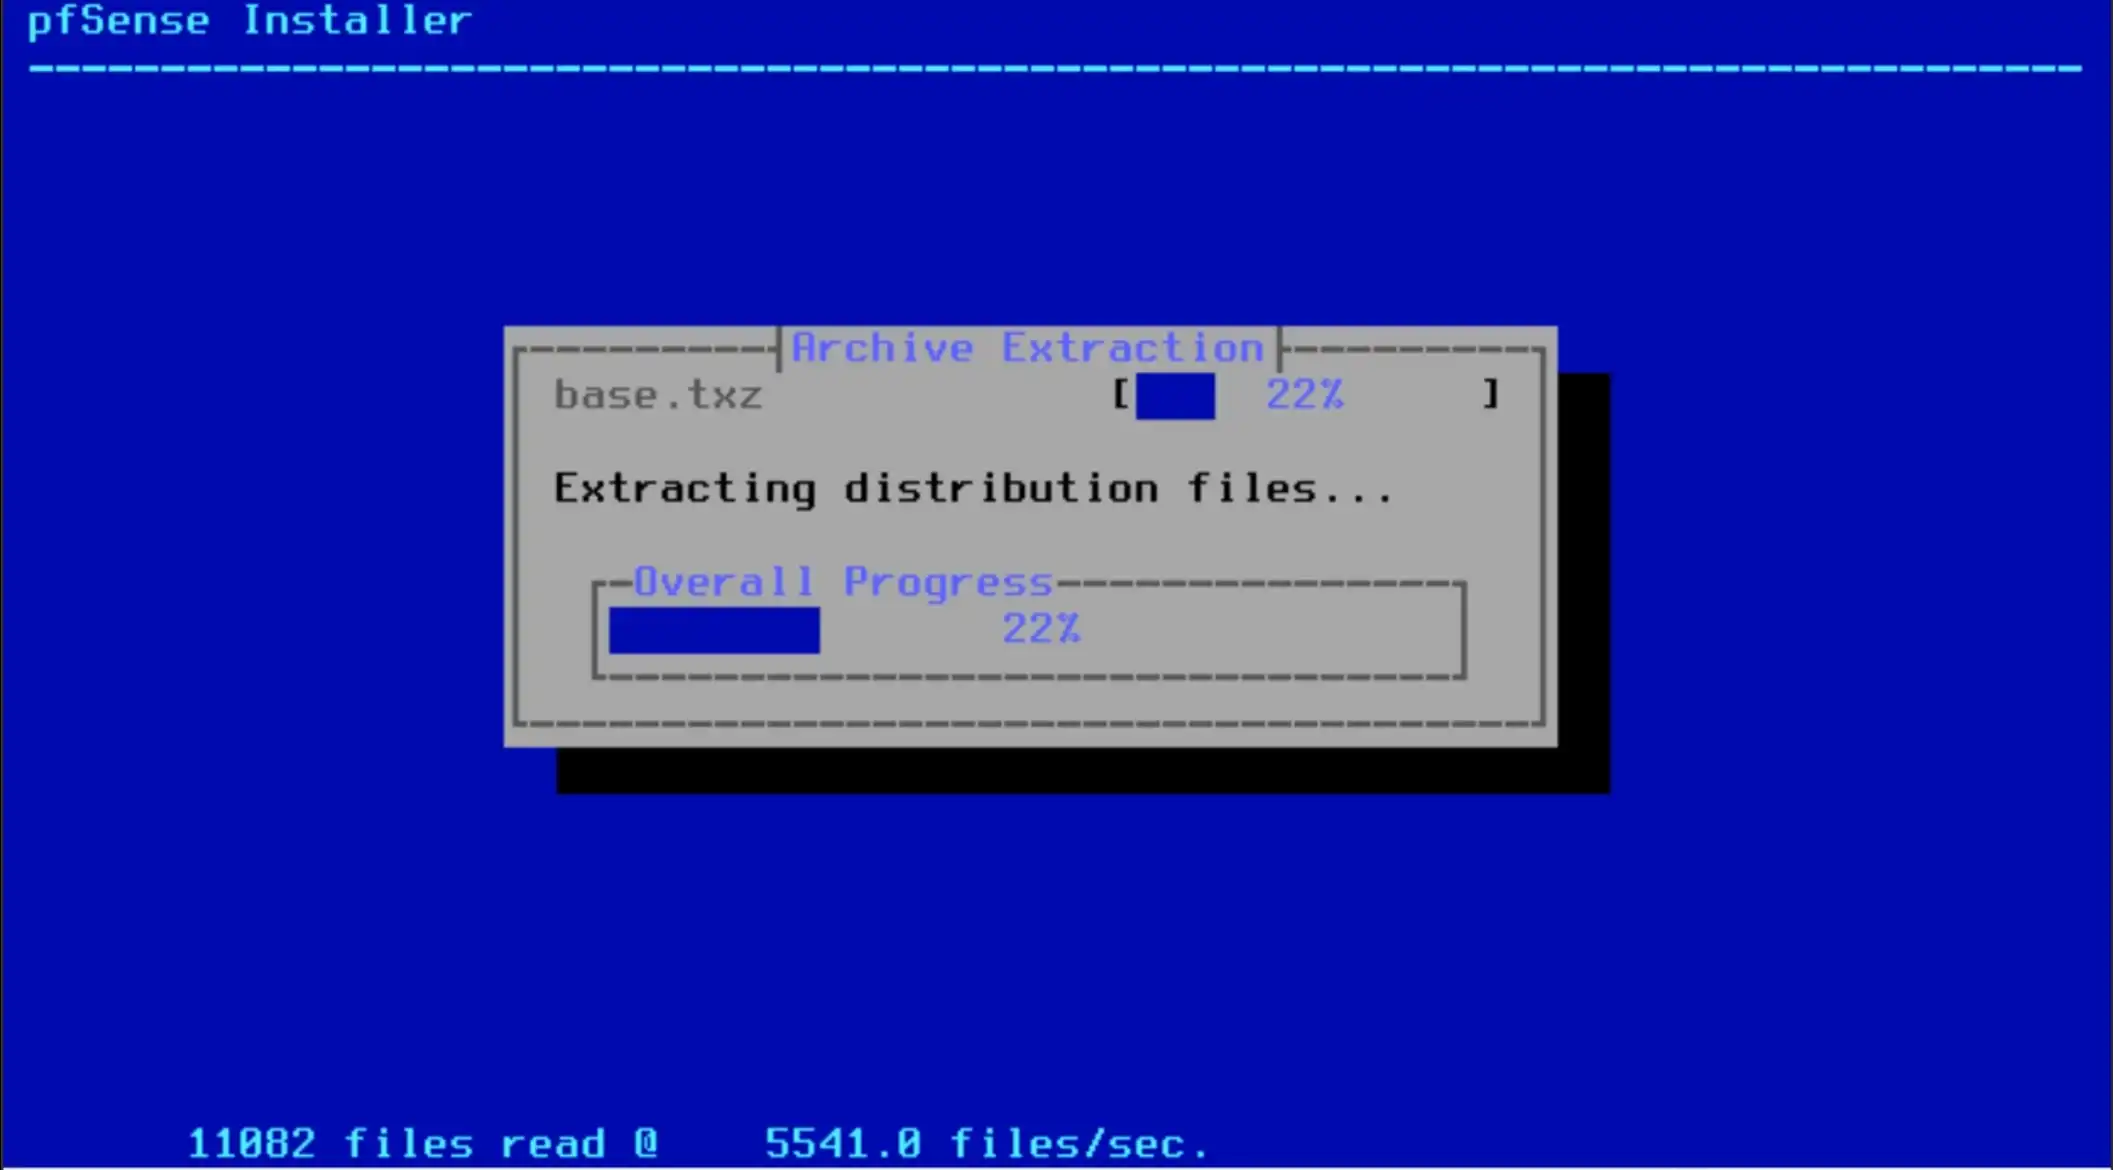
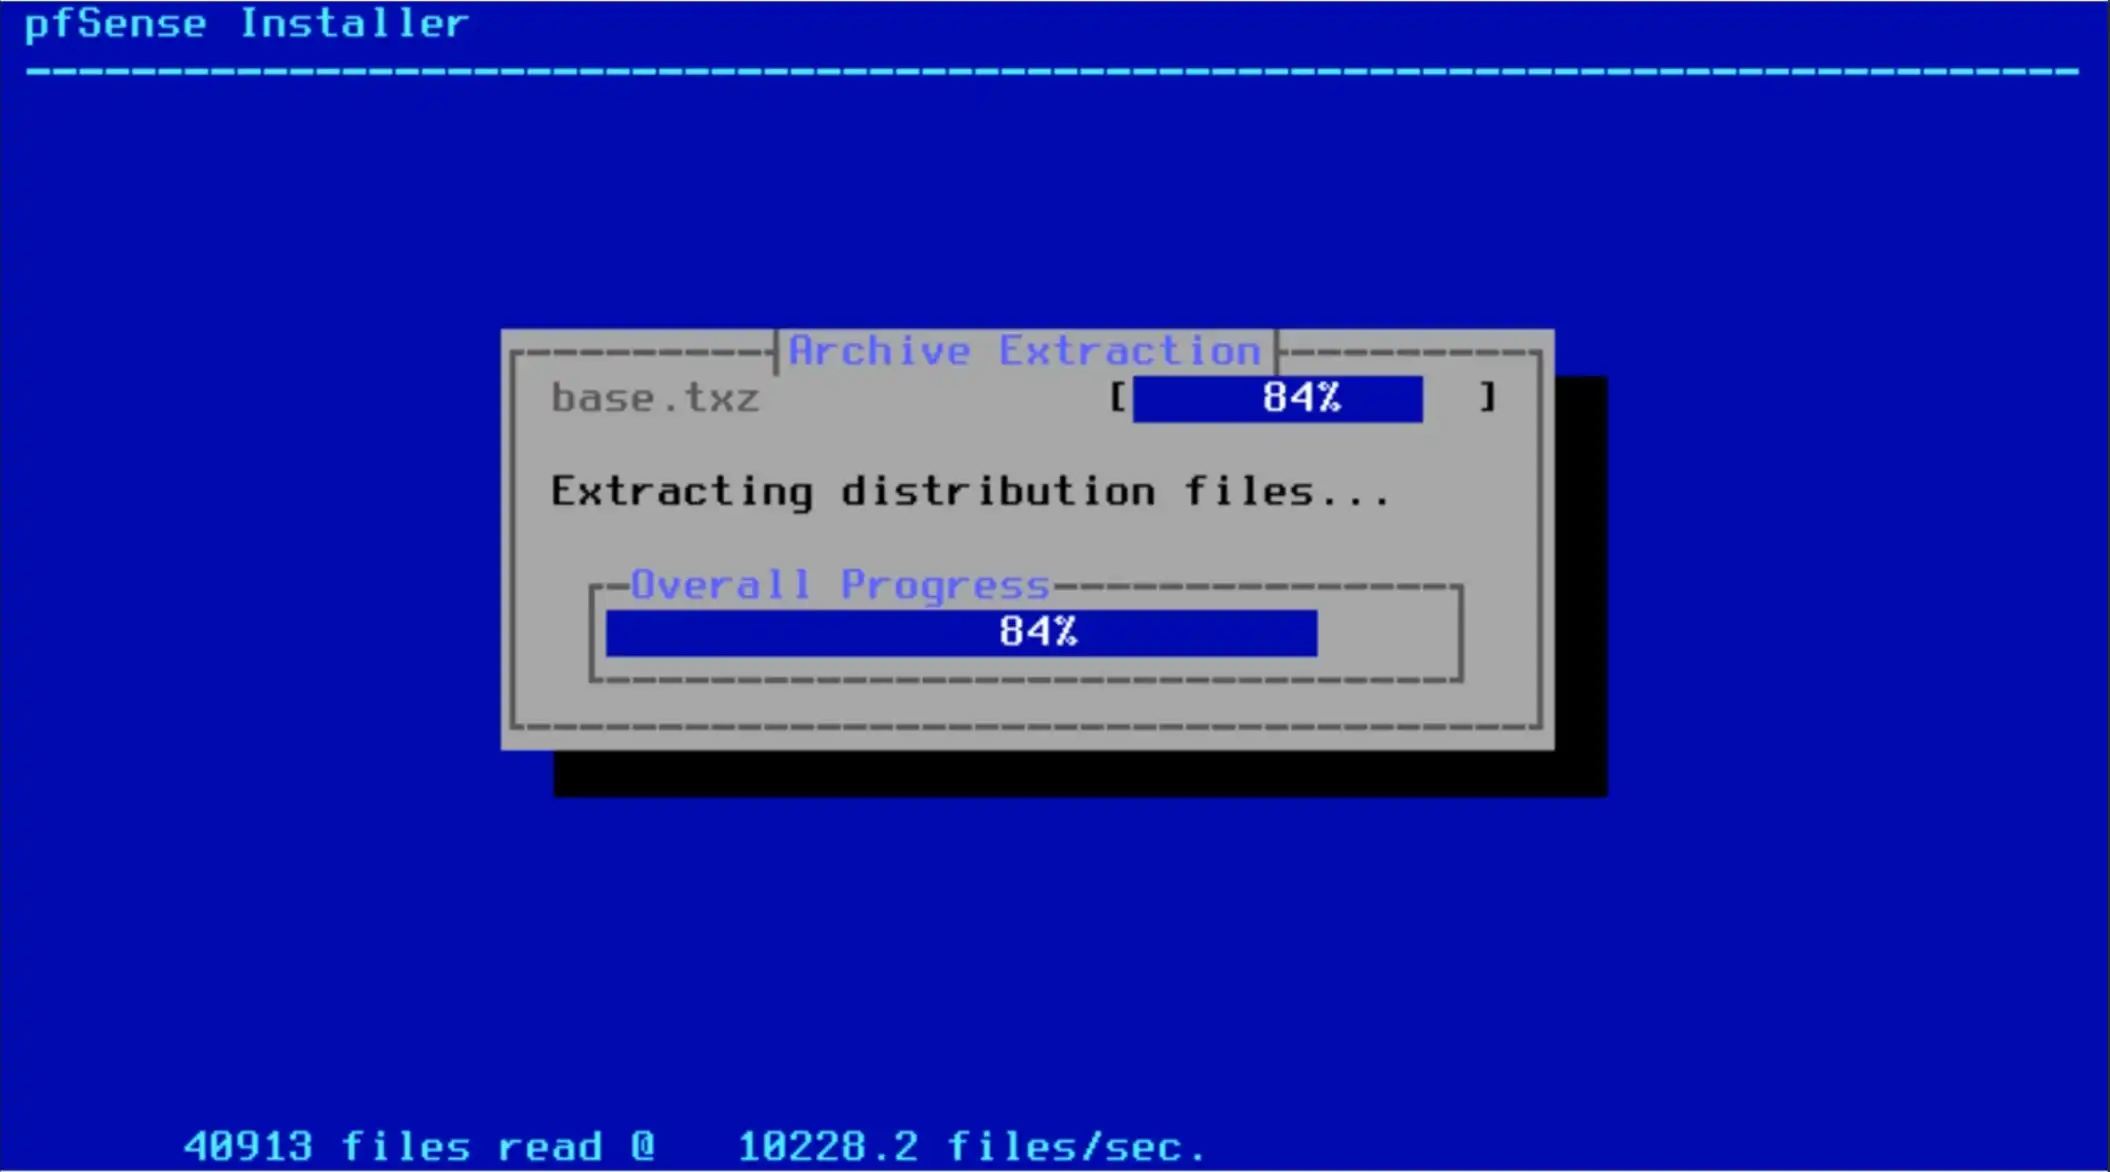
Let’s start. When you boot from the USB drive,
you will see a screen like the one shown in the screenshots below.
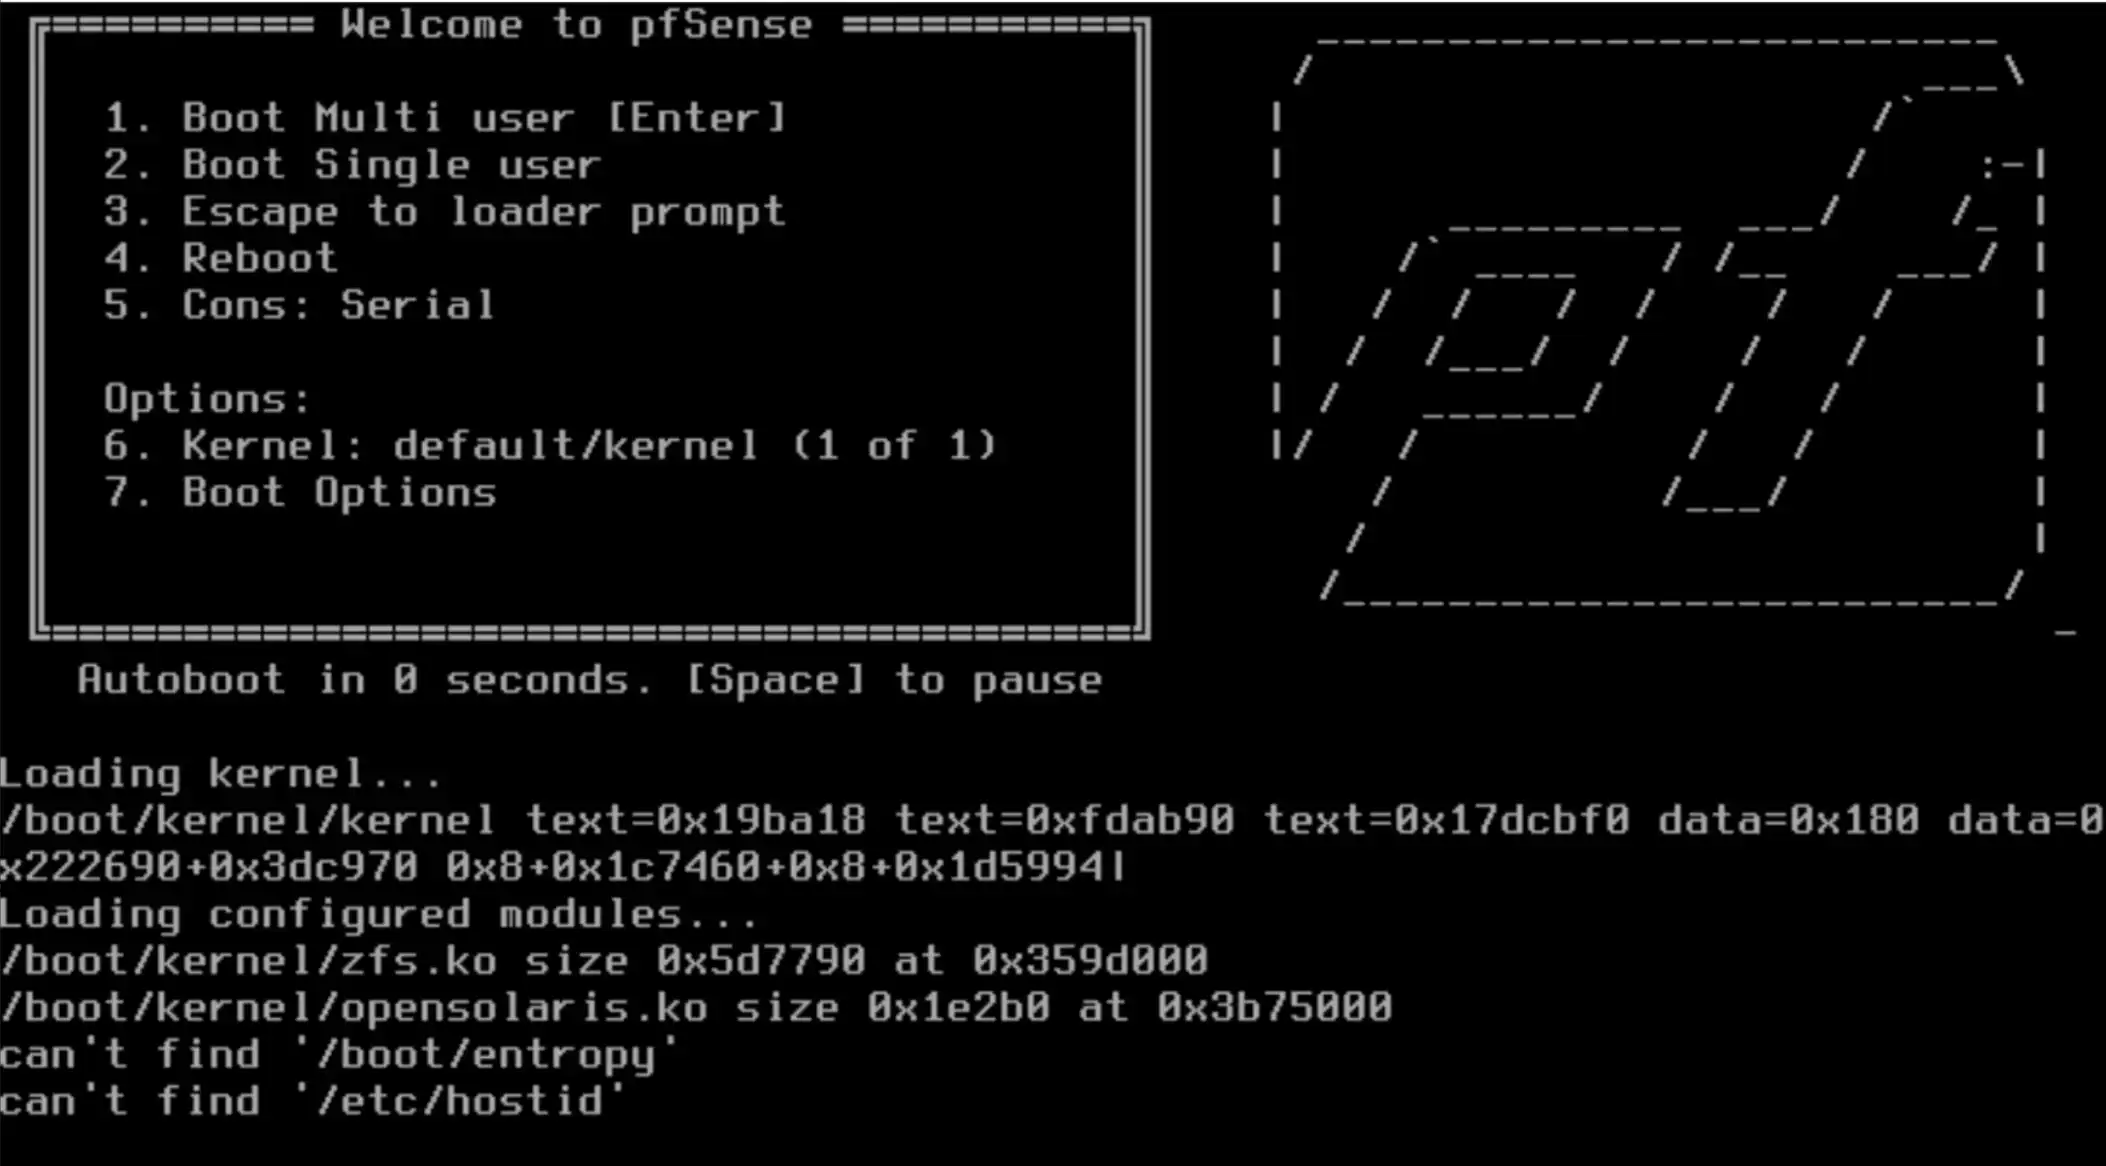
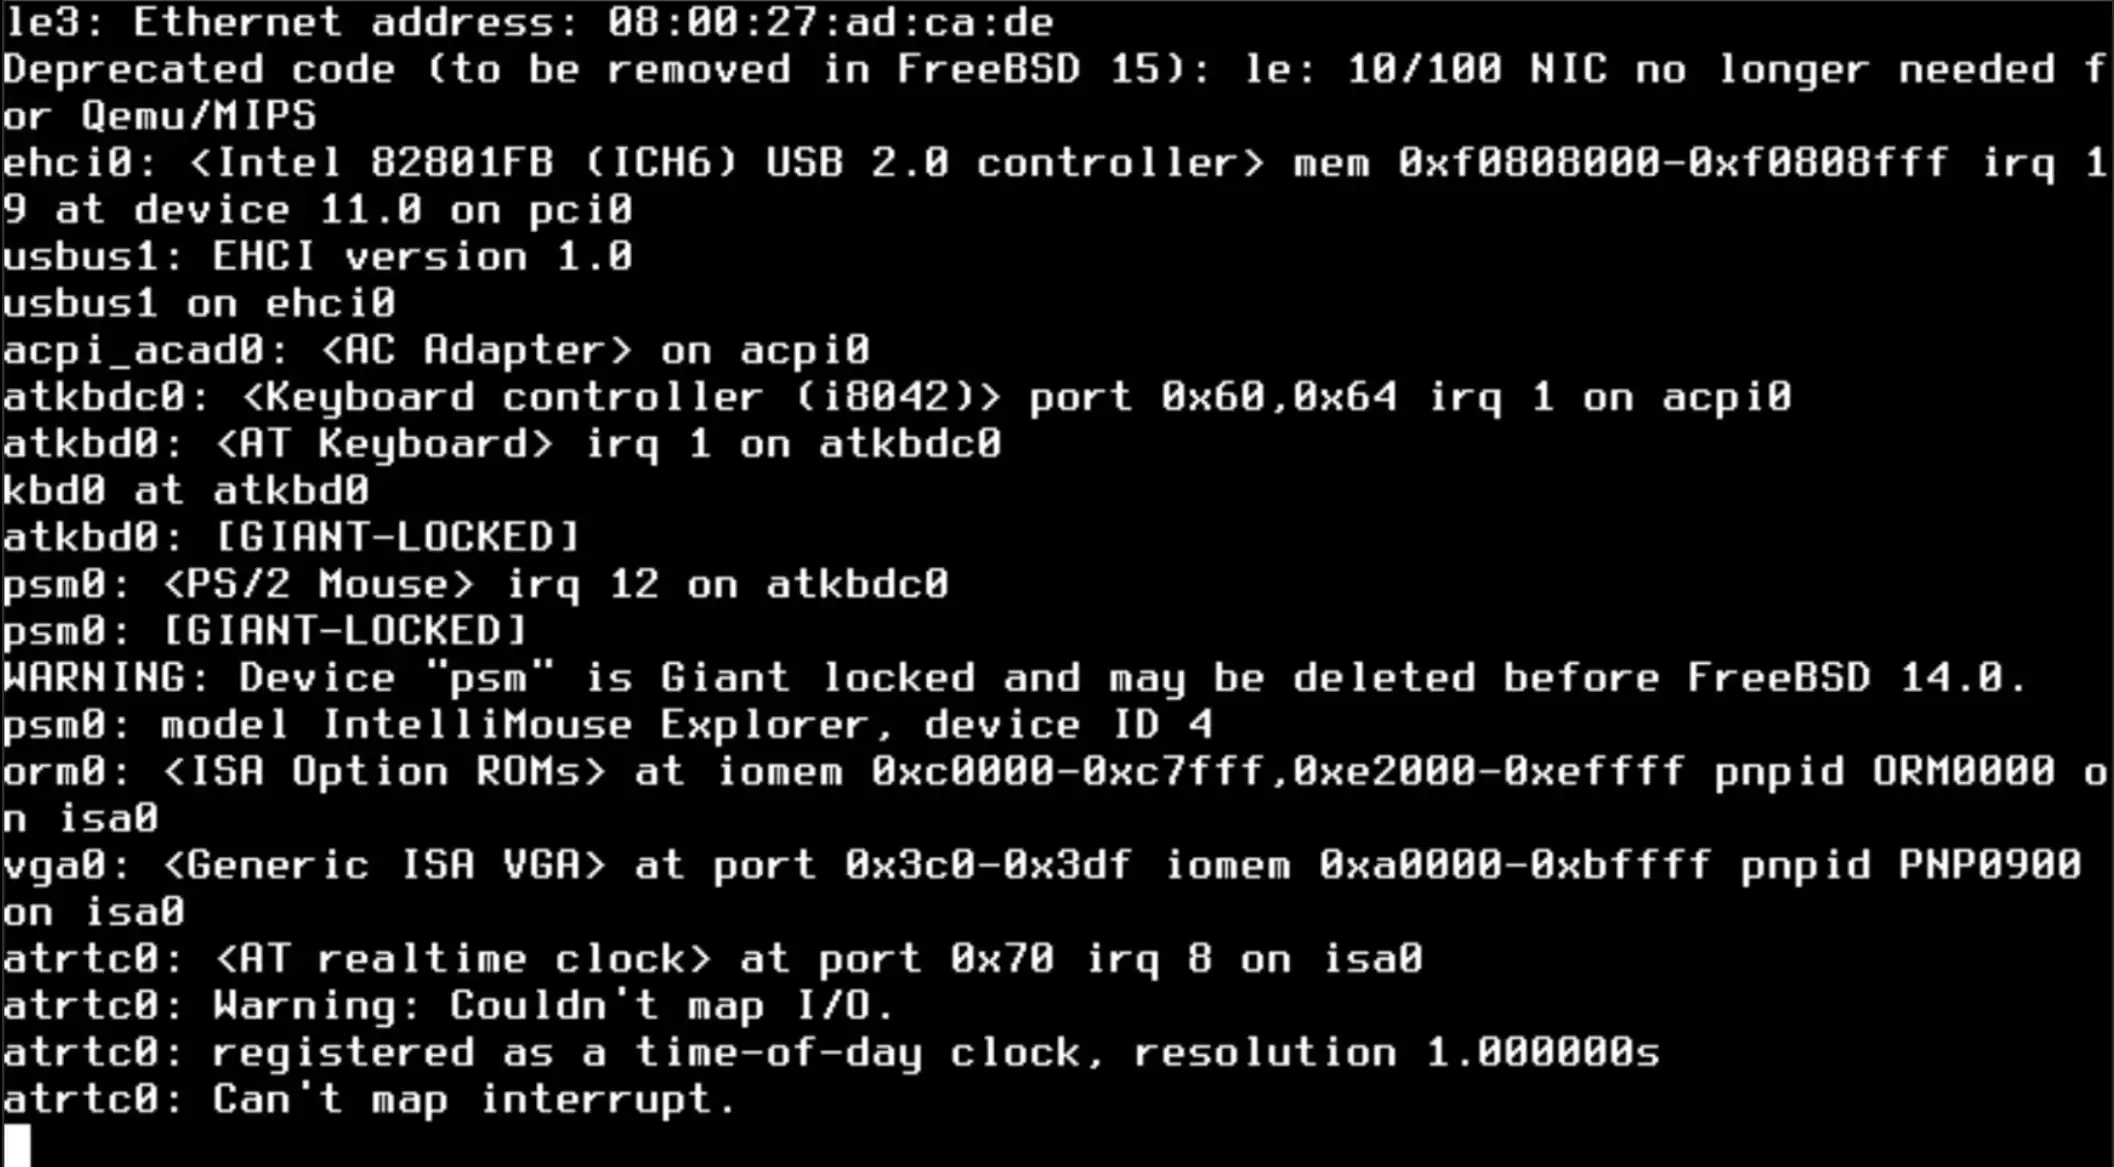
Just follow the instructions shown in the screenshots below.
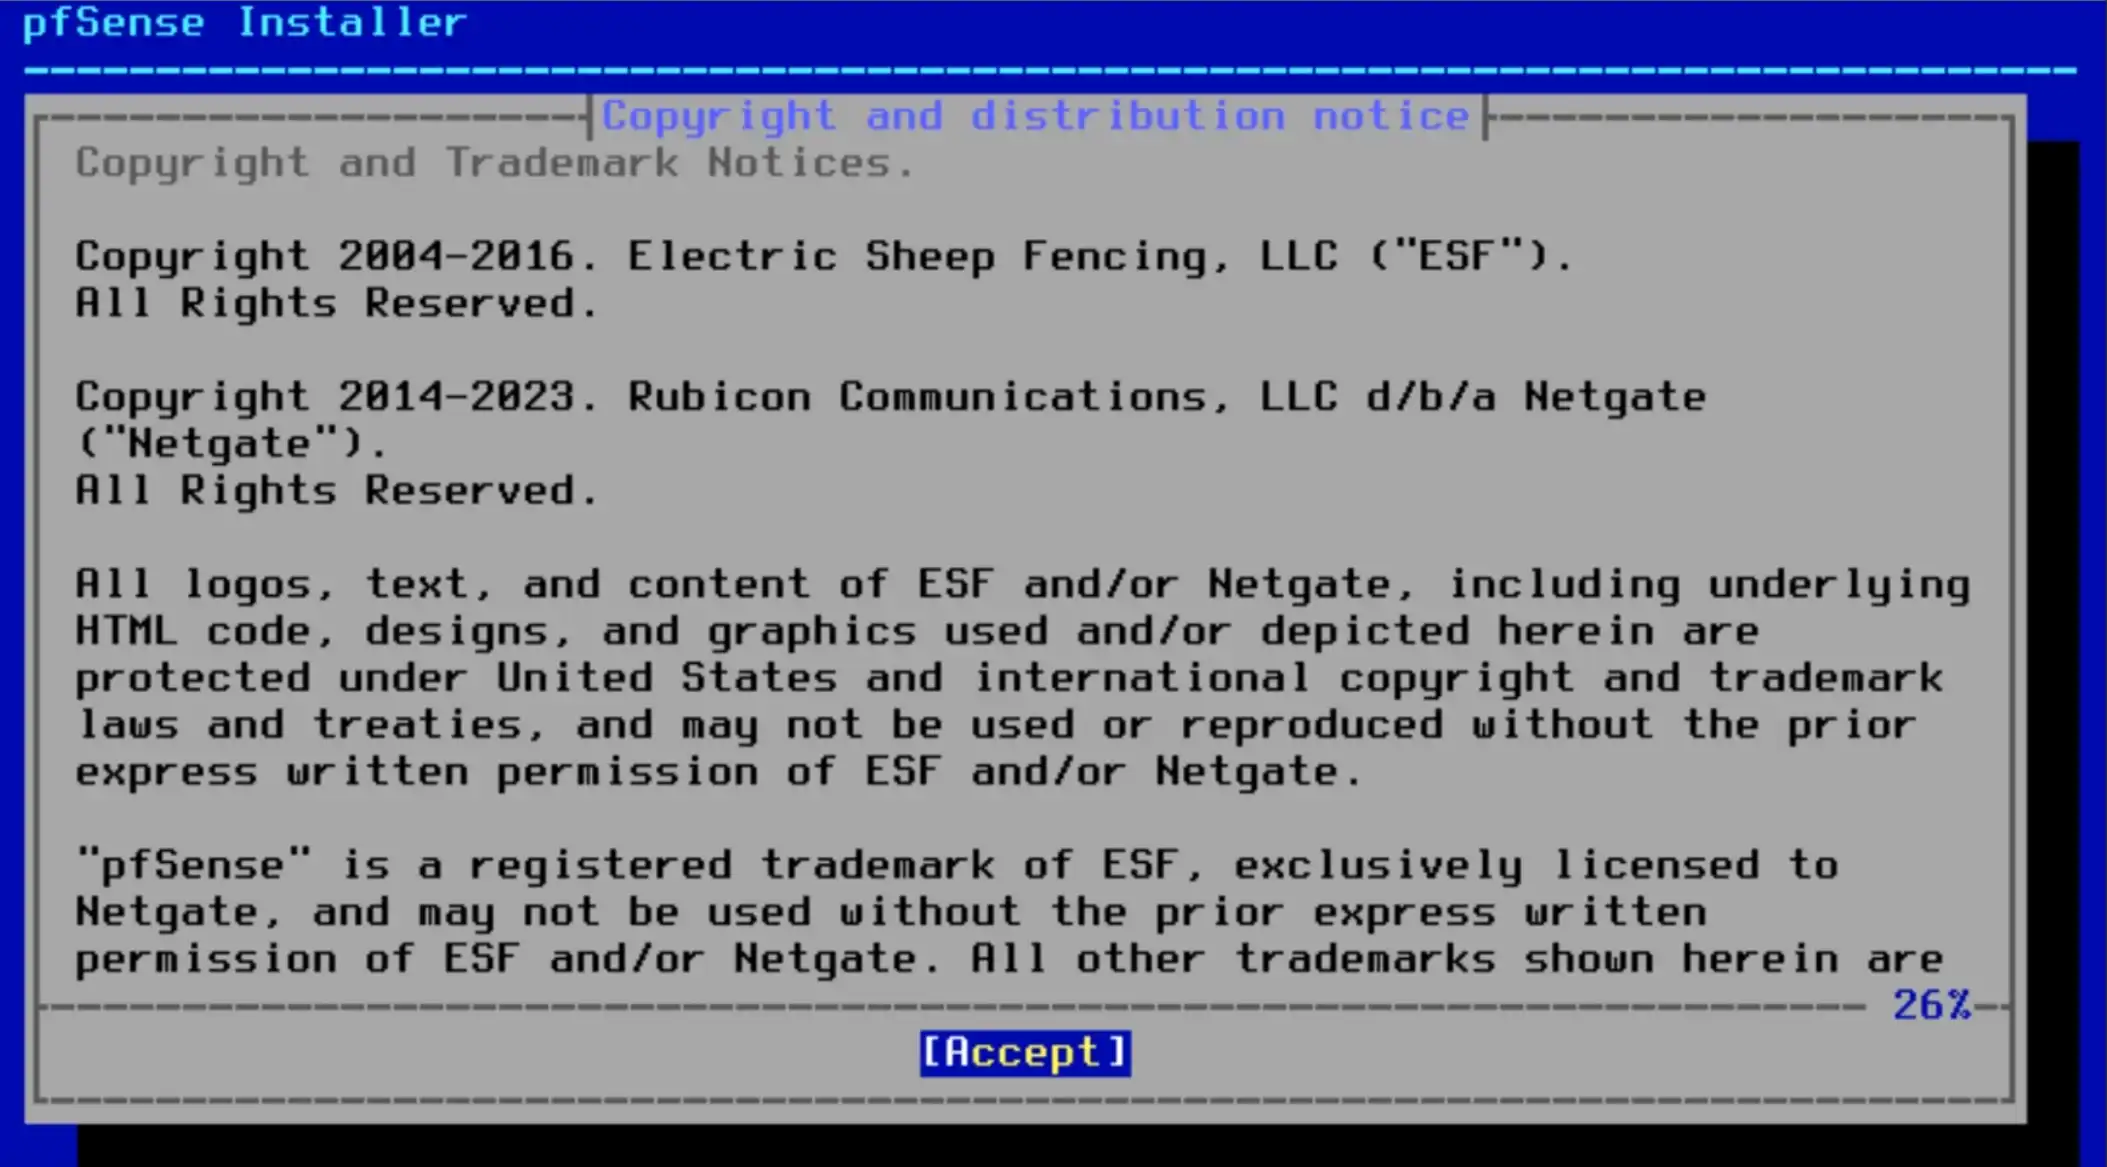
Press Enter to accept.
You don’t need to change the selection.
Just select “Install” and press Enter to choose OK.
Select “Auto (ZFS) Guided Root-On-ZFS” and press Enter to choose OK.
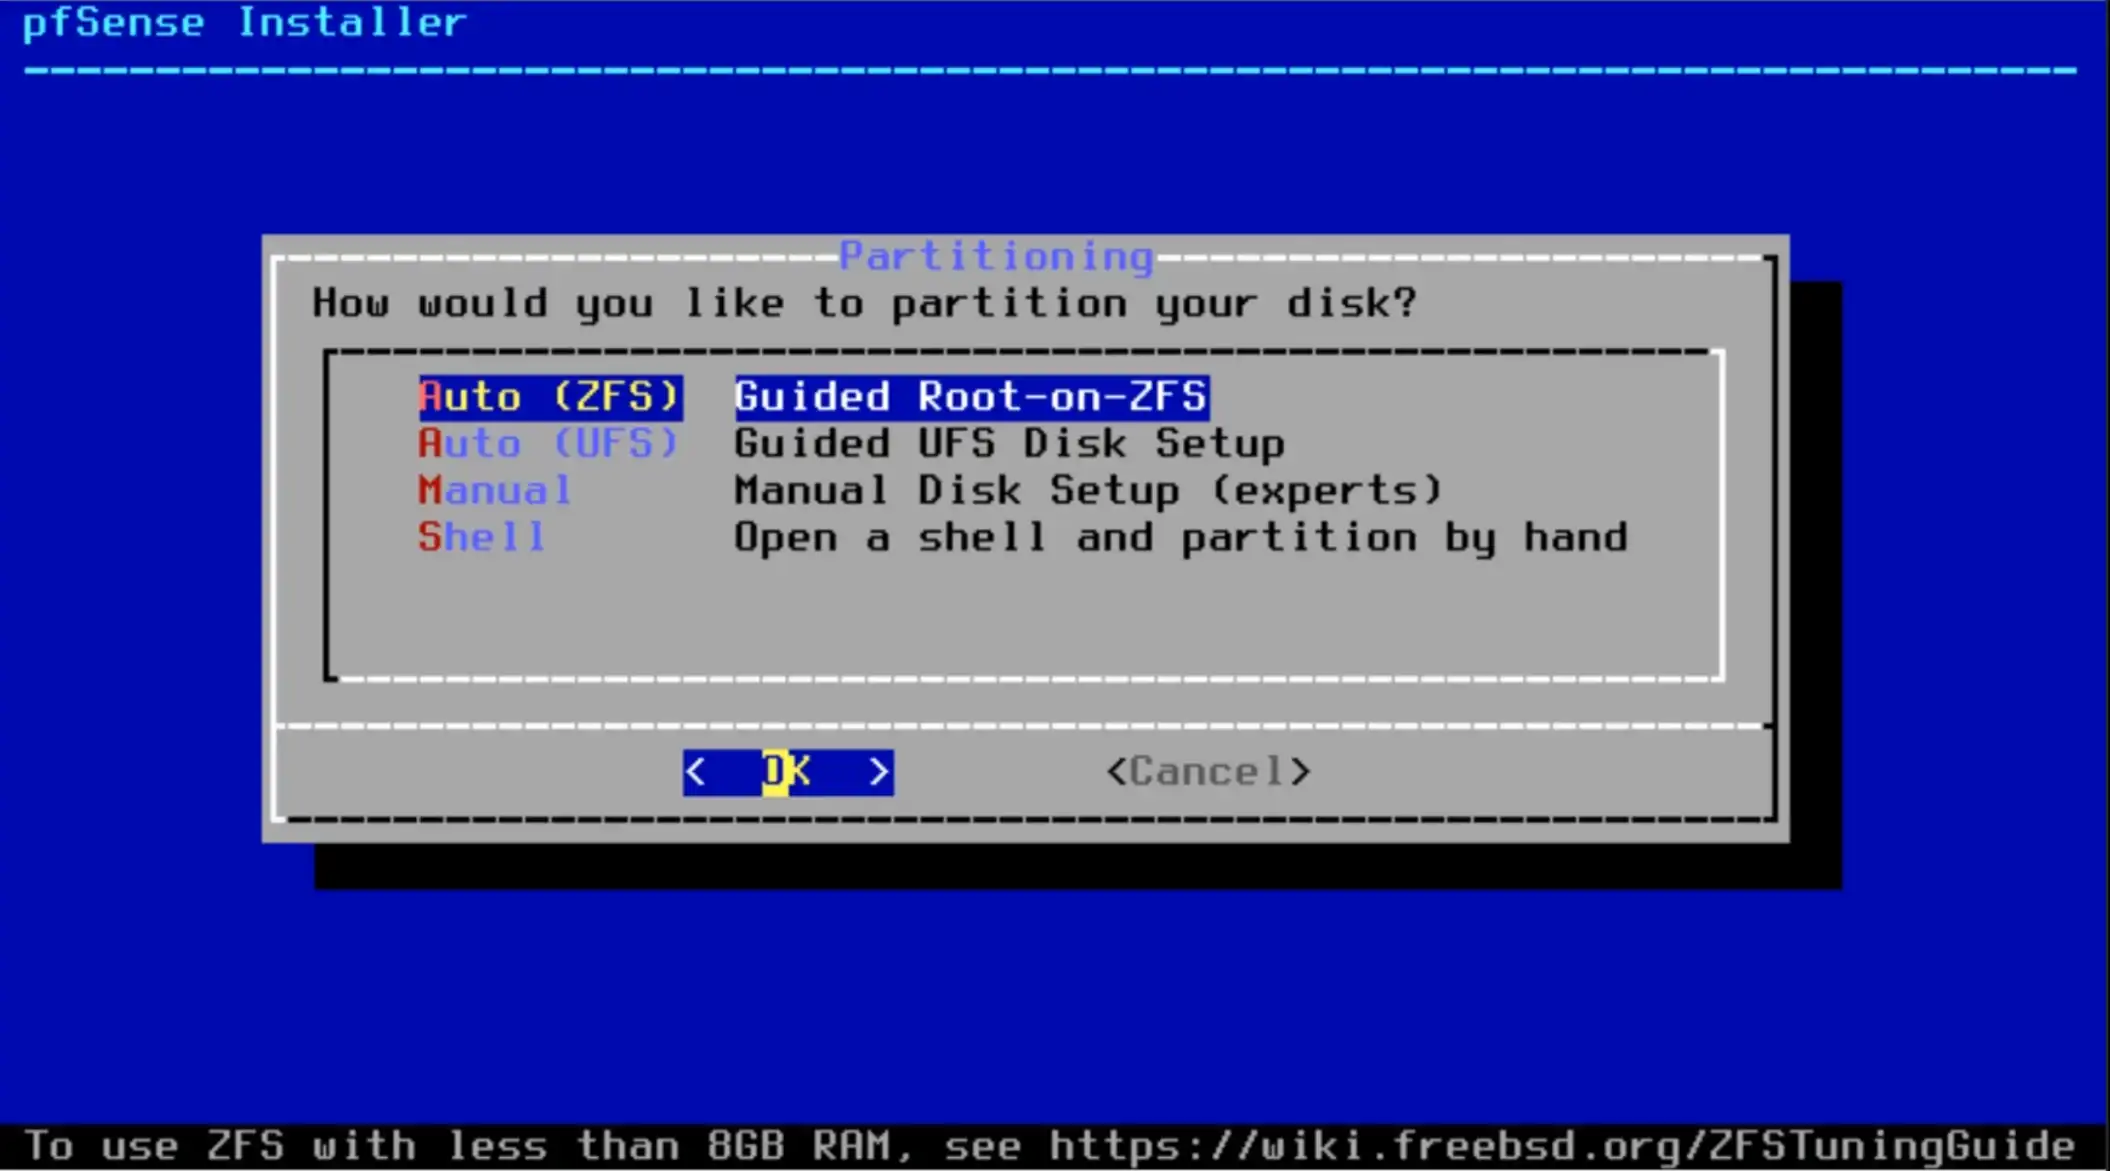
You can change the ZFS pool name.

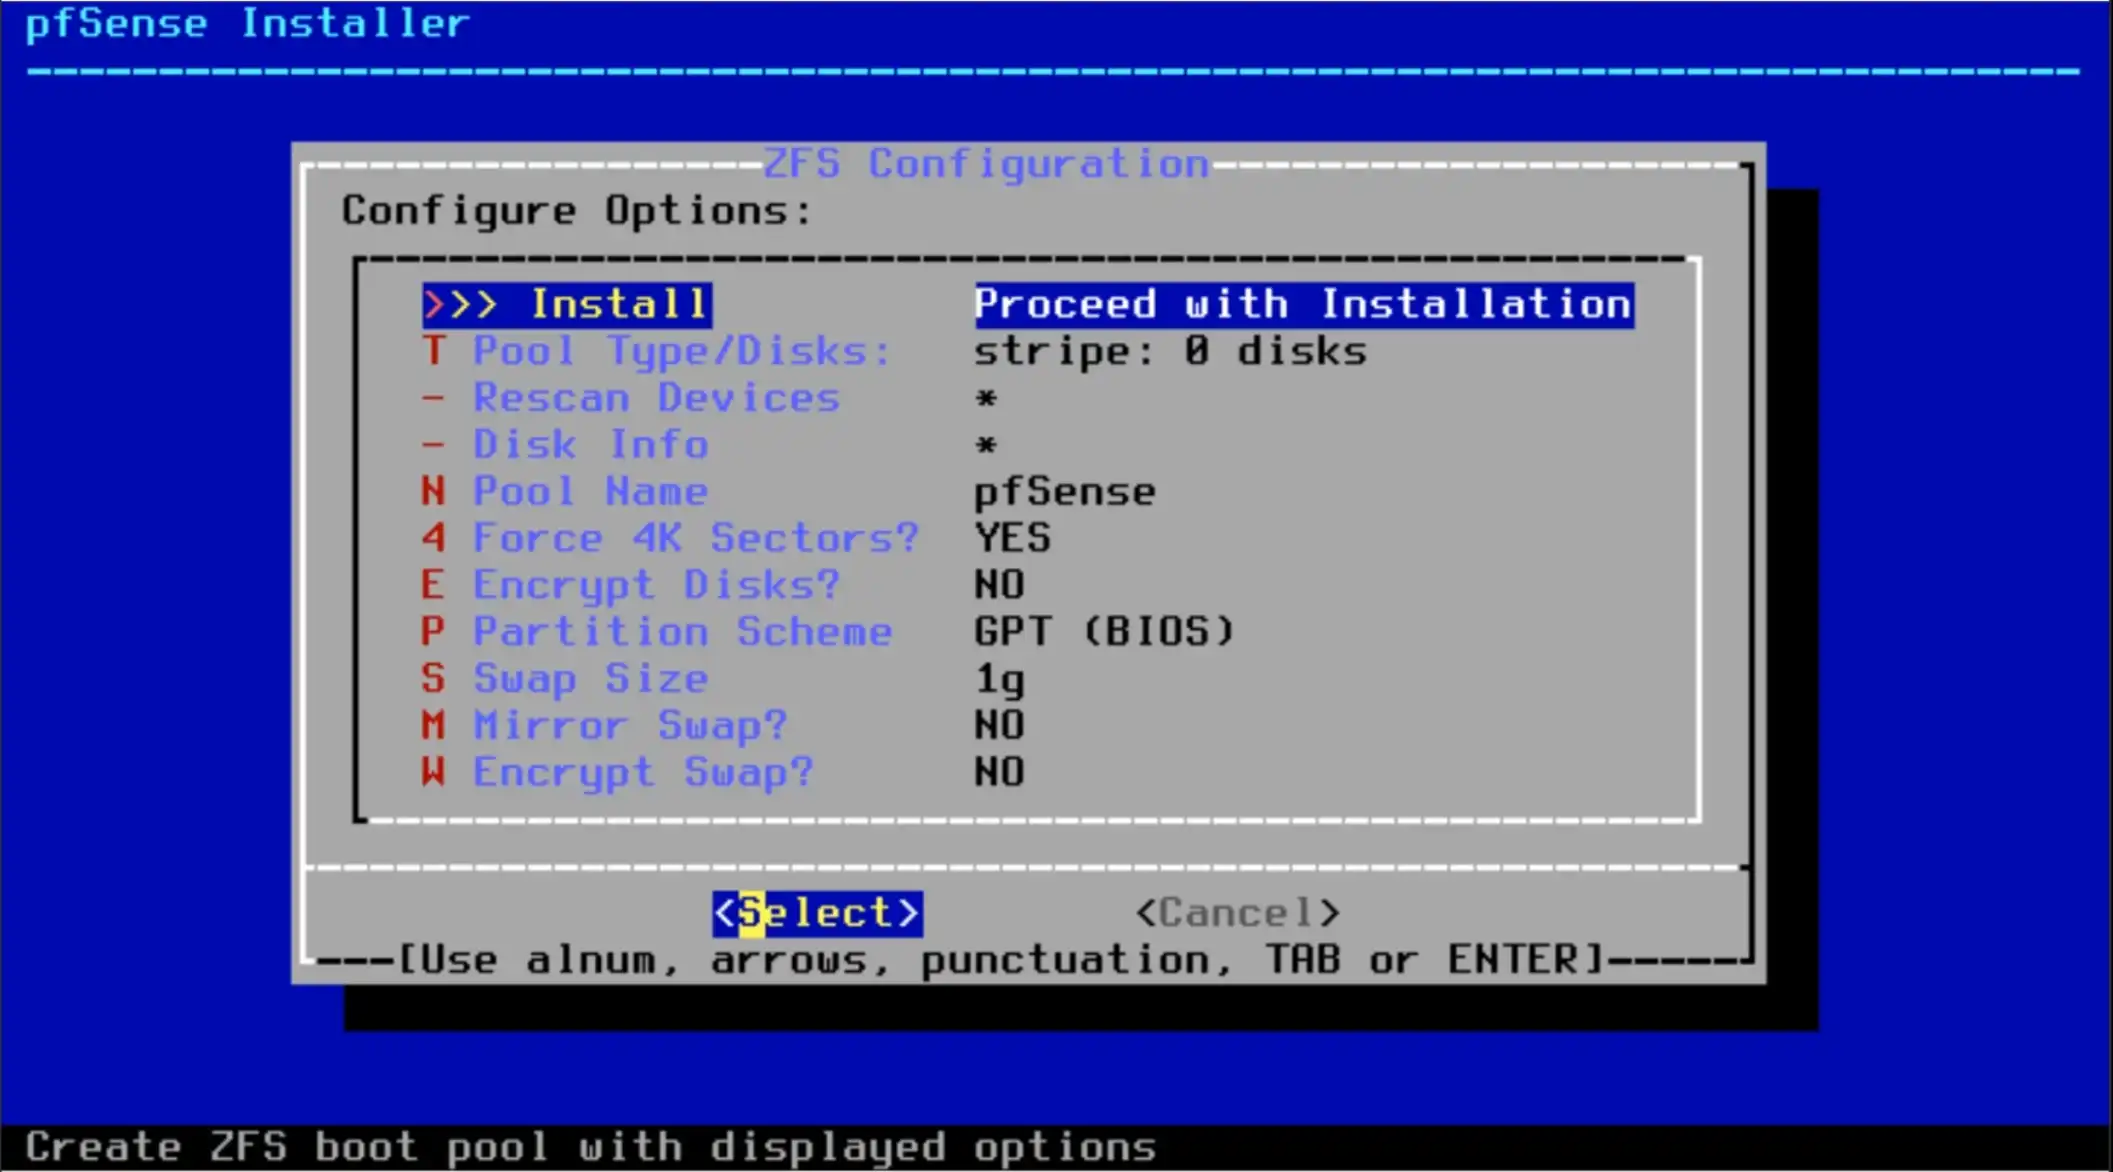
Select “Install – Porceed with Installation” and press Enter to choose Select.
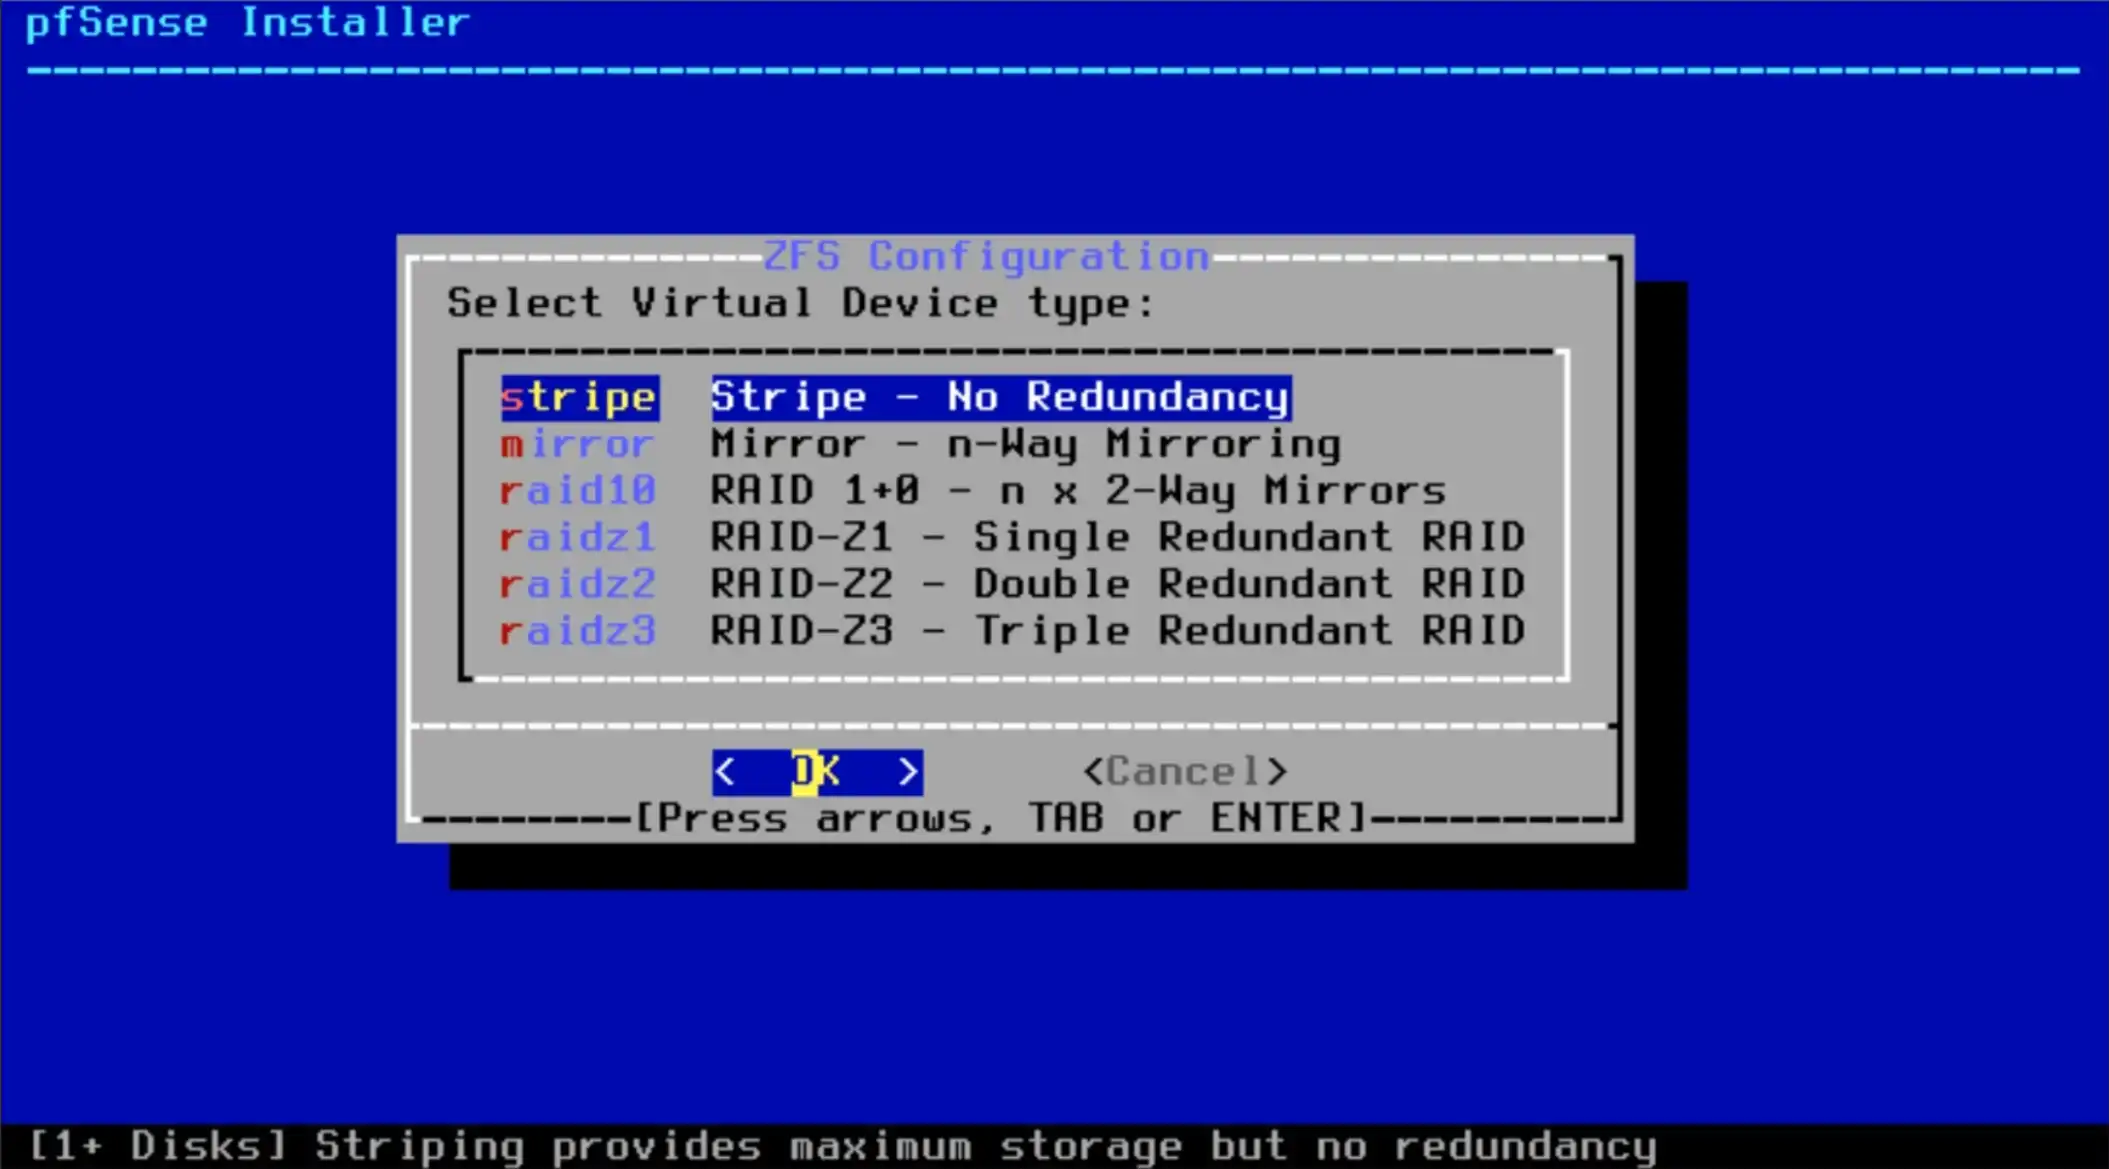
Select “stripe – Stripe – No redundancy” and press Enter to choose OK.
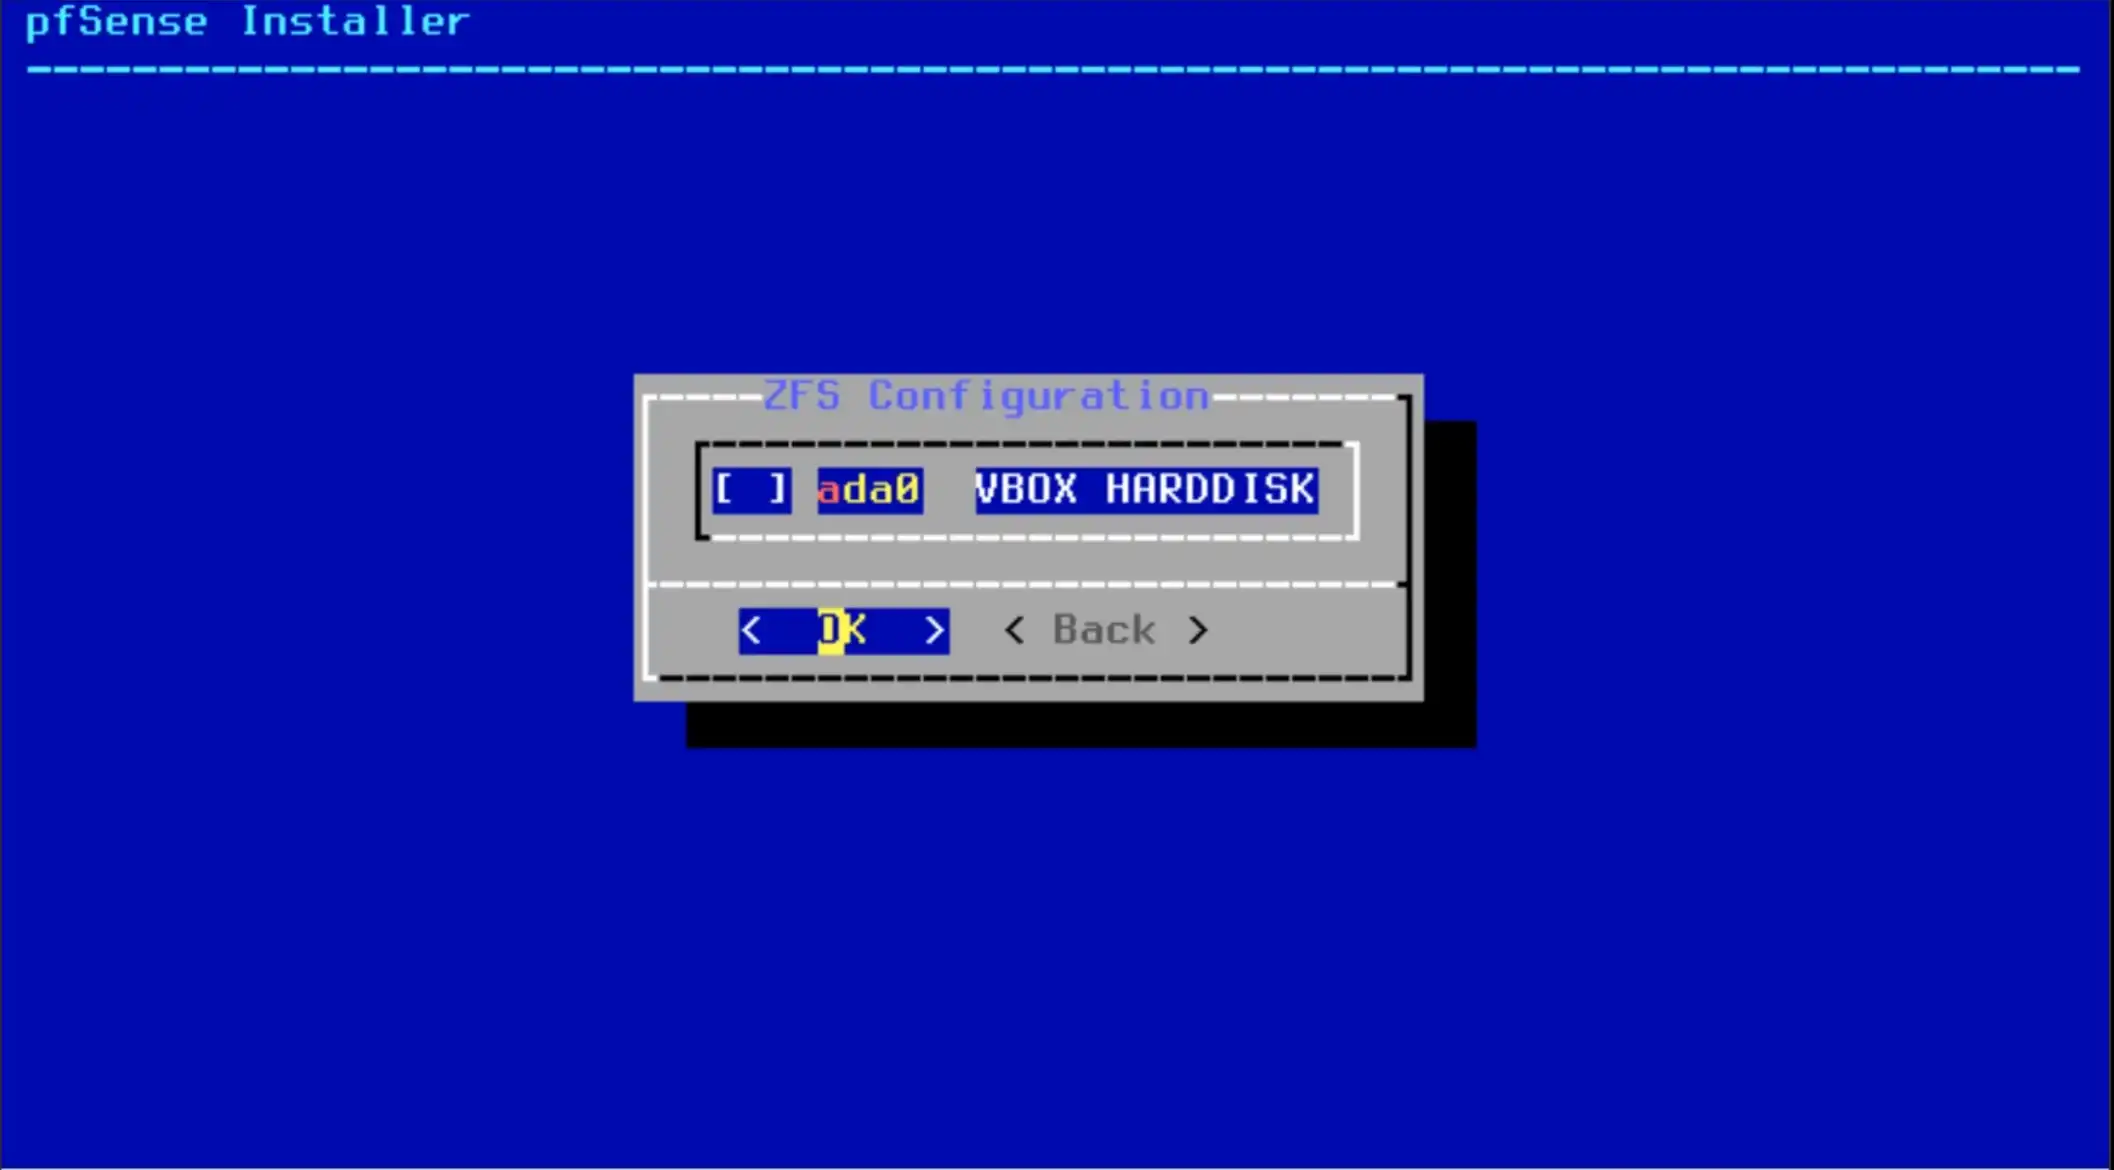
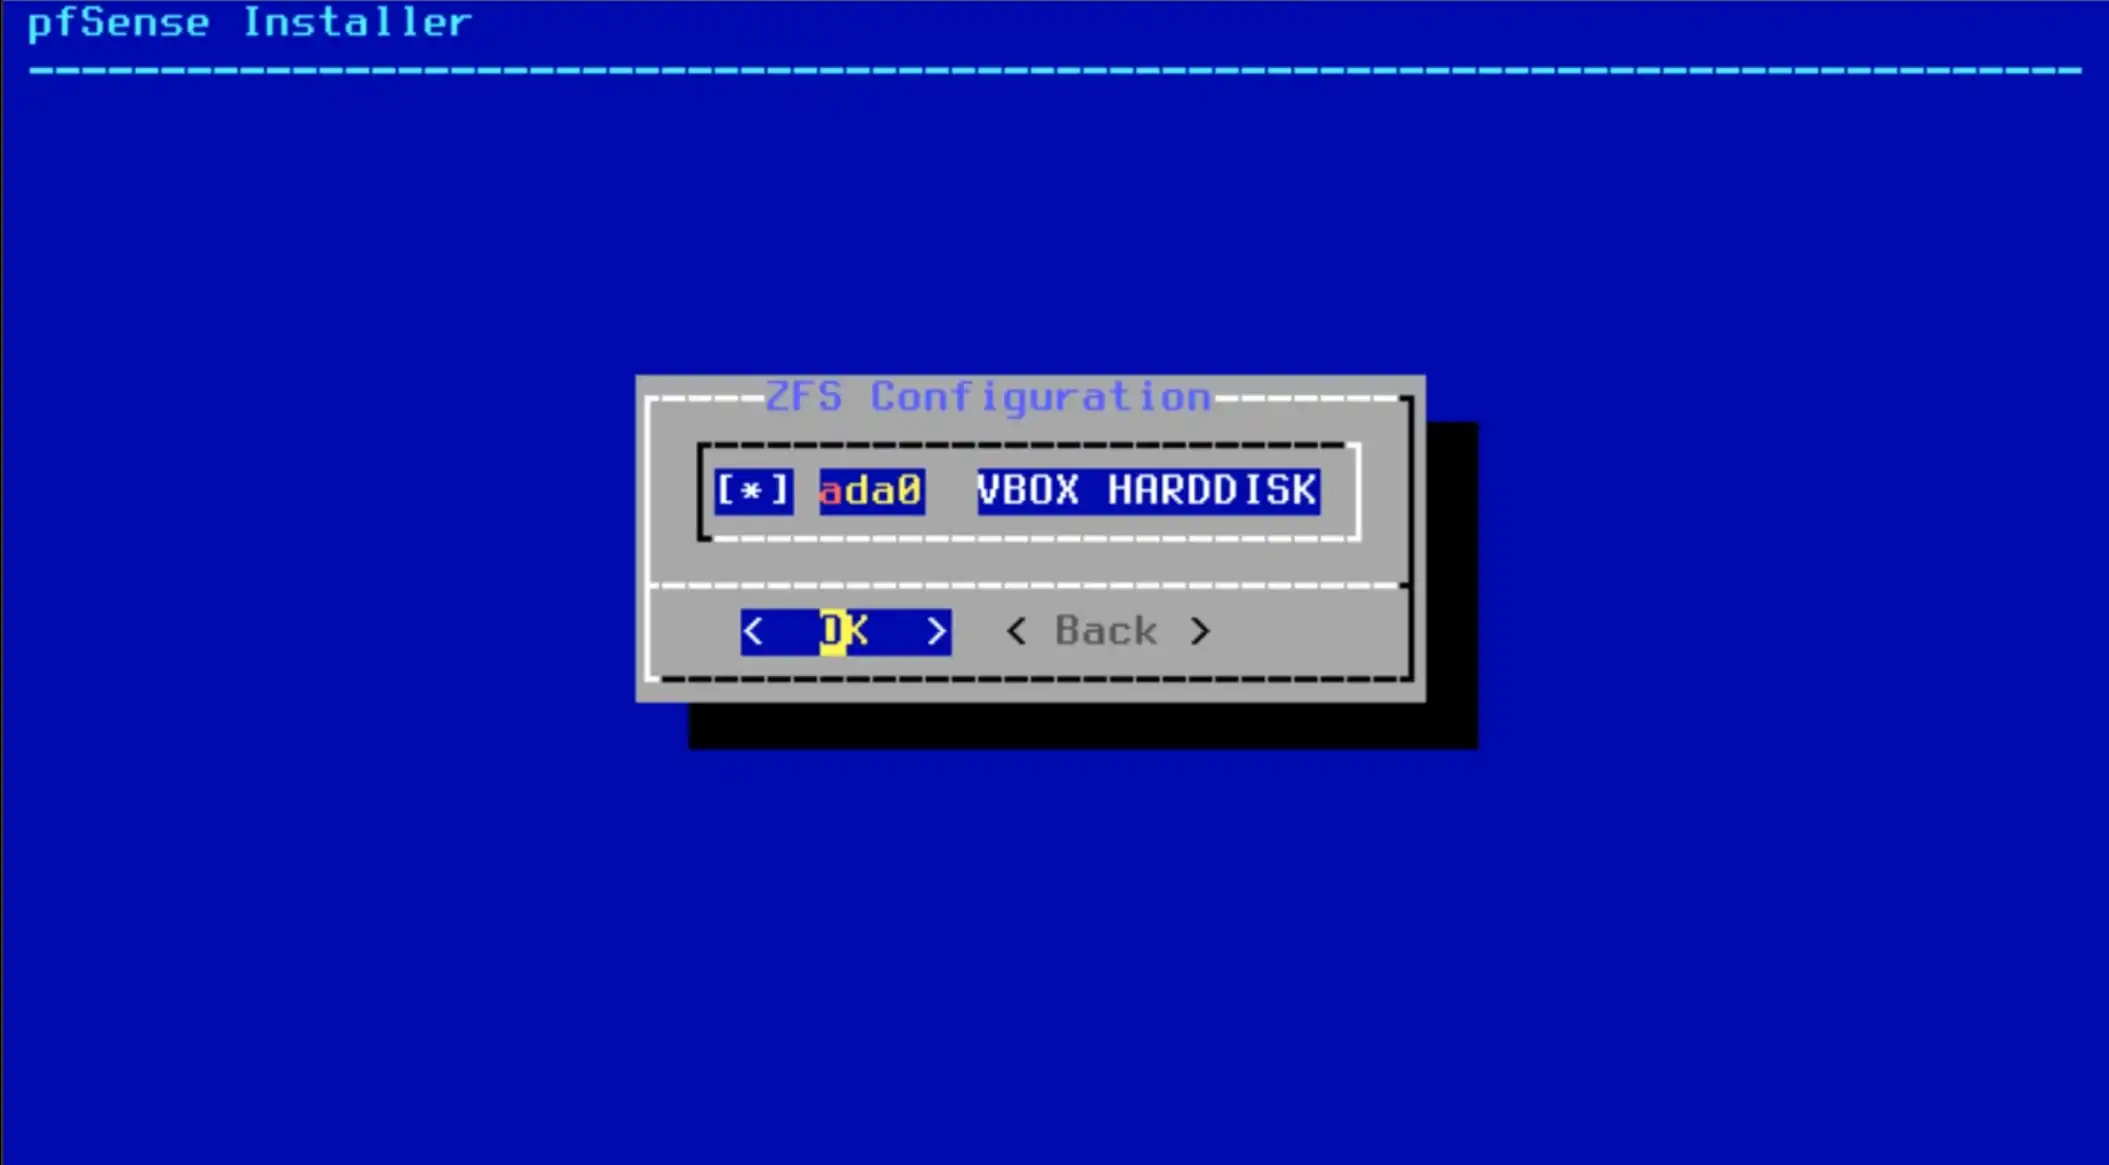
First, You need to press Space key for select “ada0 HardDisk”
and press Enter to choose OK.
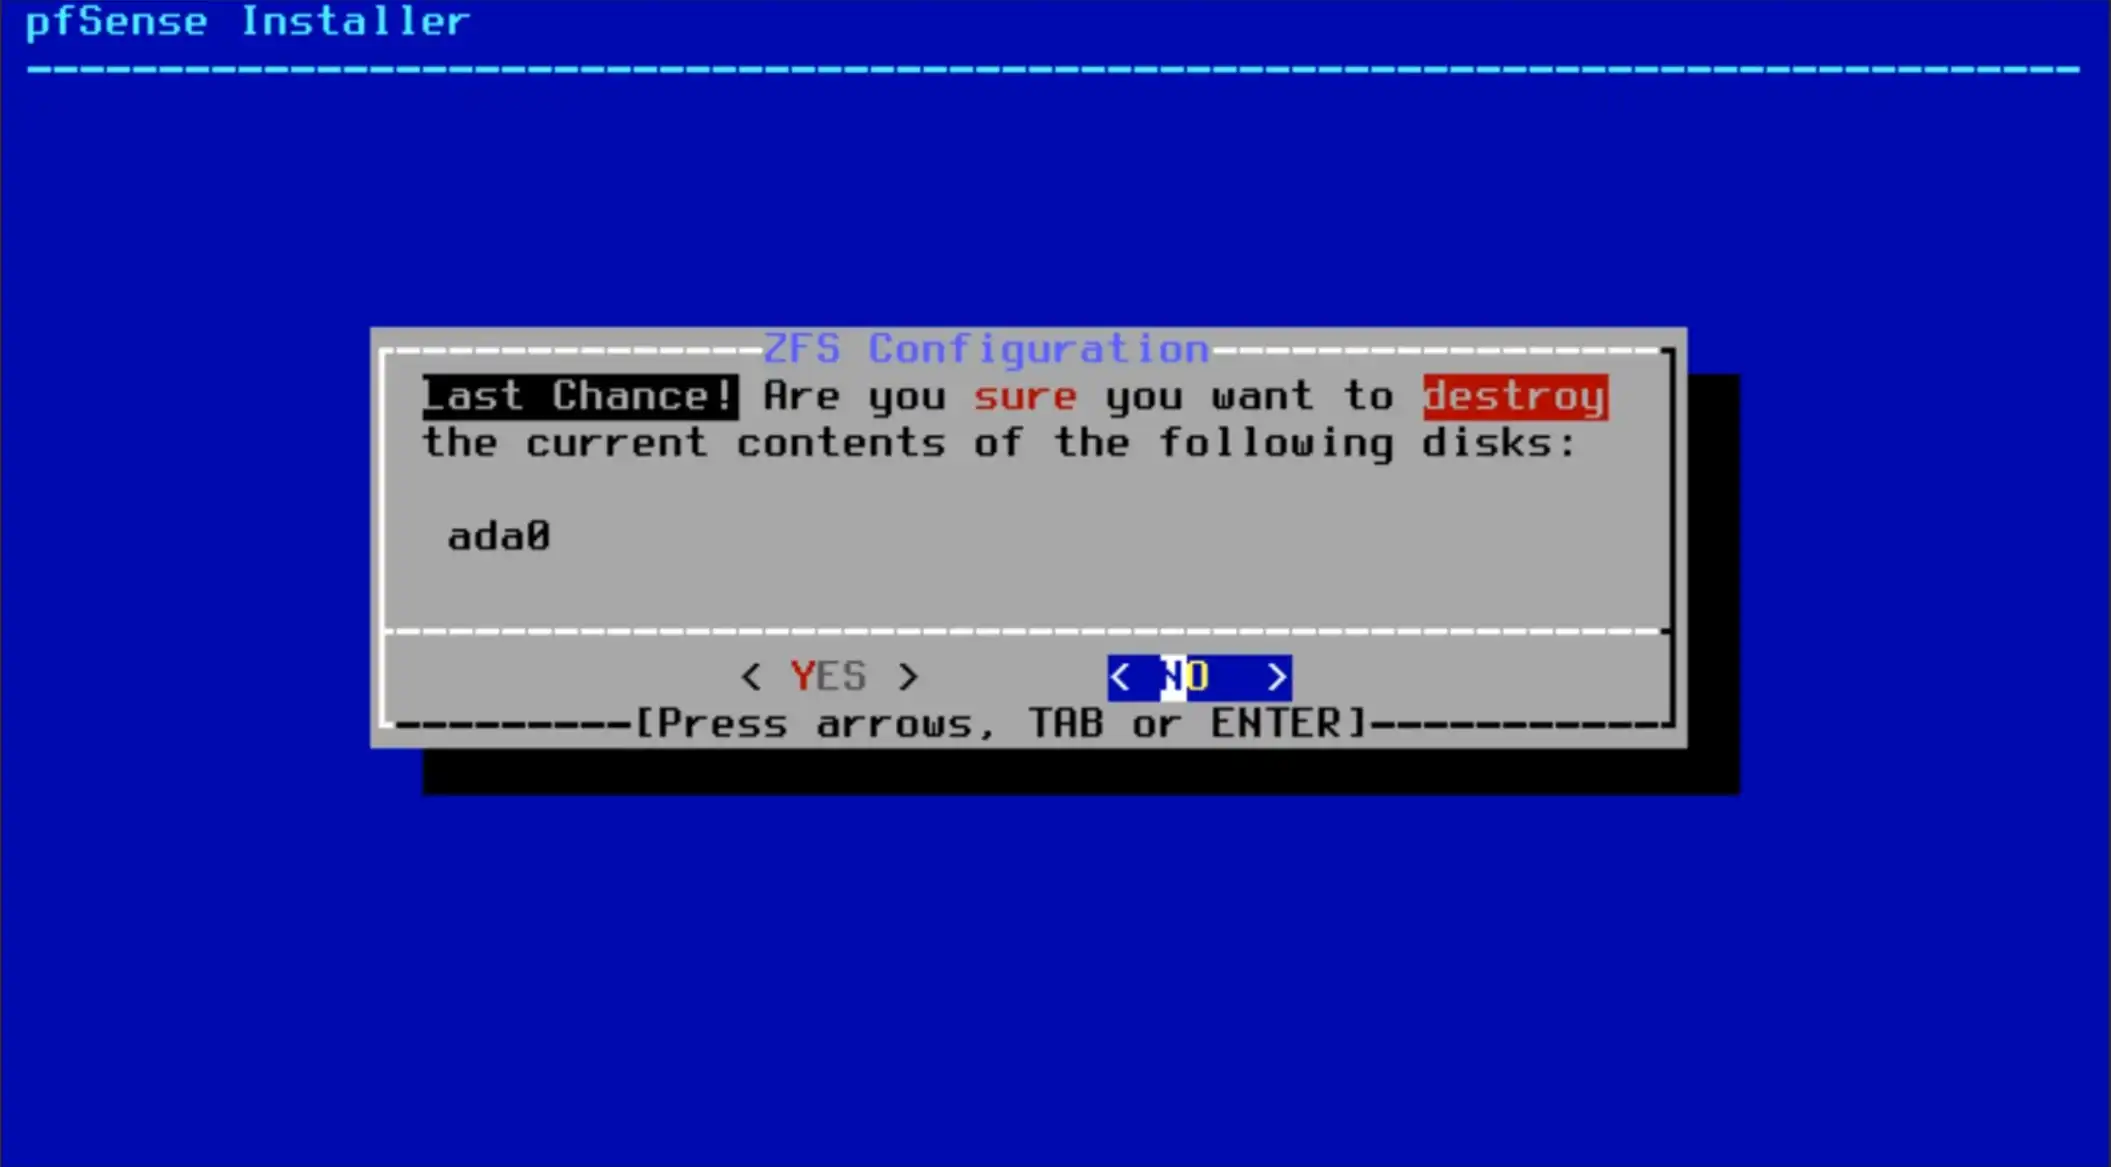
The hard disk will be reset, so it will ask for confirmation.
Select “Yes” and press Enter.
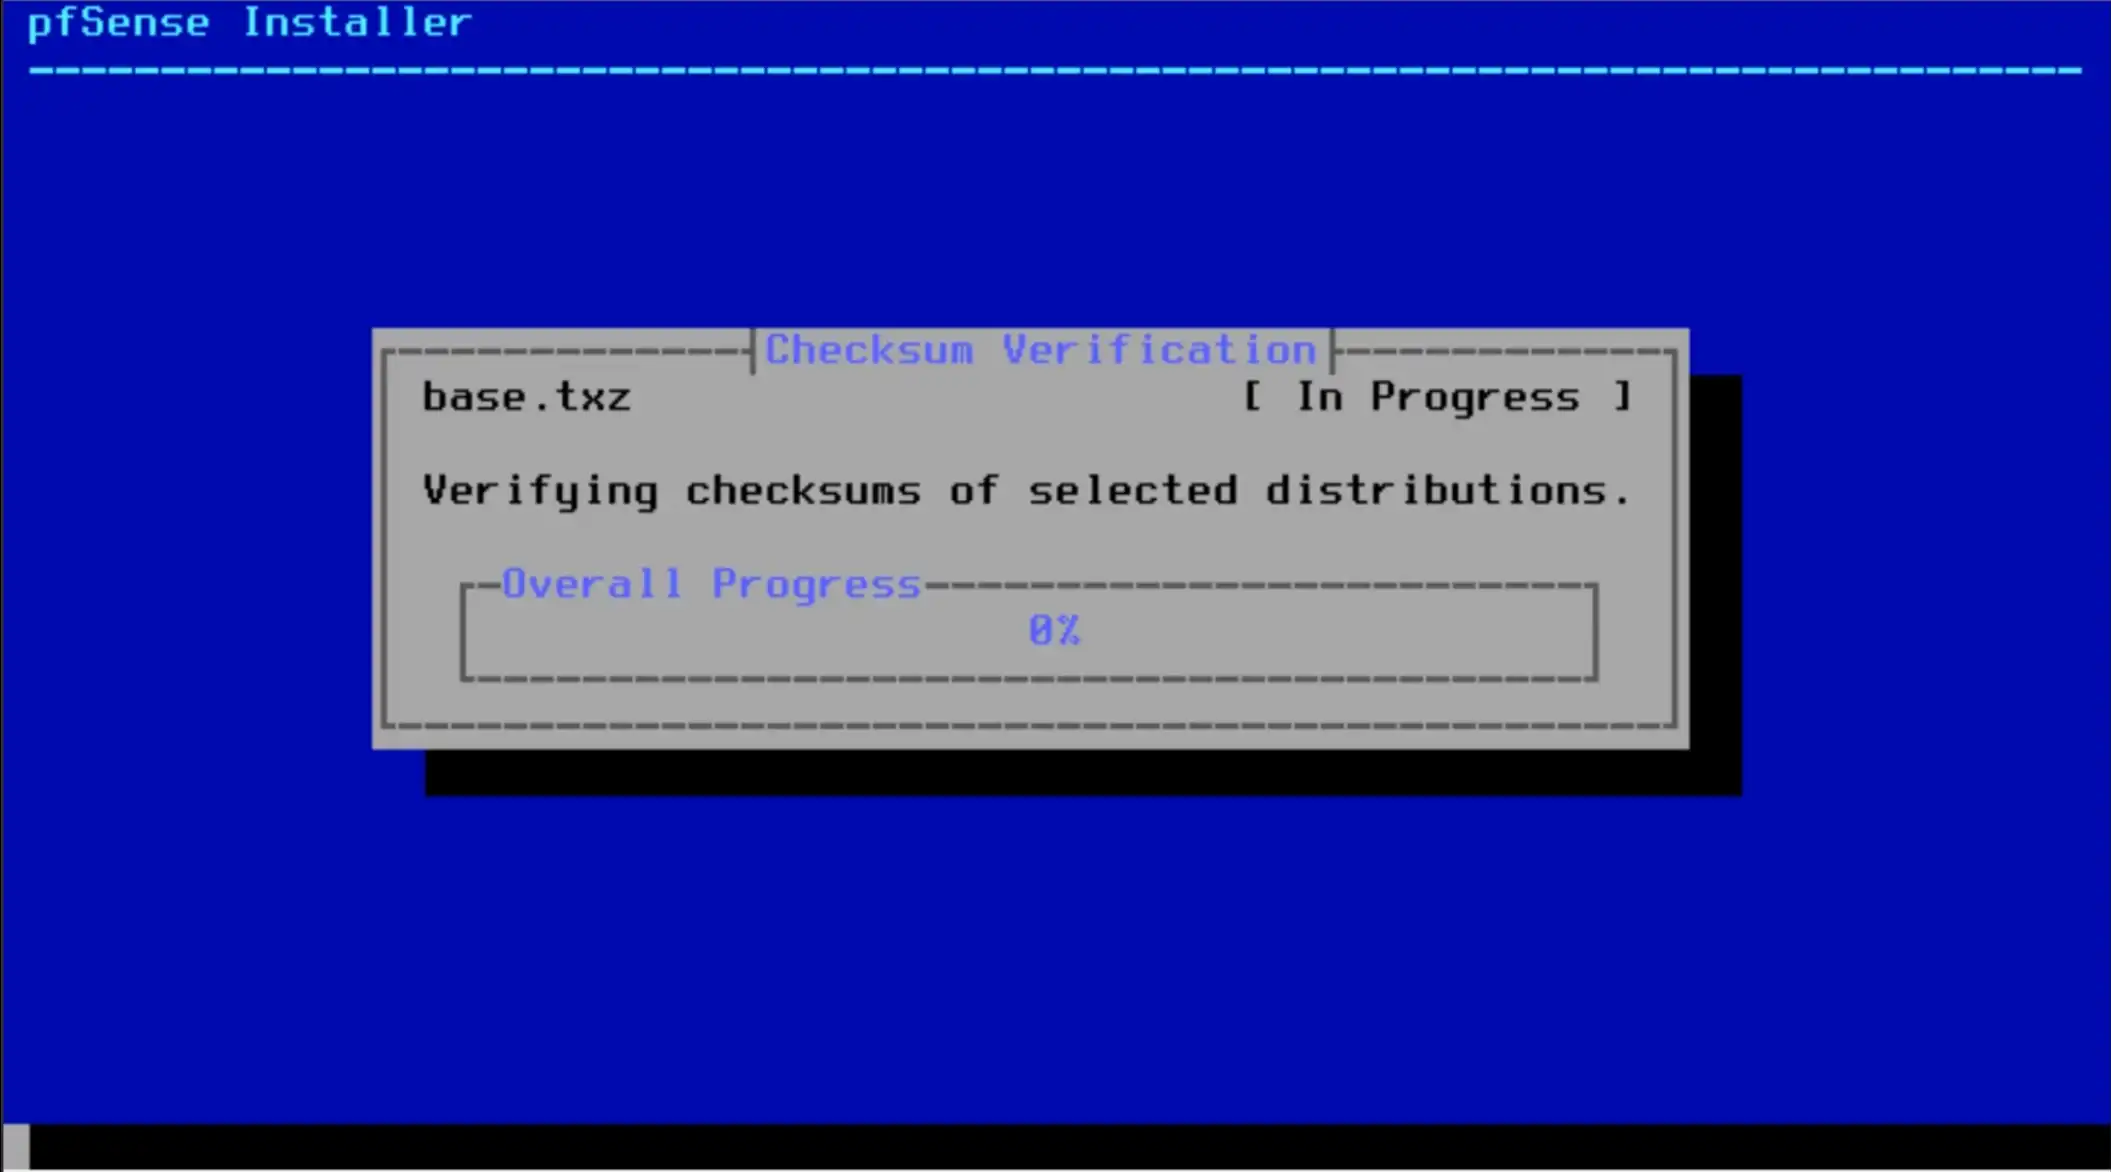
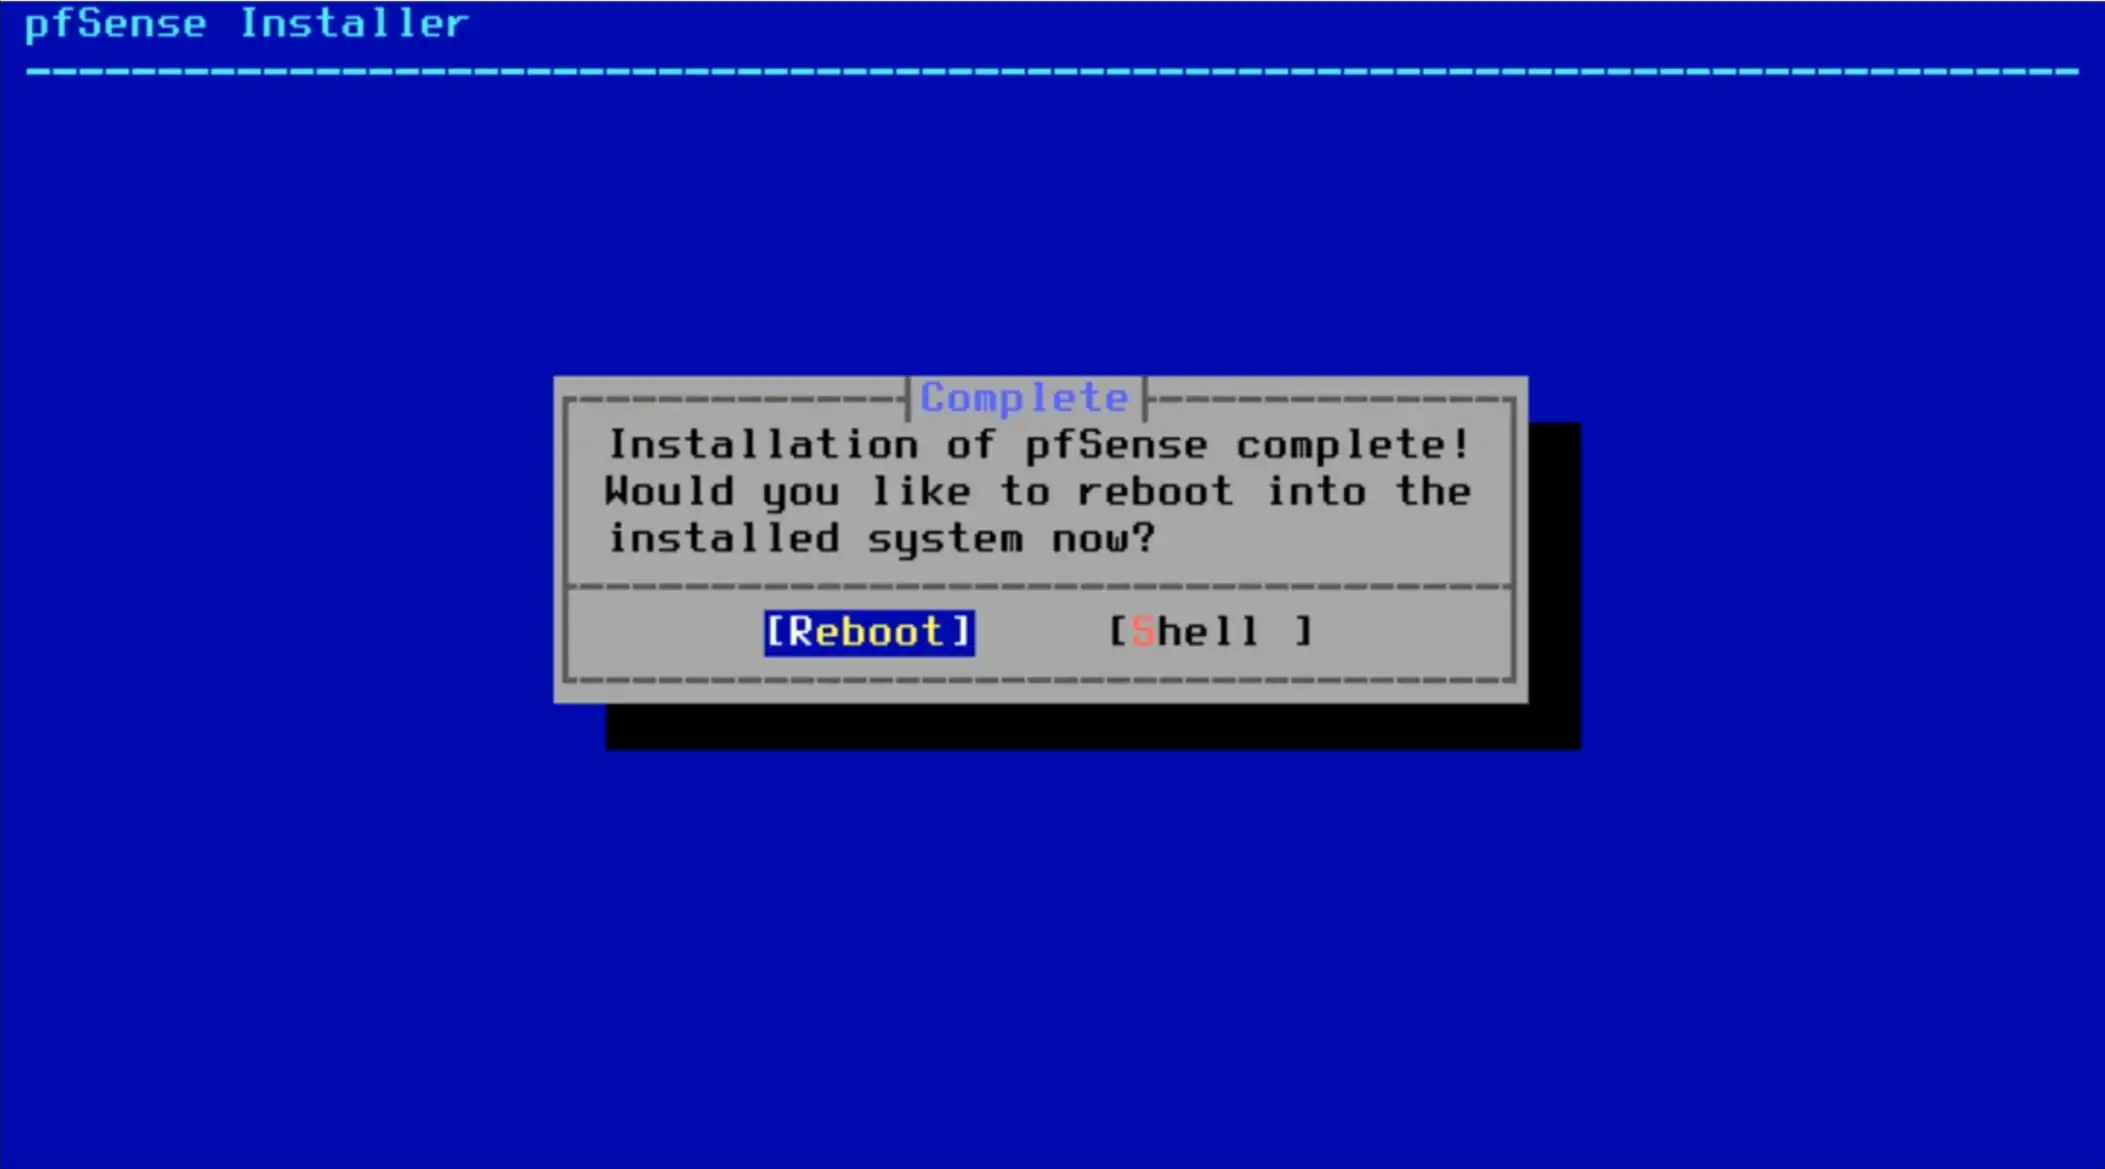
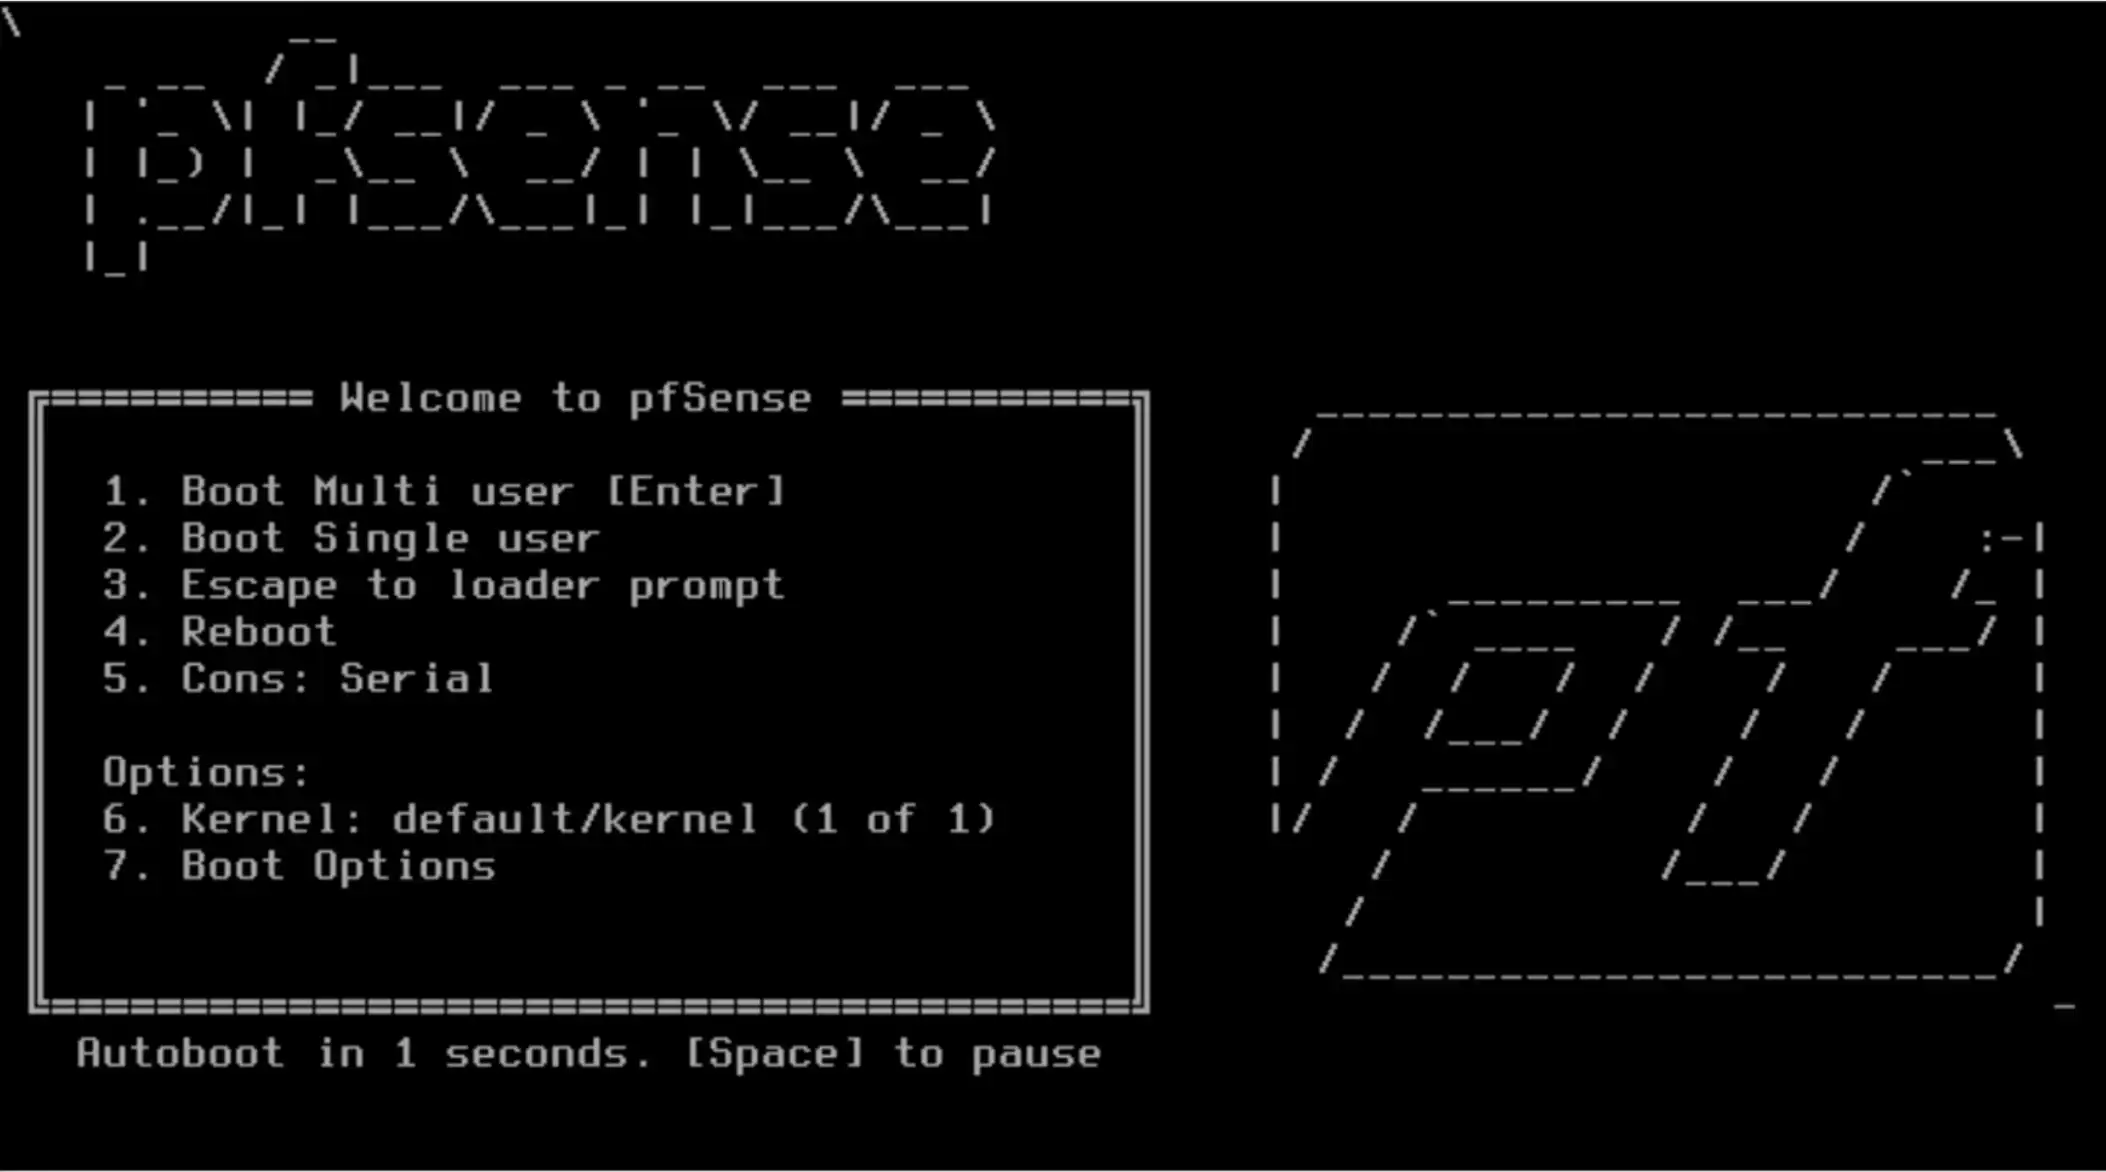
The installation is complete. Let’s reboot.
Step 3: Configure the pfSense Network


First, you need to set the WAN port.
Select “le0” as the WAN interface.
The interface name (such as “le0”) may be different depending on your device.
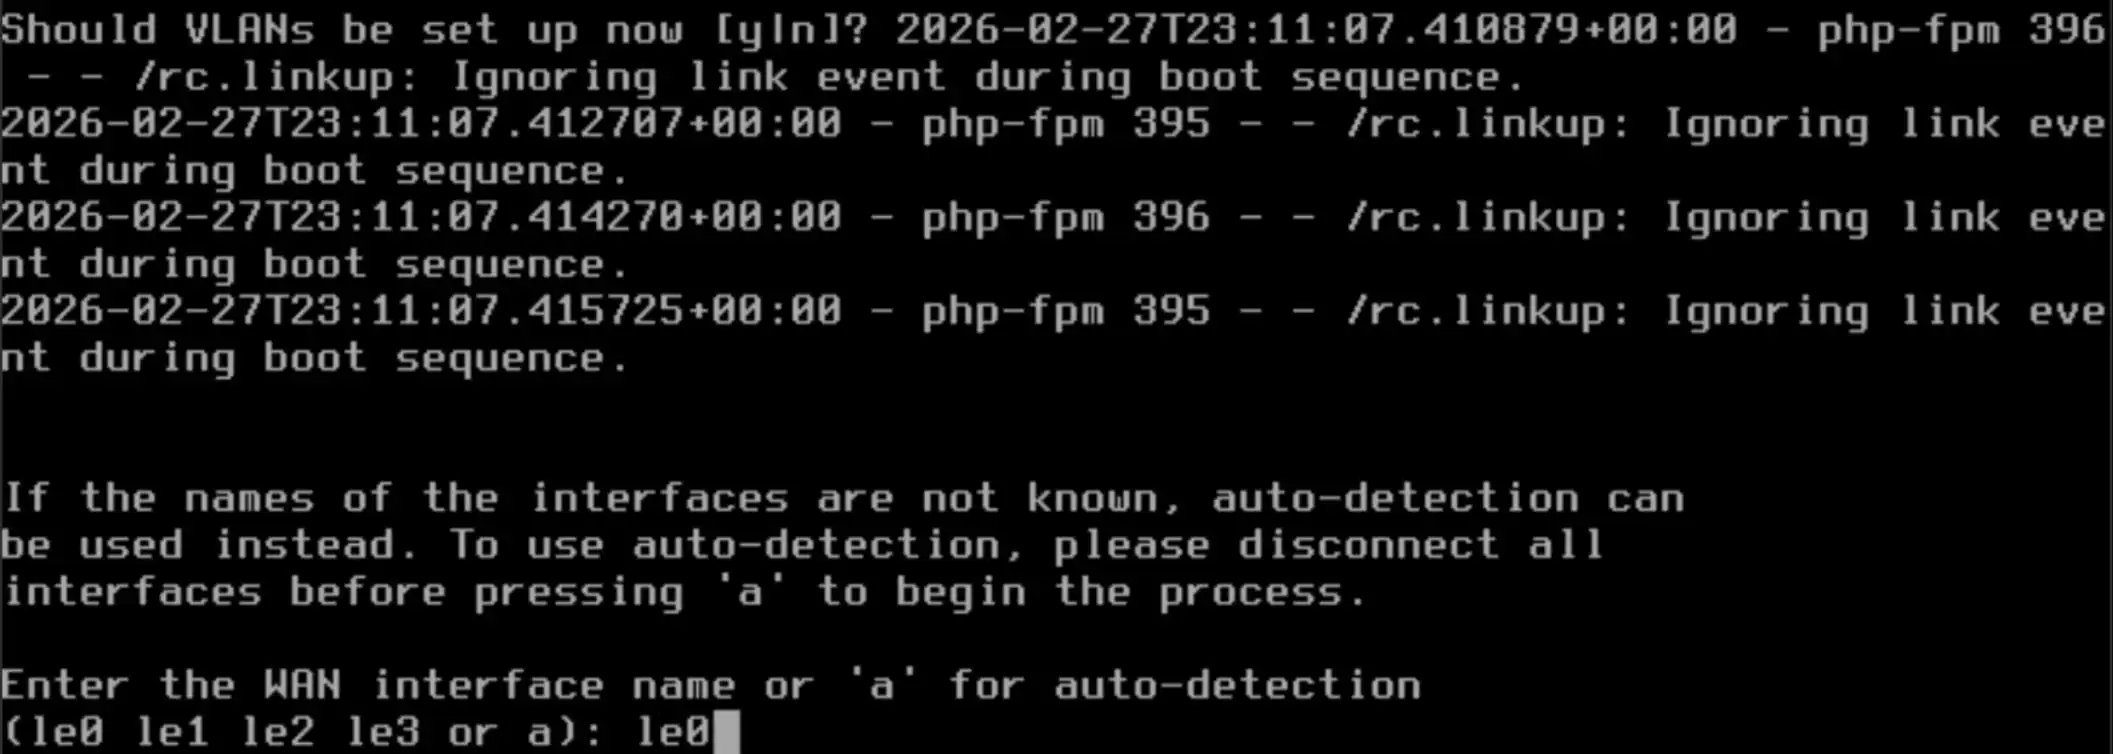
Next, set the LAN Port, and type le1,
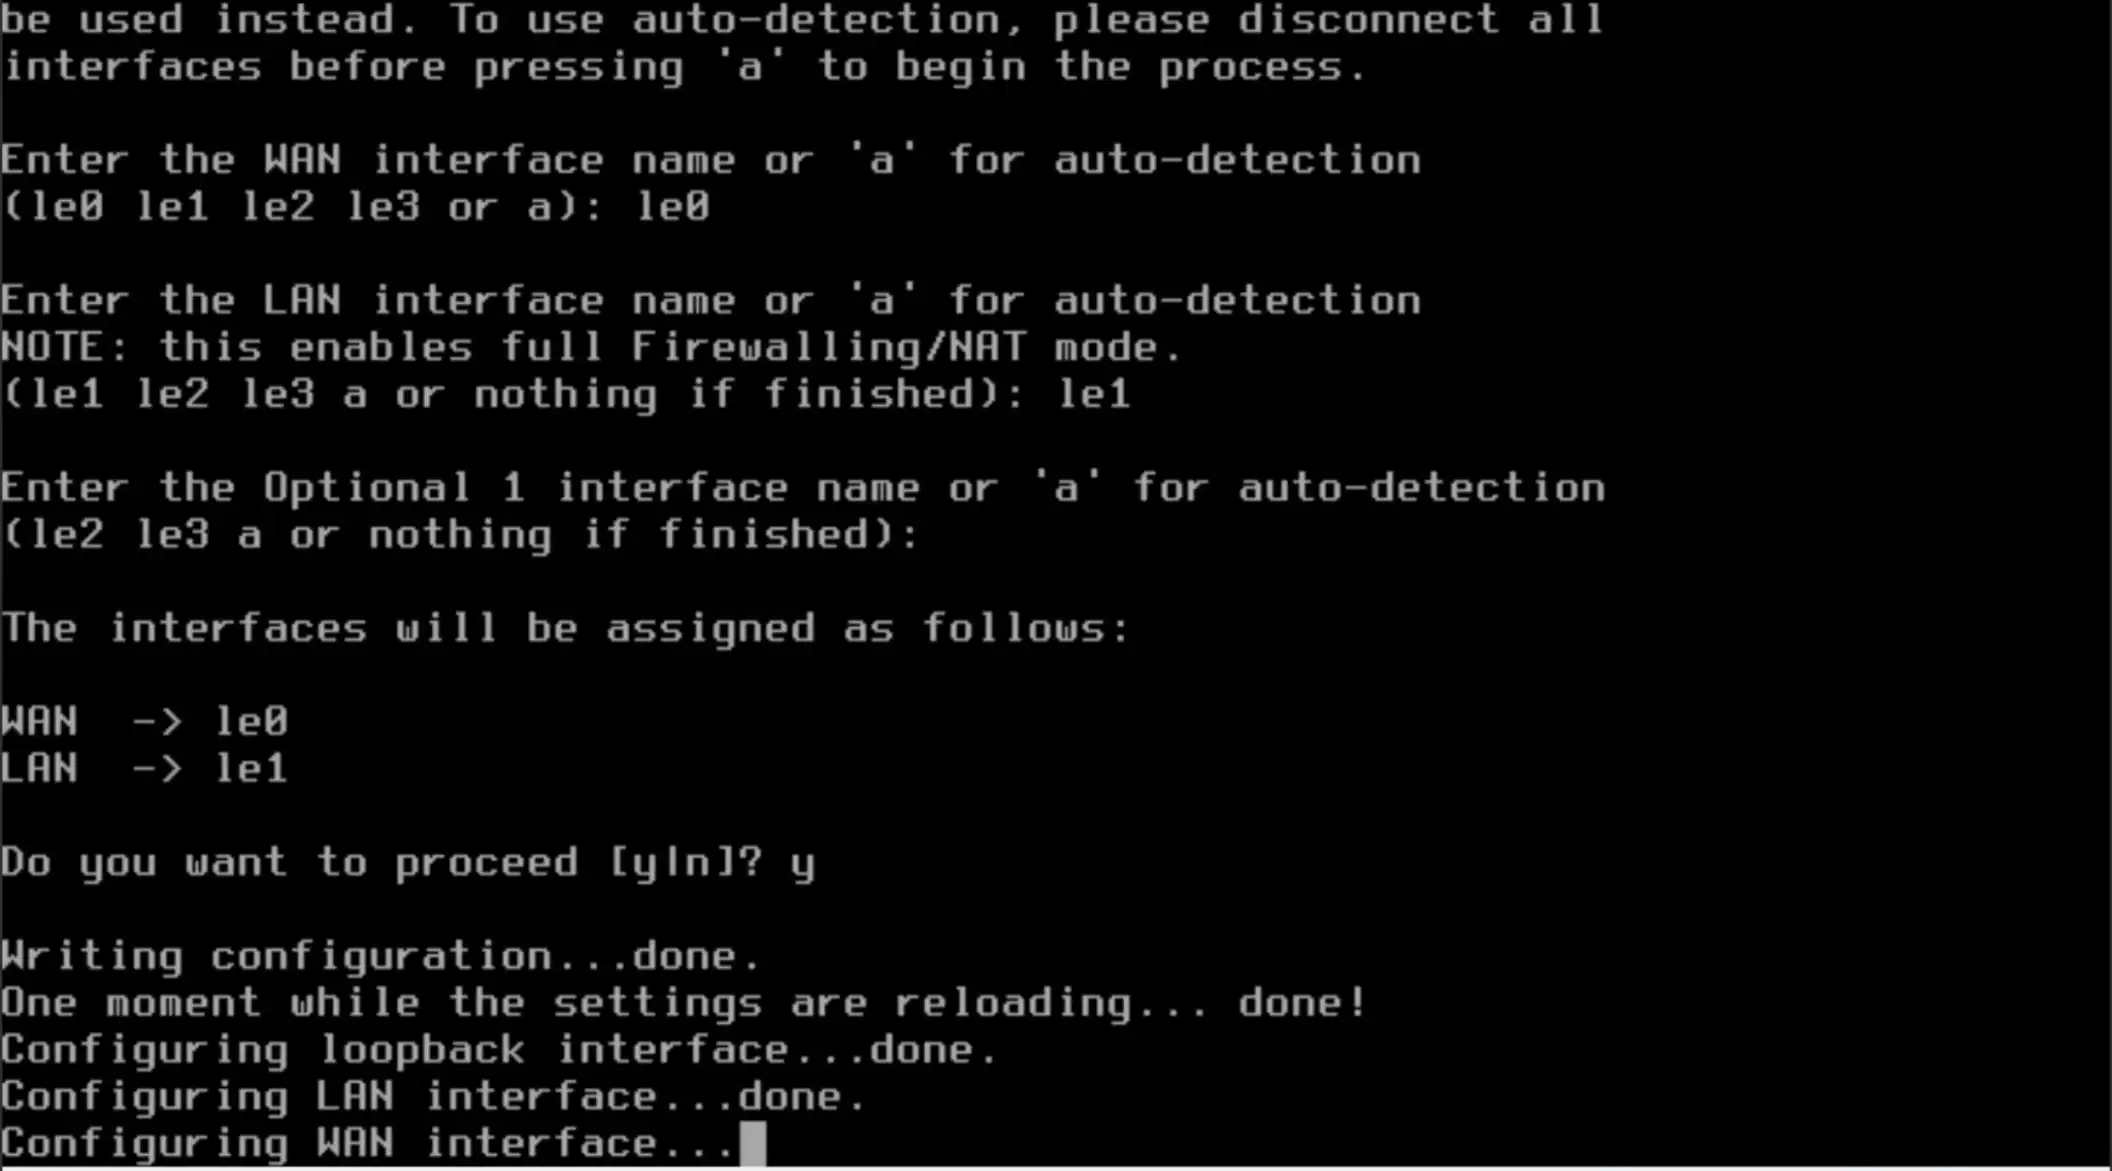
When the prompt “Do you want to proceed?” appears,
type y and press Enter to continue the installation.
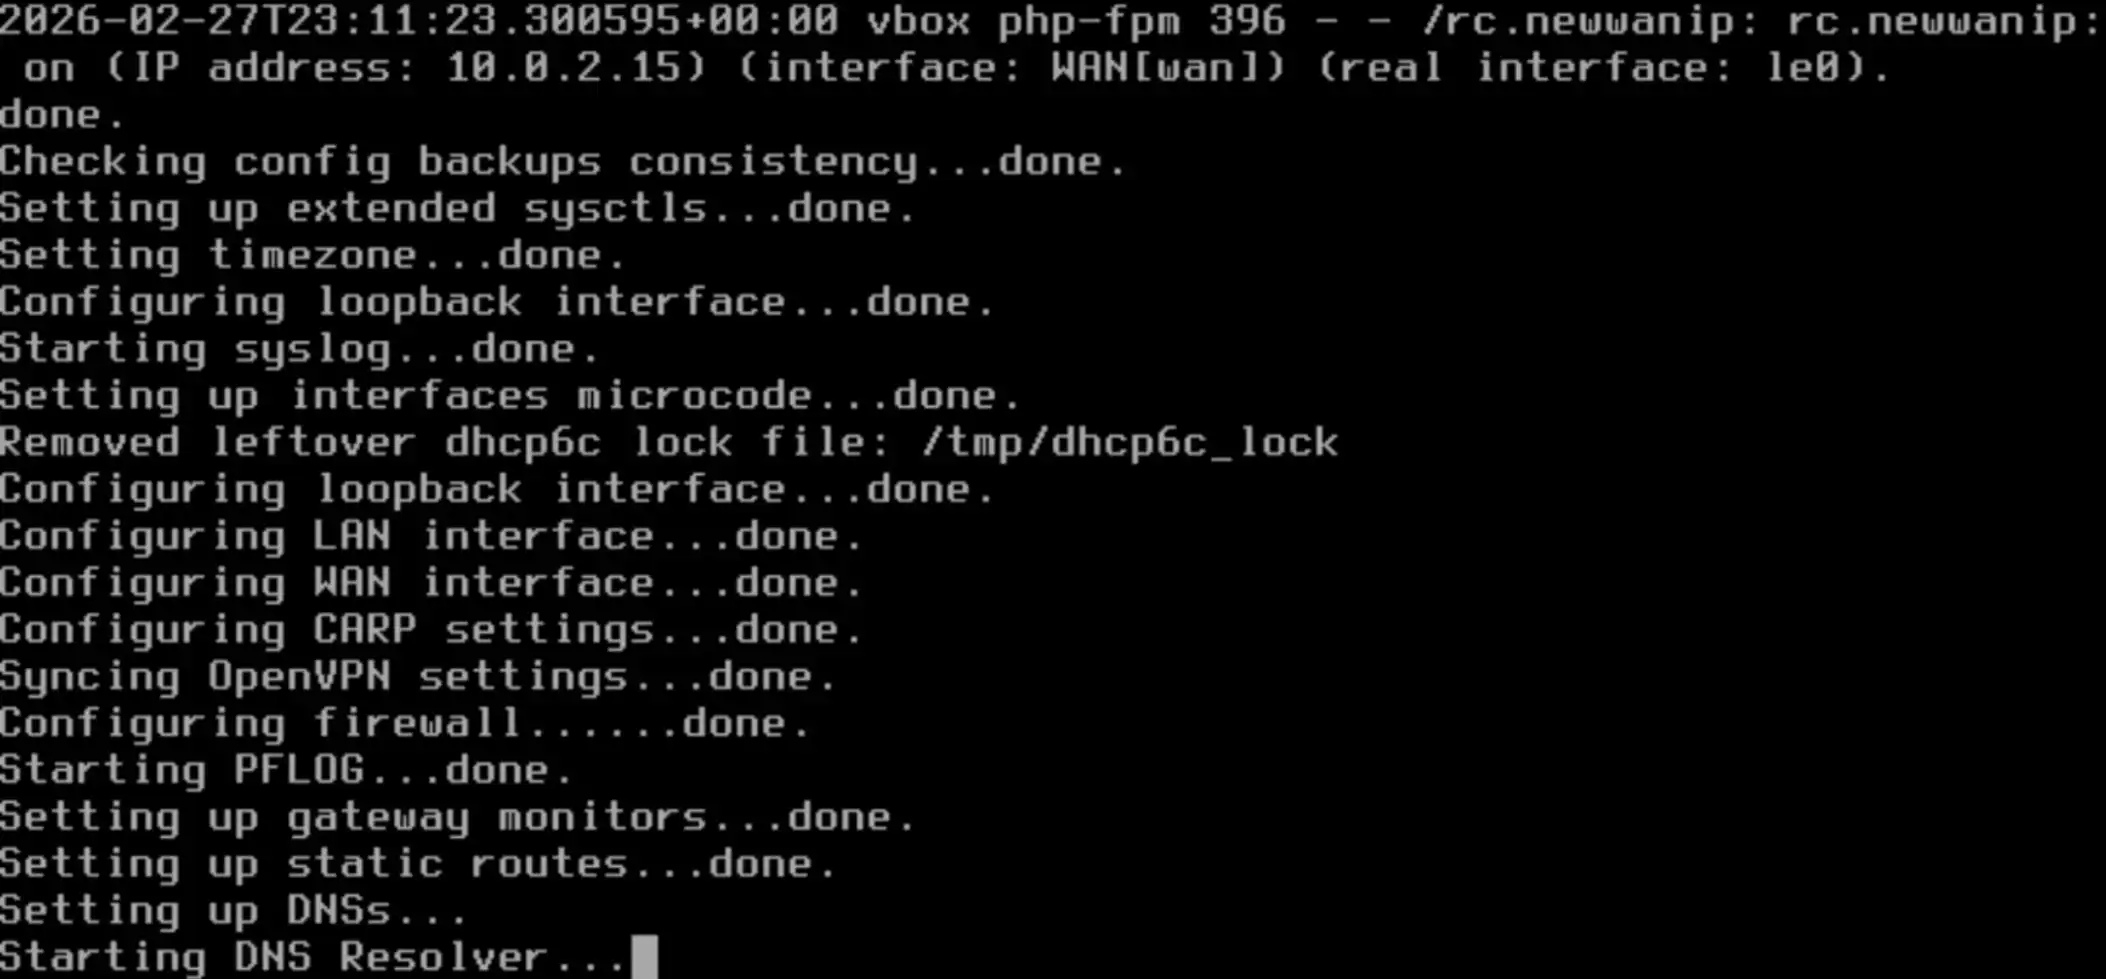

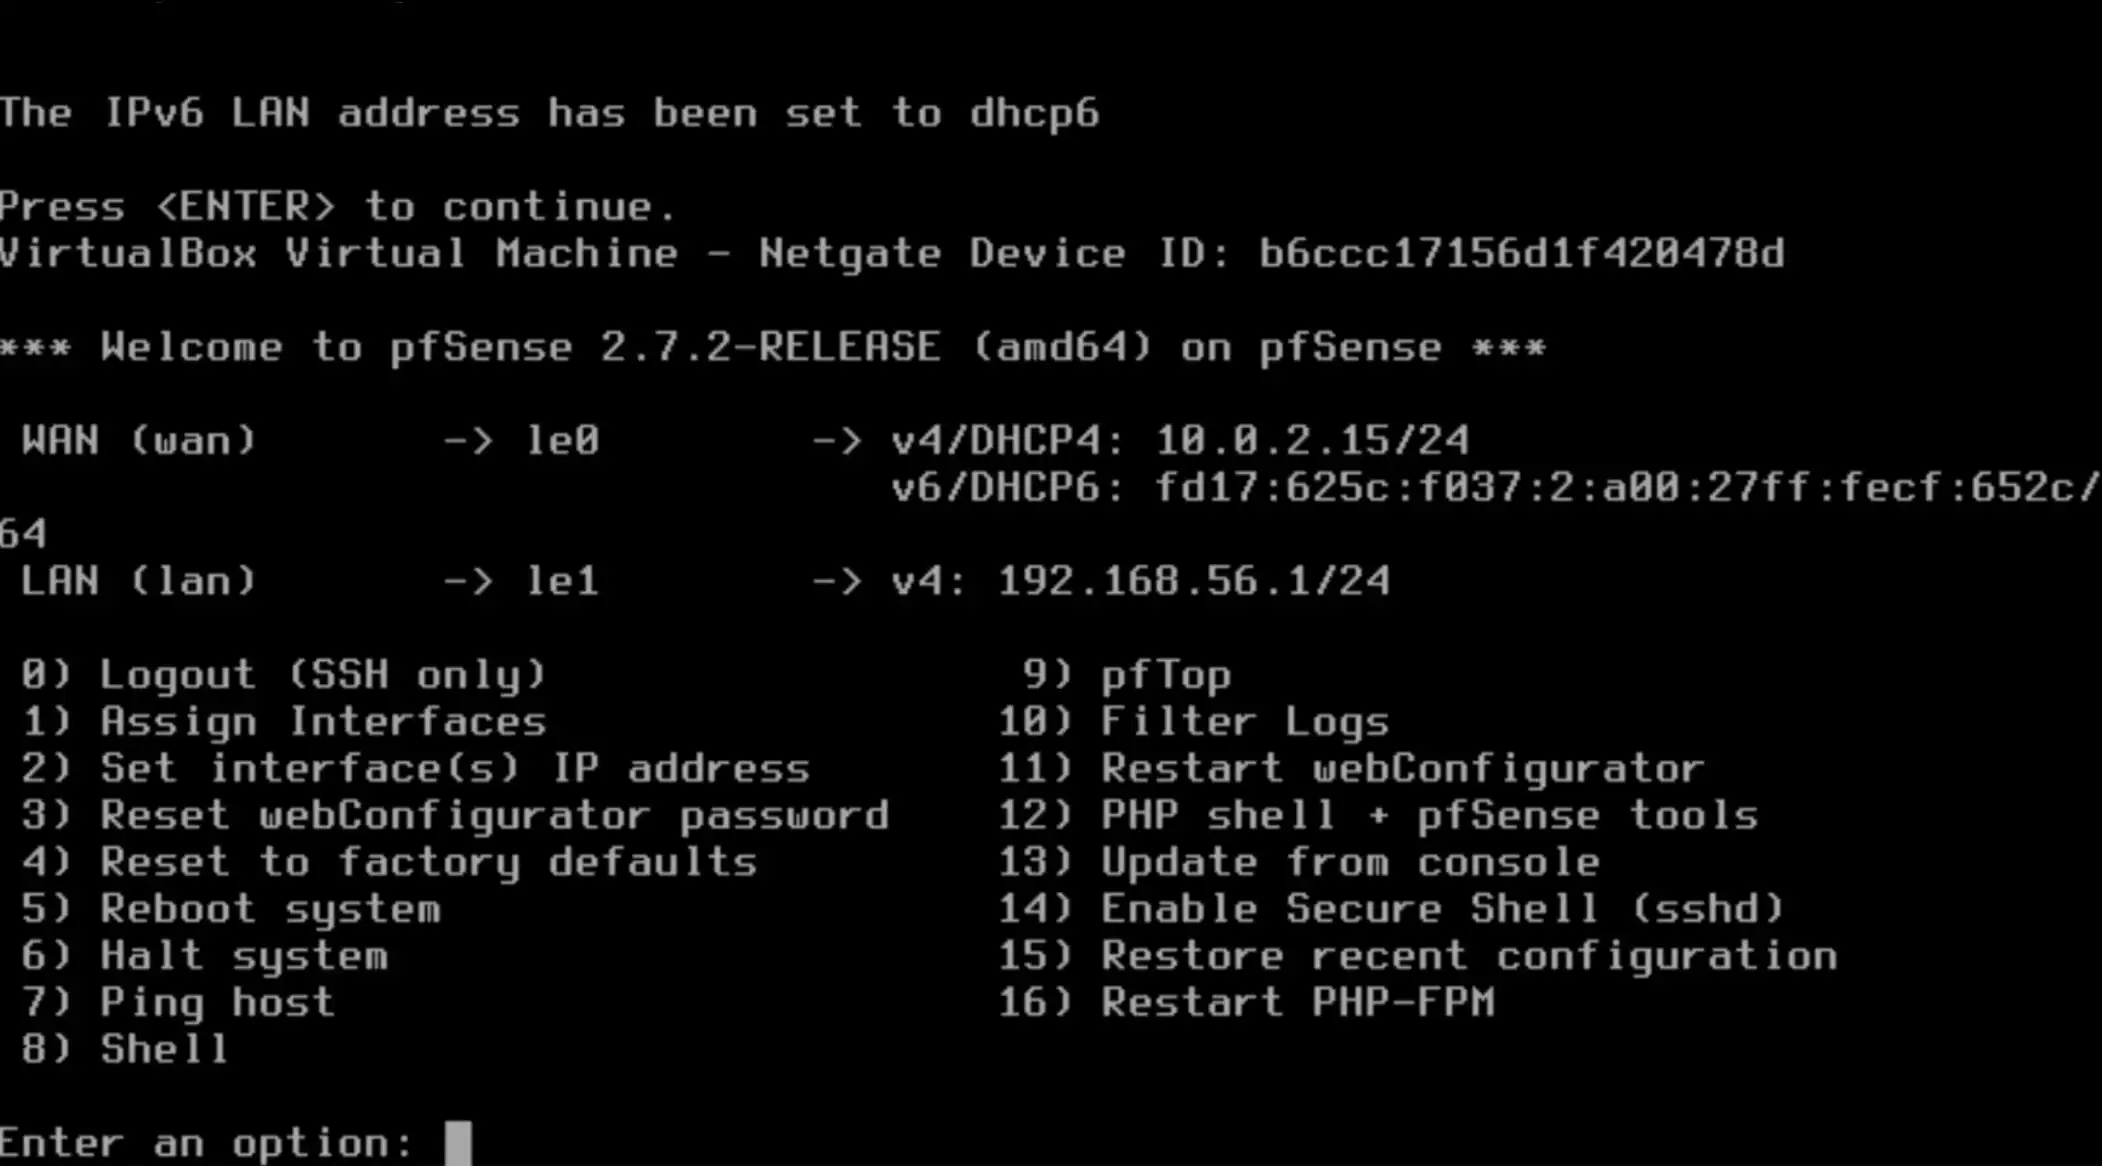
In this post, the WAN IP is set to 10.0.2.15/24 for testing,
and the LAN IP is set to 192.168.1.1/24.
If you want to change the LAN IP address, follow the next steps.
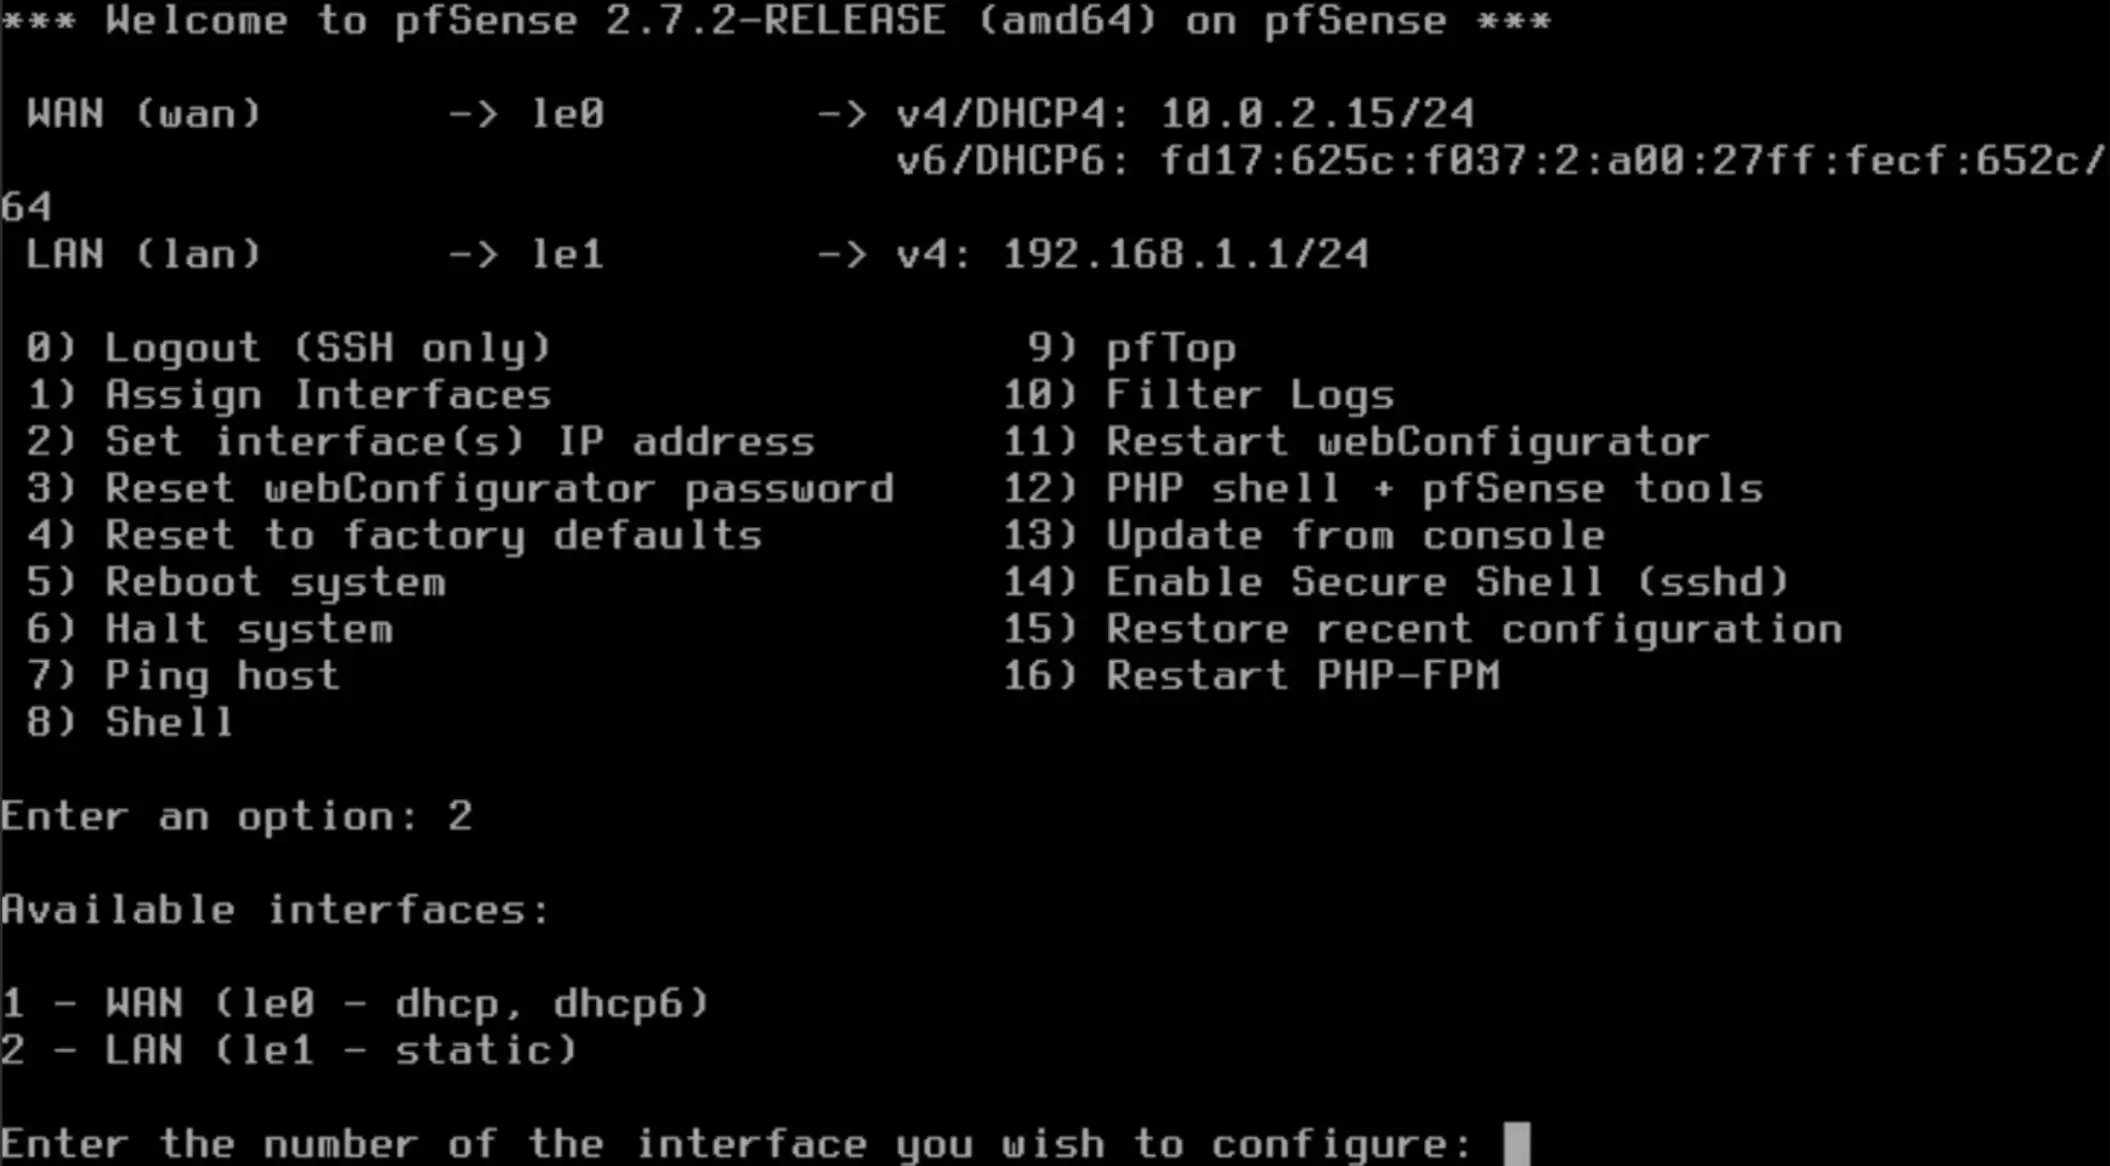
Let’s do next steps, Enter “2”
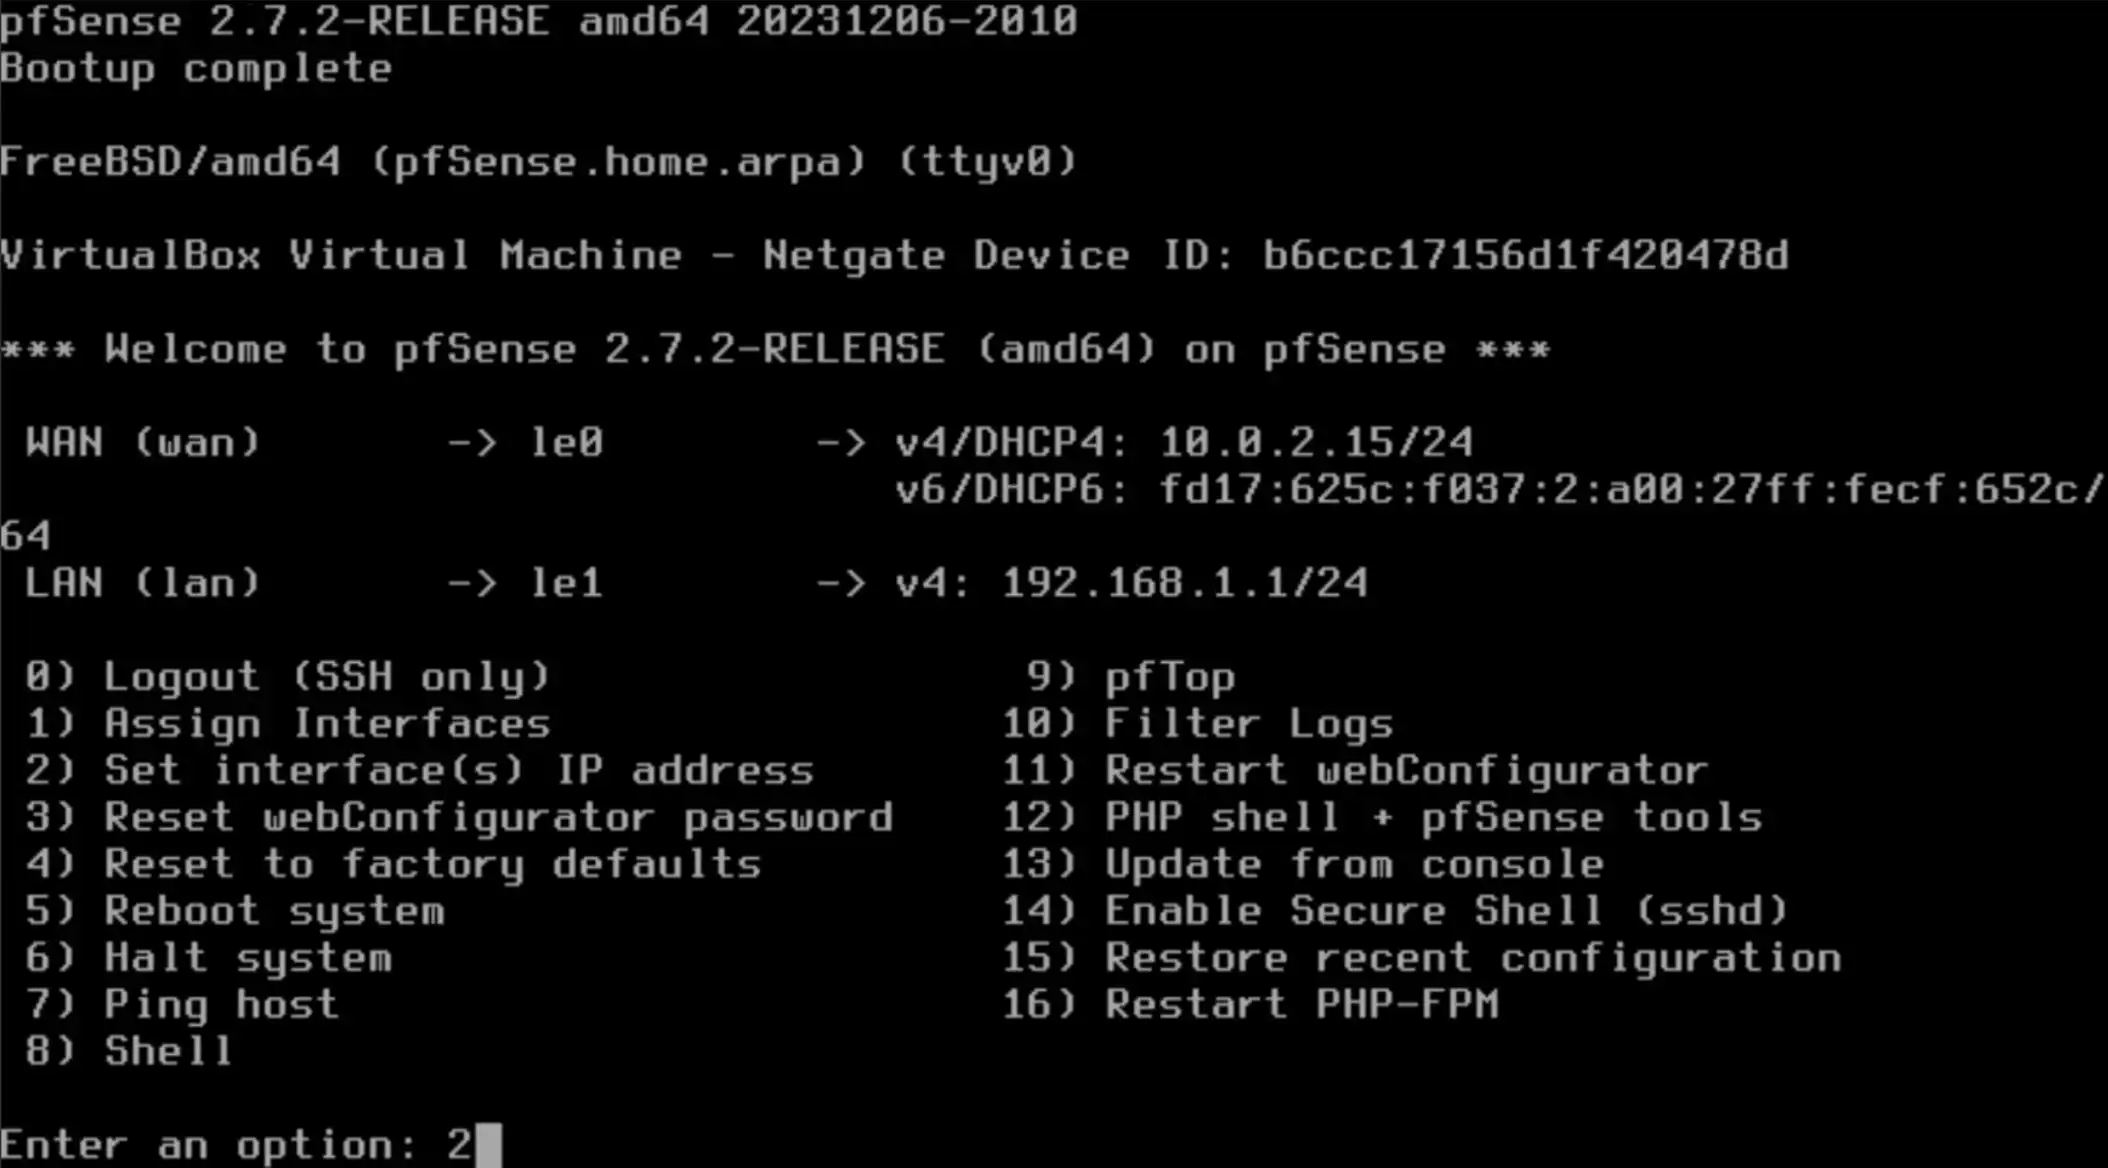
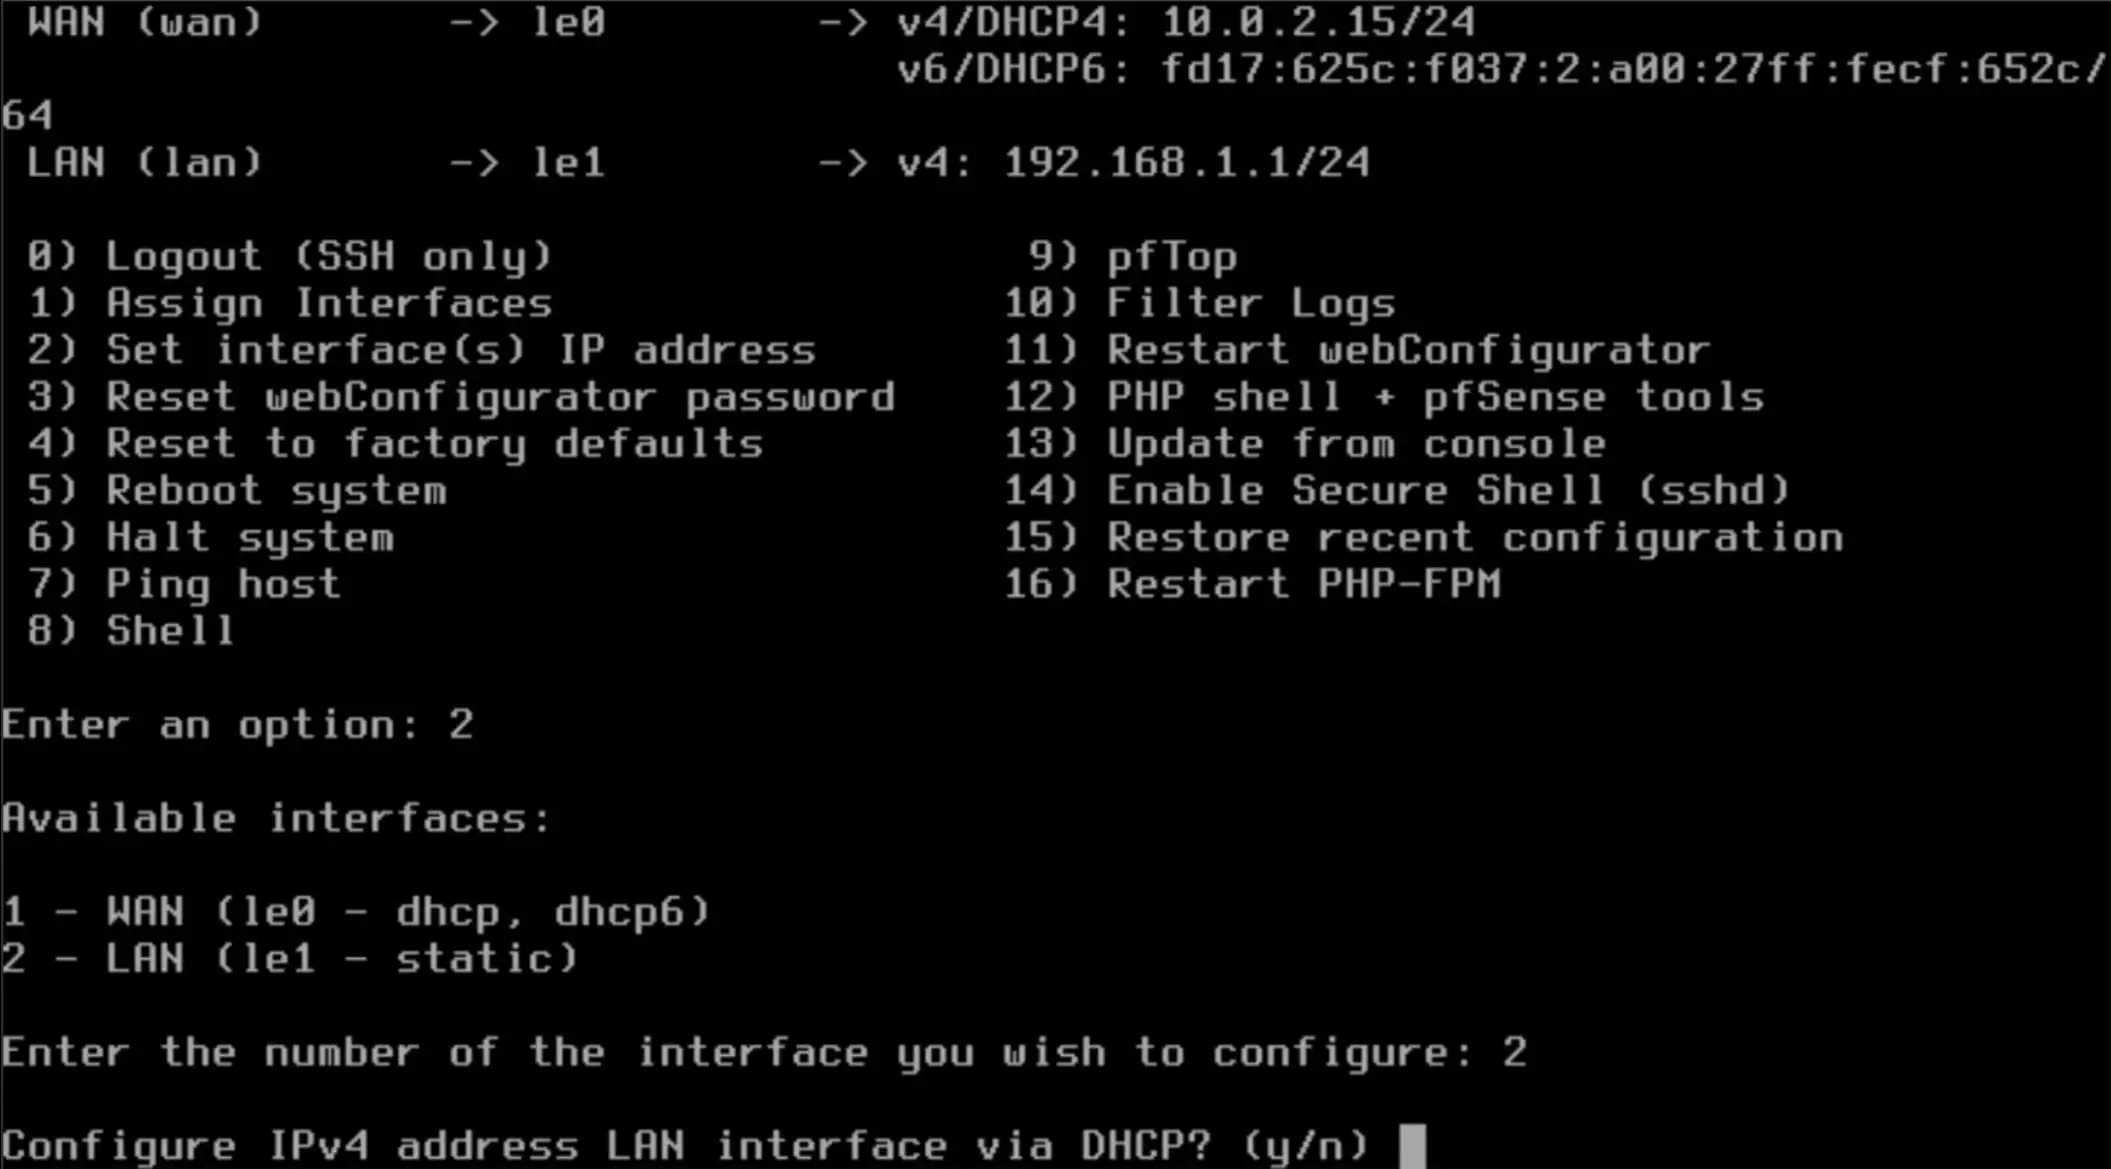
To change the LAN IP address, select option 2 from the menu.
When prompted “Configure IPv4 address LAN interface via DHCP?”
Enter n and press Enter.
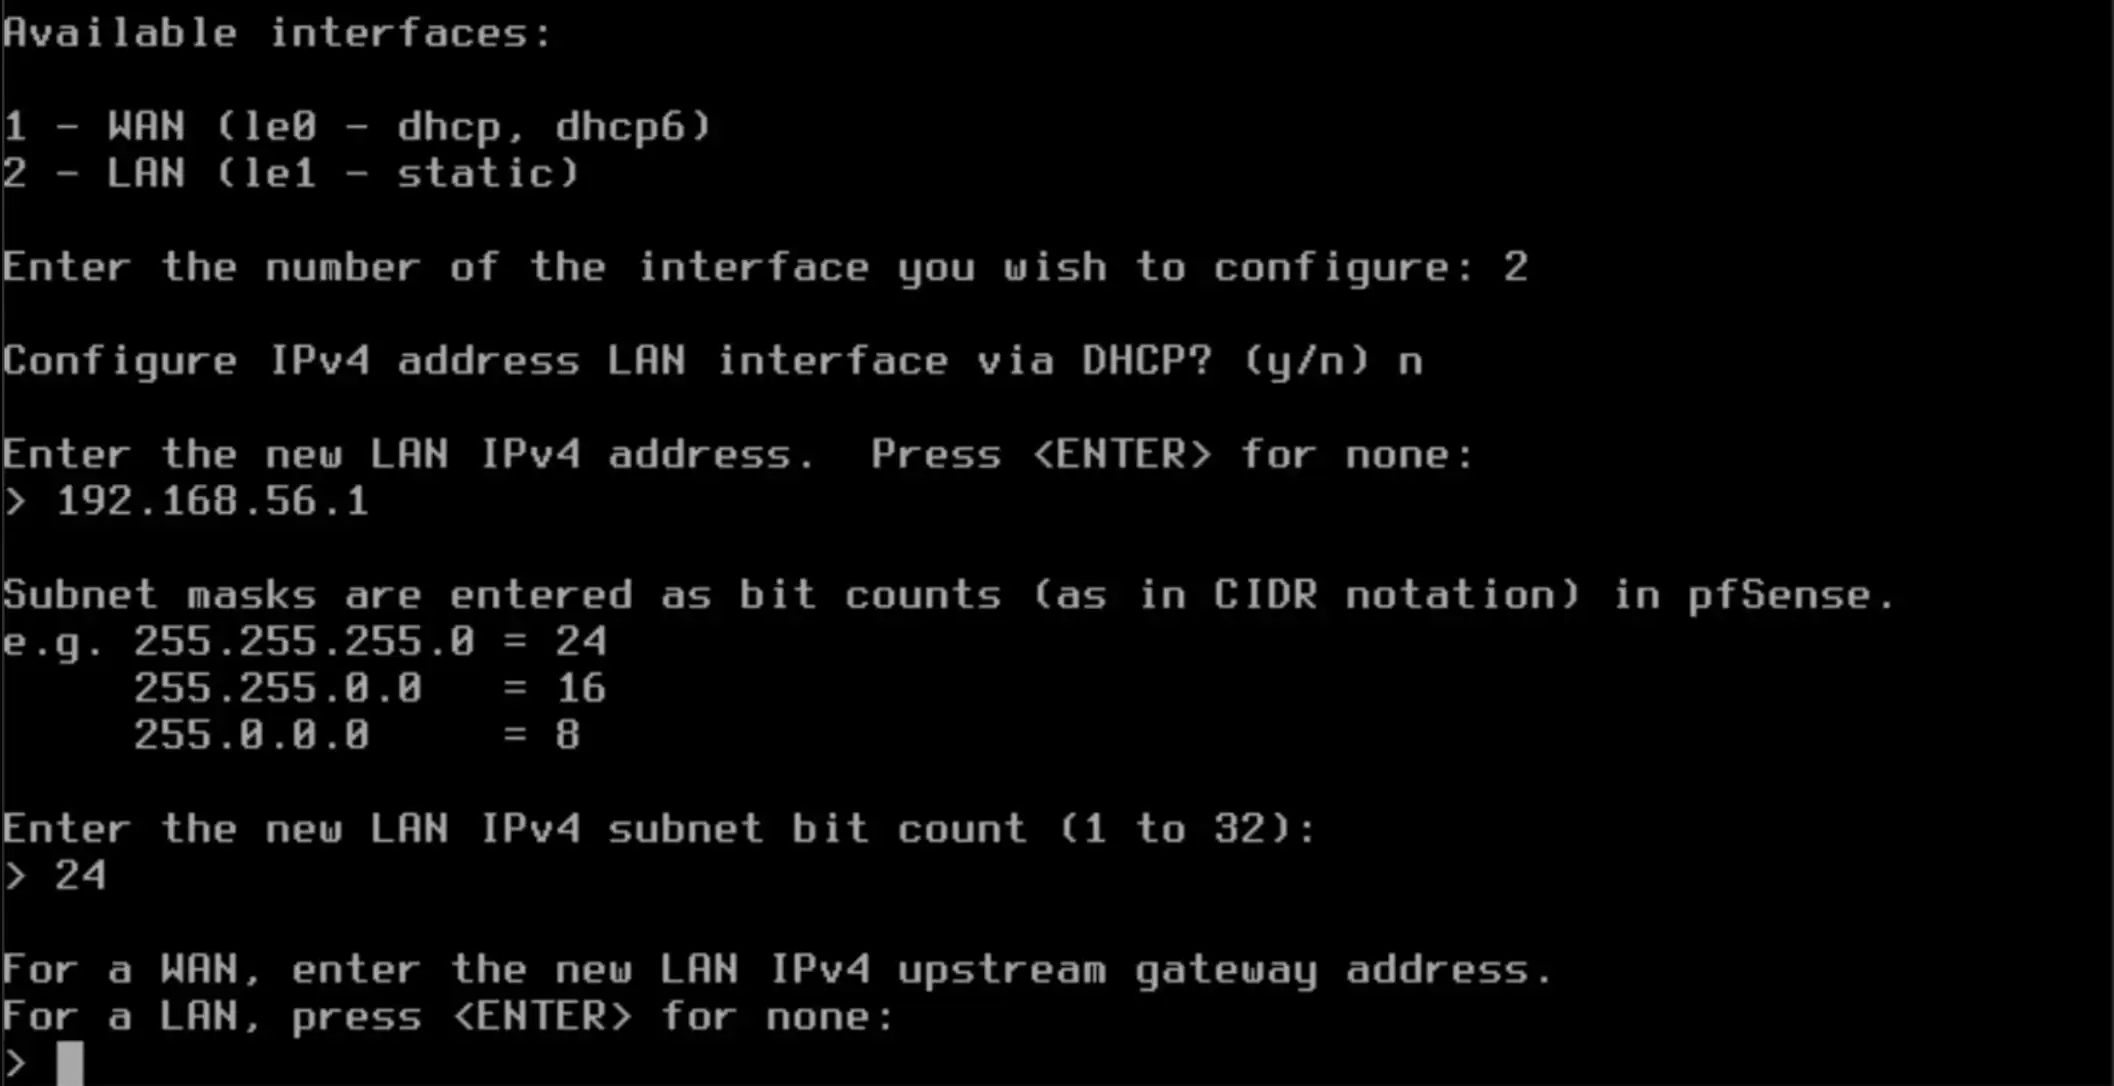
1.Enter the new LAN IPv4 address. Press Enter for none.
Type the LAN IP address you want to use. In this example, I will enter 192.168.56.1.
2.Enter the new LAN IPv4 subnet bit count (1 to 32).
Enter the subnet value. In this example, I will enter 24.
3.For a LAN, Press <ENTER> for none.
Just enter with blank.
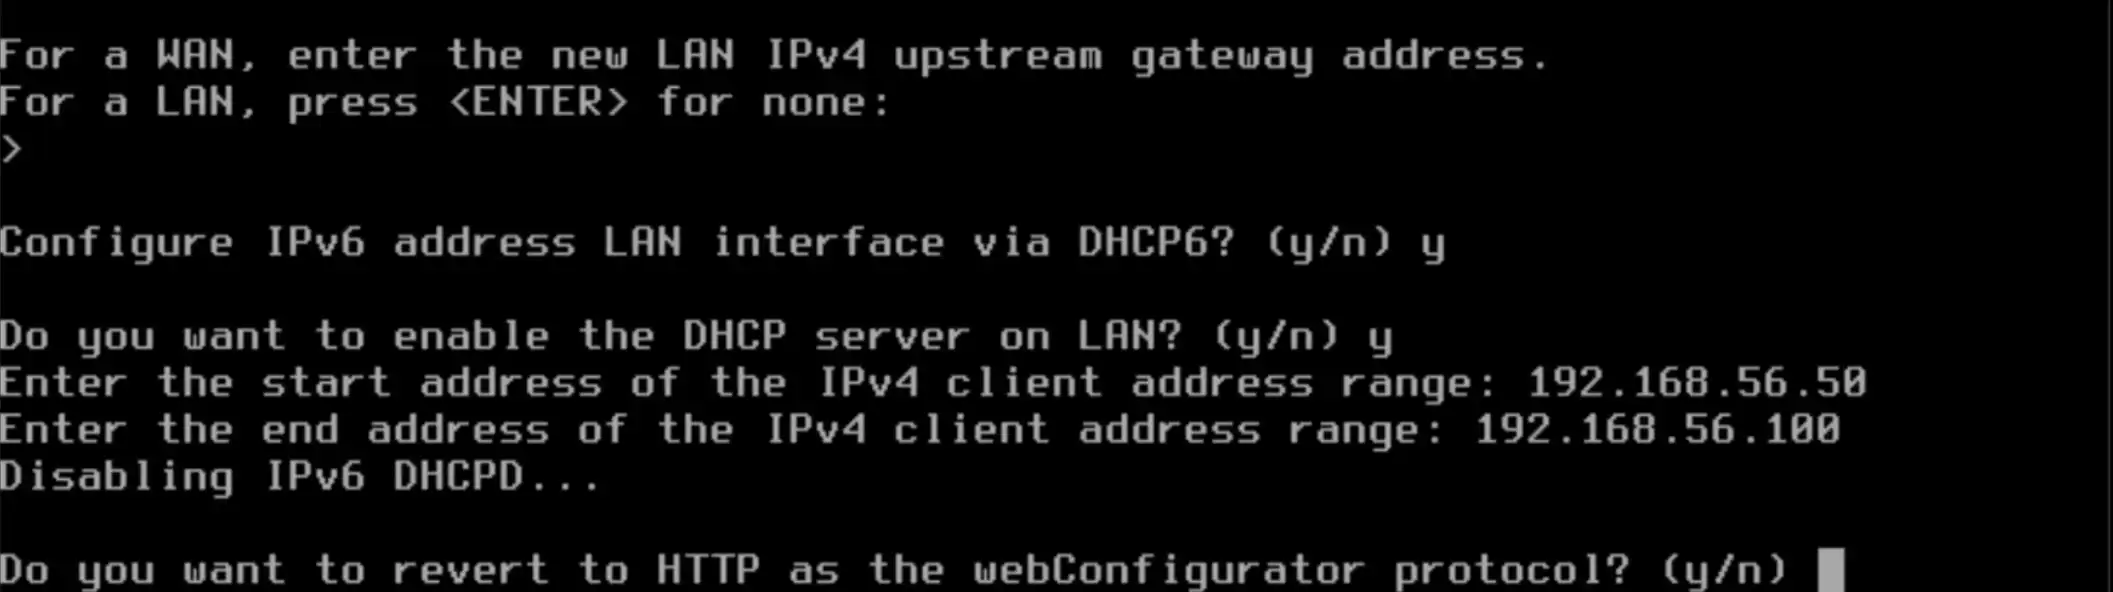
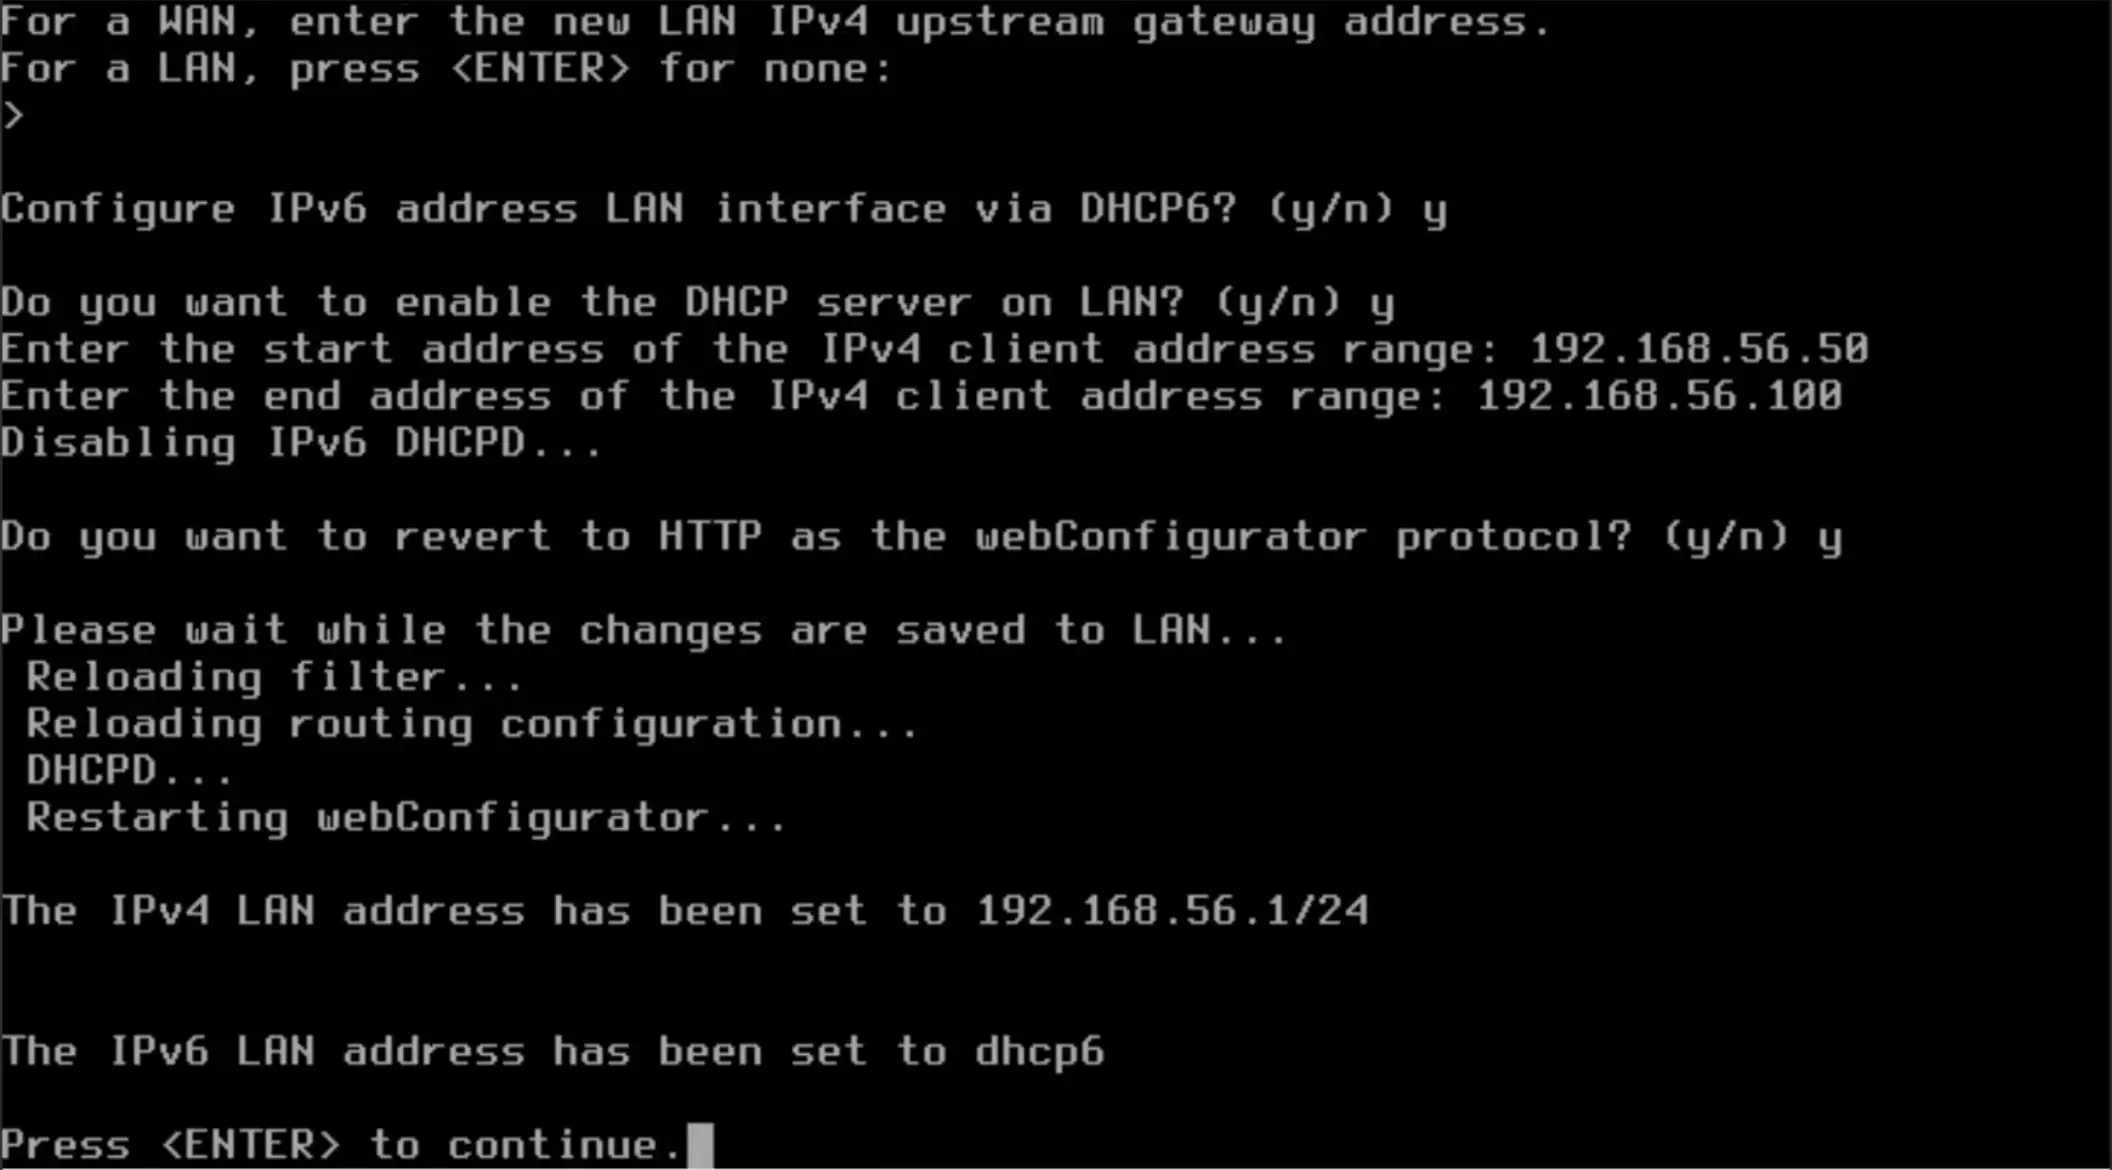
In this post, we will not configure IPv6 manually and will use DHCP6 instead.
1. When prompted “Configure IPv6 address LAN interface via DHCP6?”, type y and press Enter.
2. When prompted “Do you want to enable the DHCP server on LAN?”, type y and press Enter.
3. When prompted “Do you want to revert to HTTPS as the webConfigurator protocol?”, type y and press Enter.
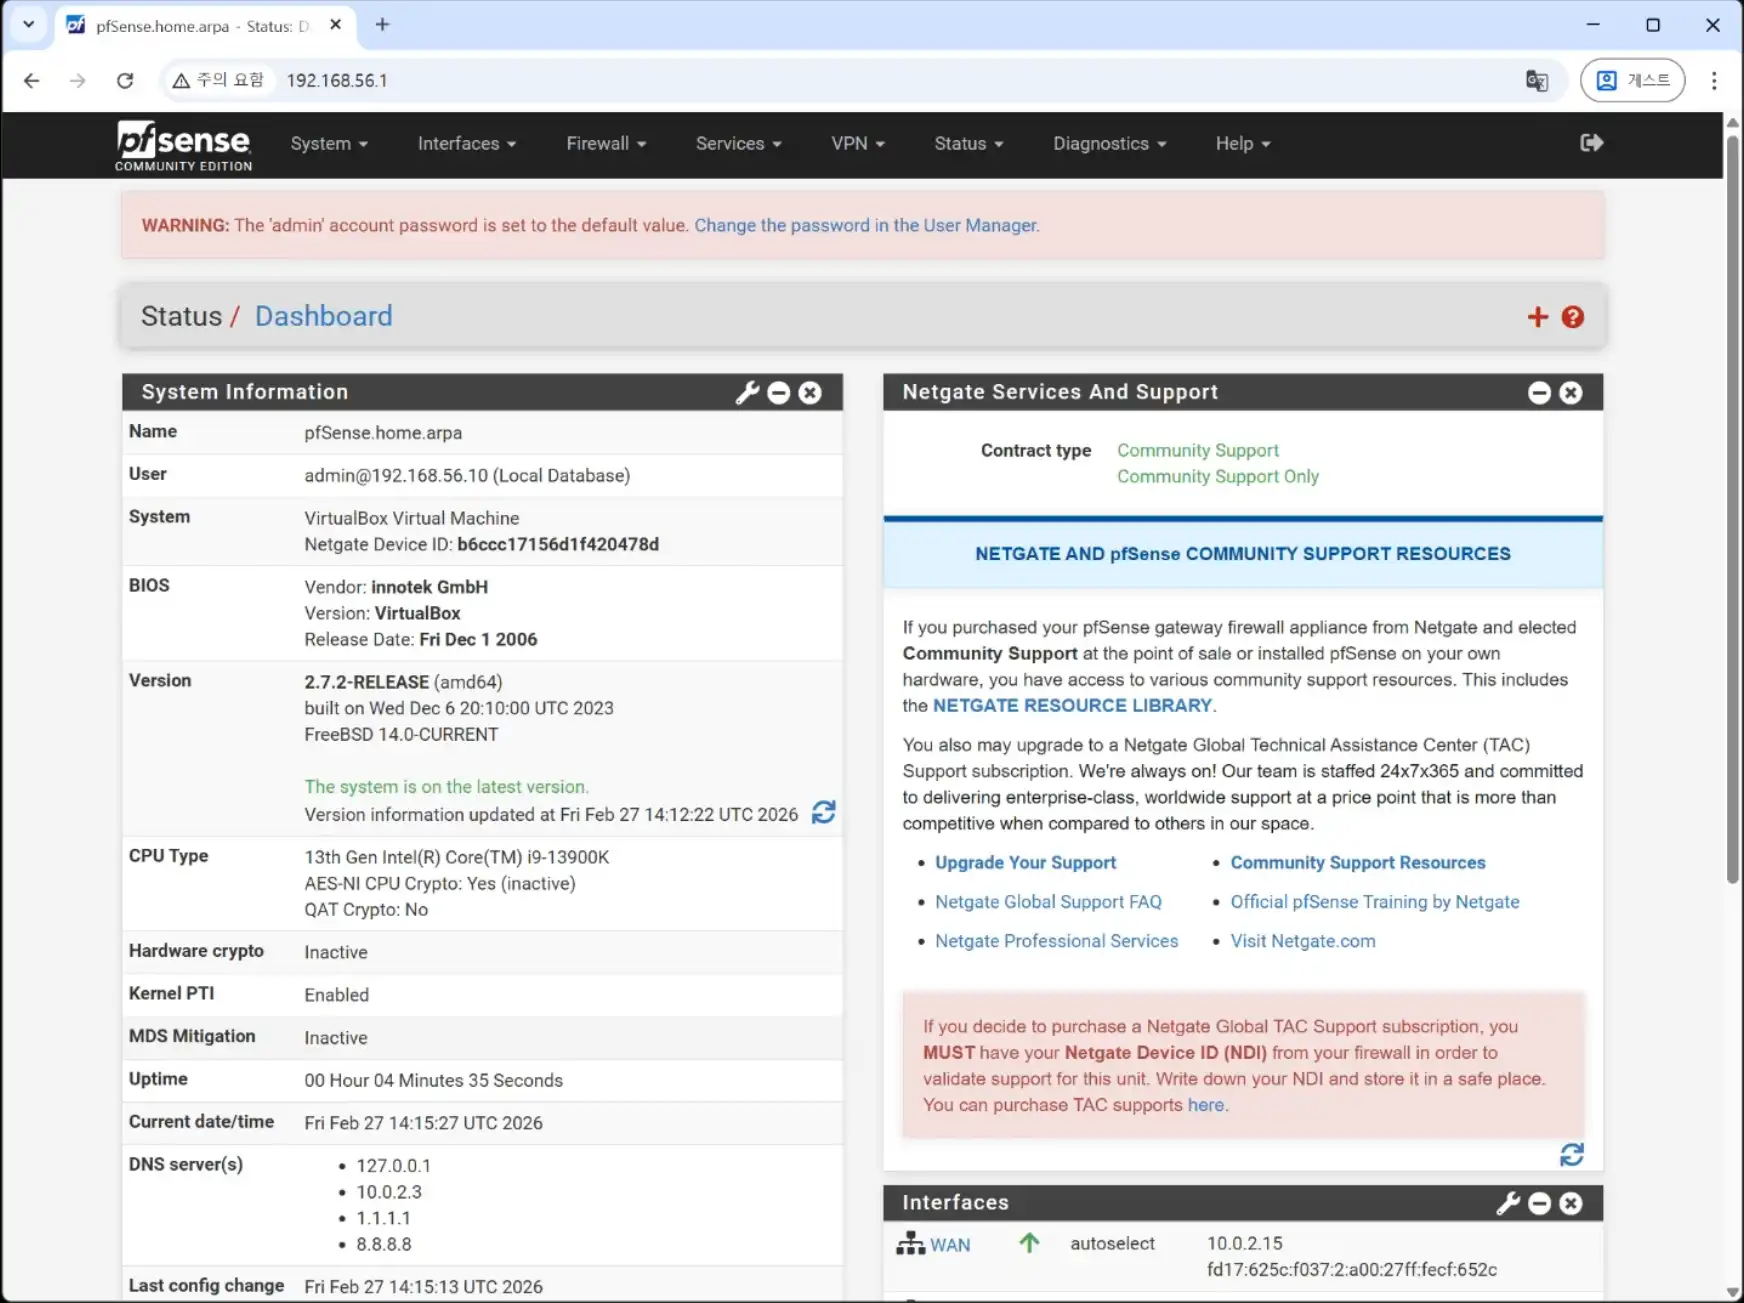
The basic setup is now complete. Let’s check the pfSense admin interface.
Step 4: Final Configure the pfSense
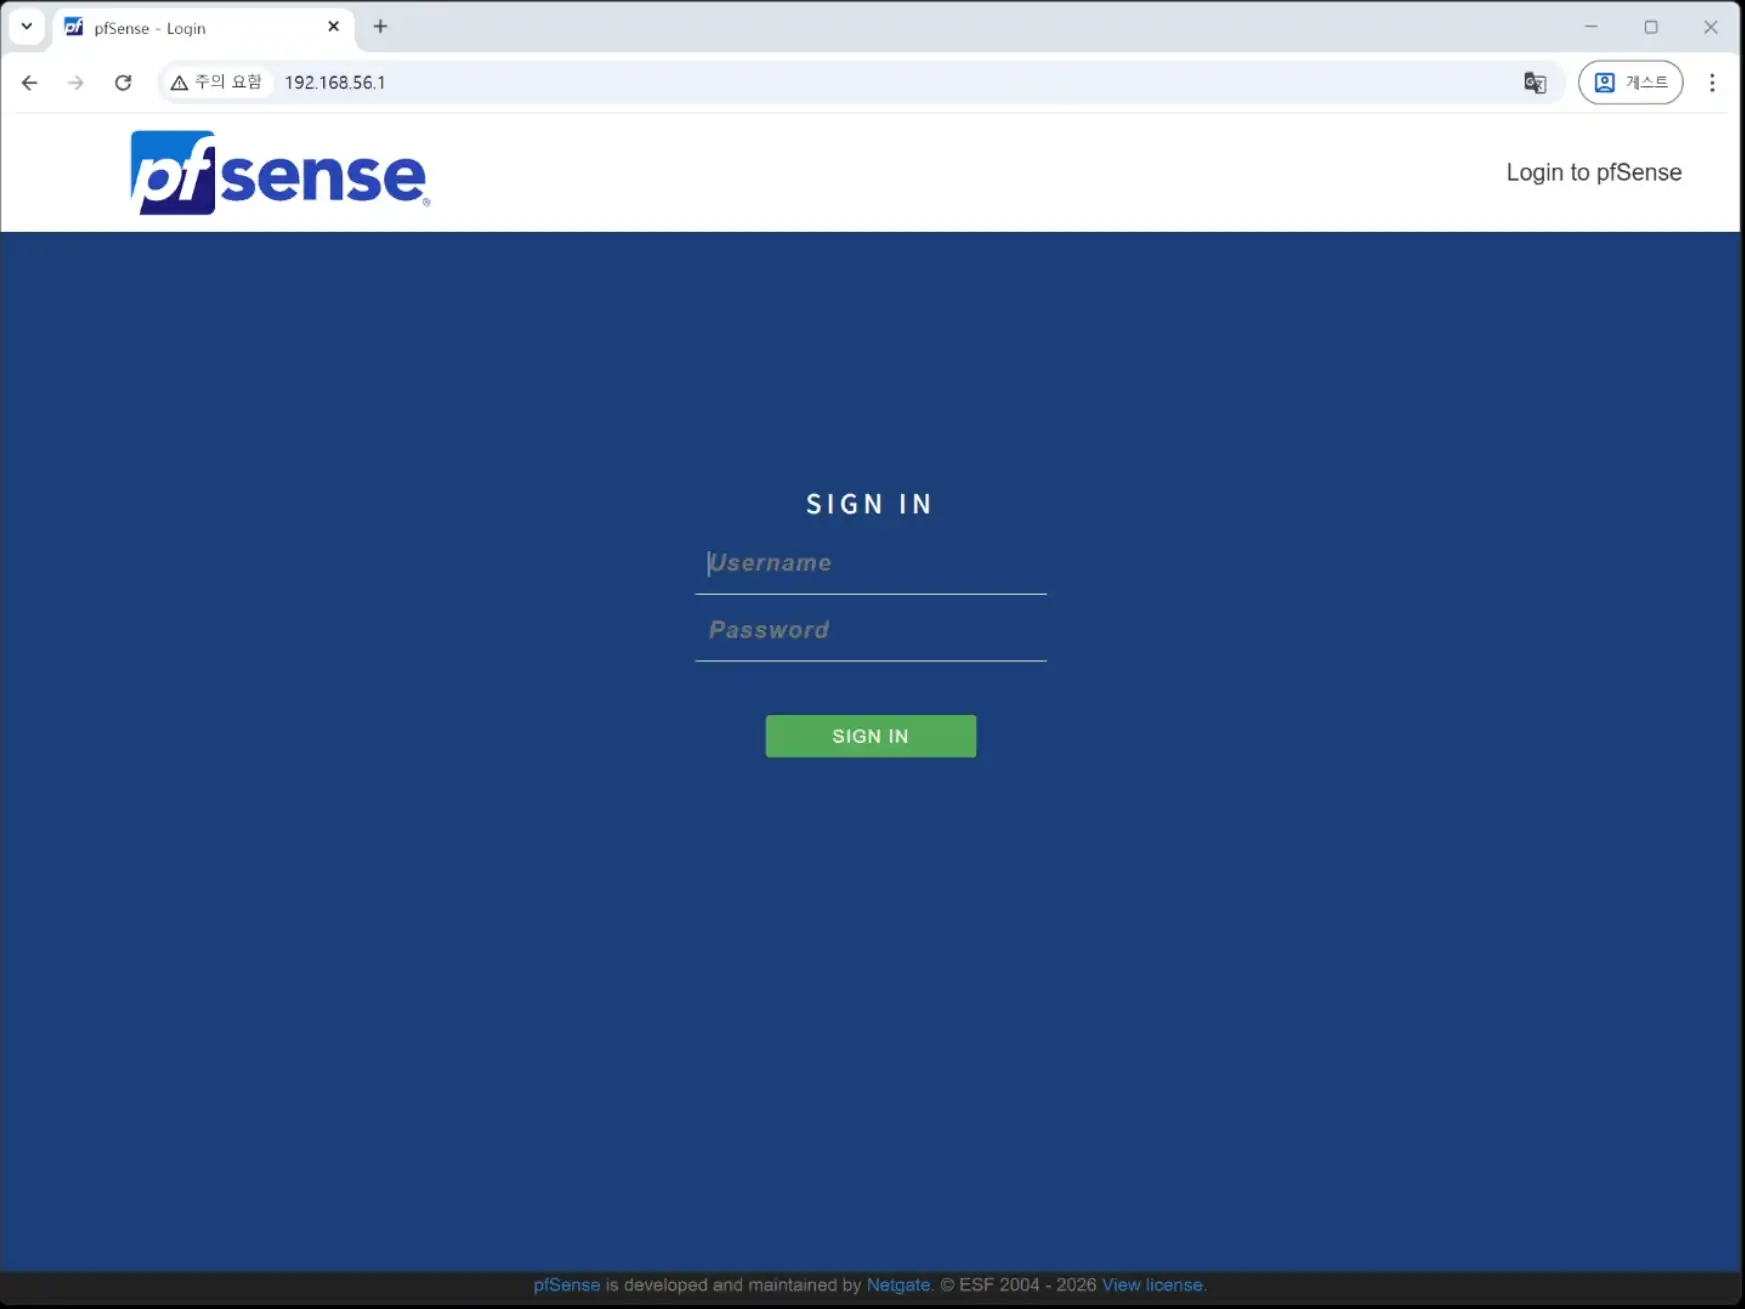
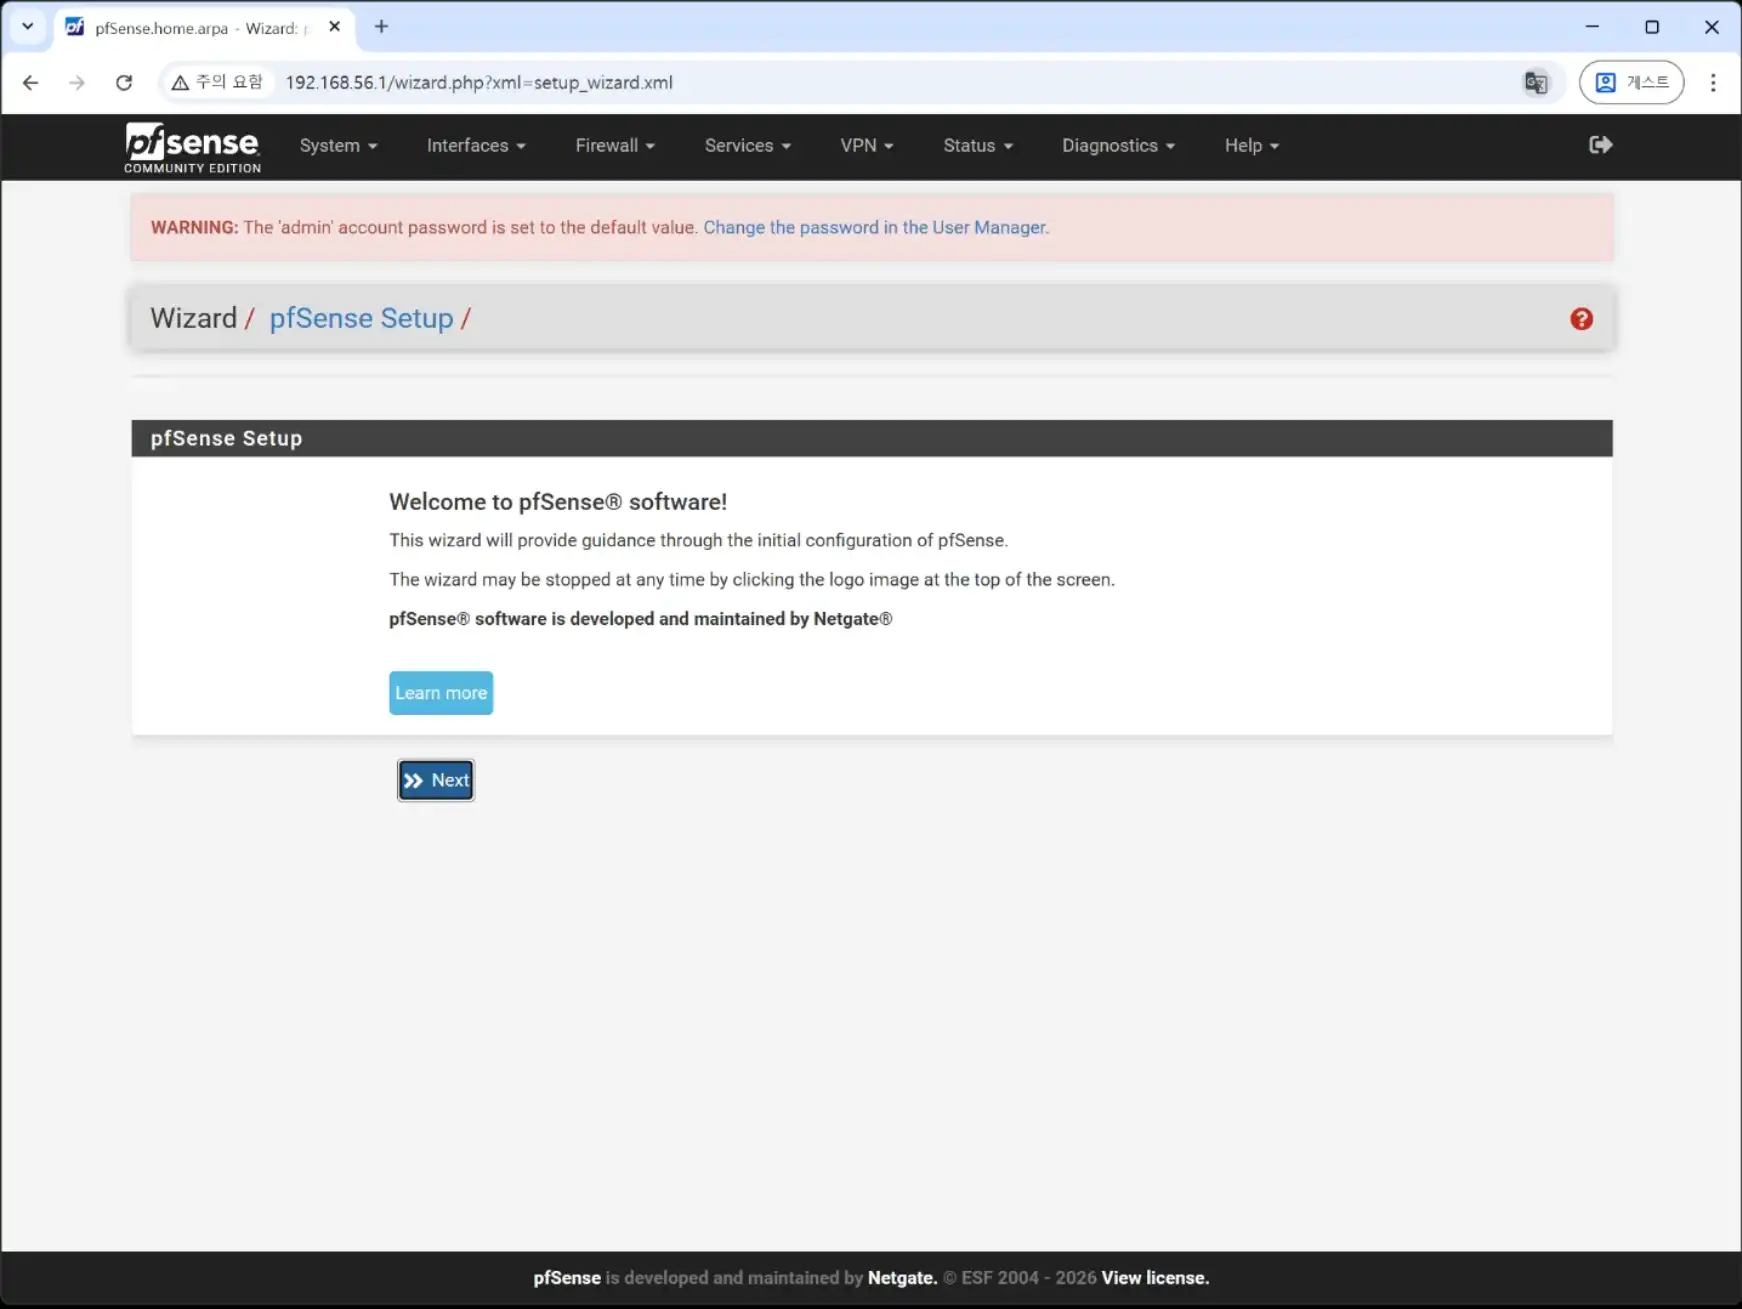
Enter http://192.168.56.1/ in your web browser.
This is the LAN IP address that you configured earlier.
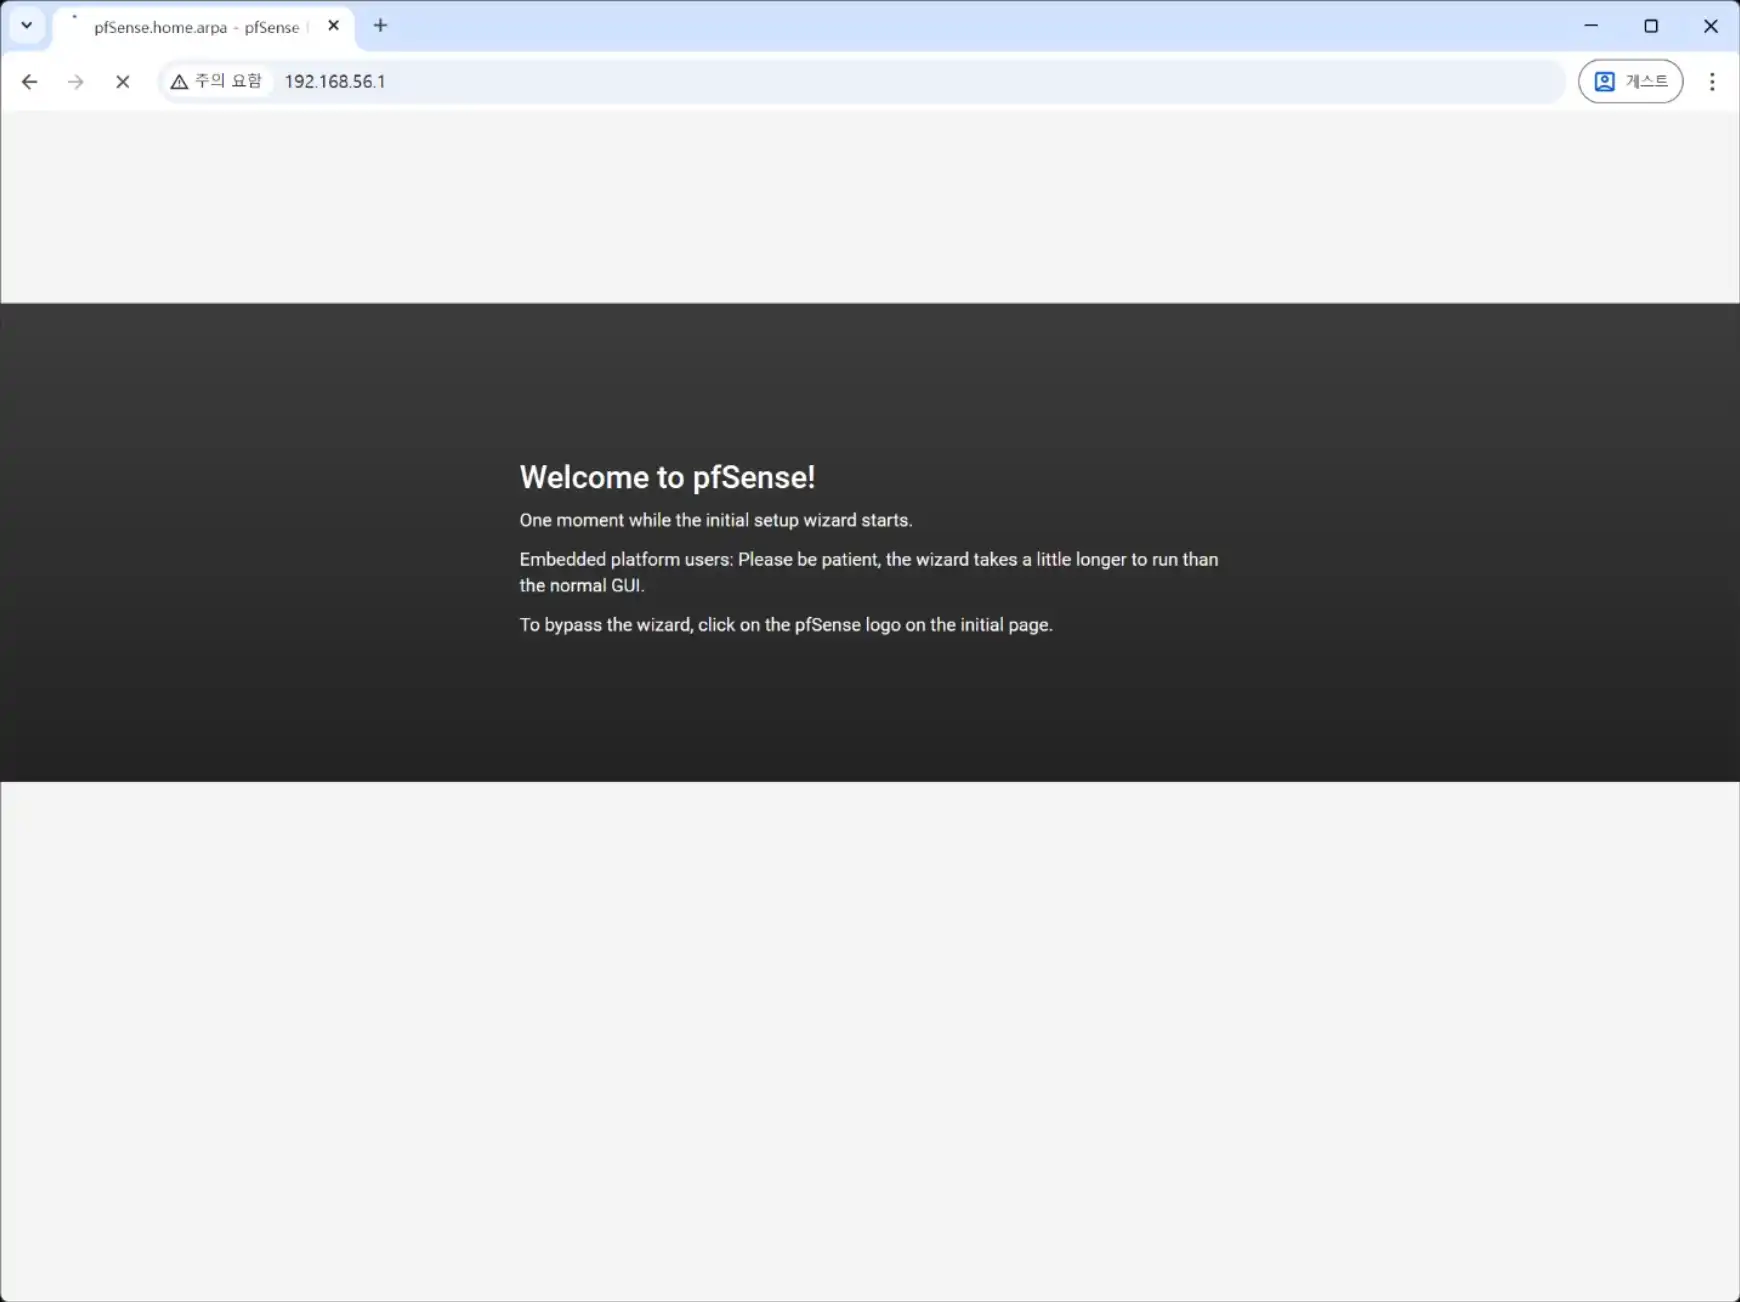
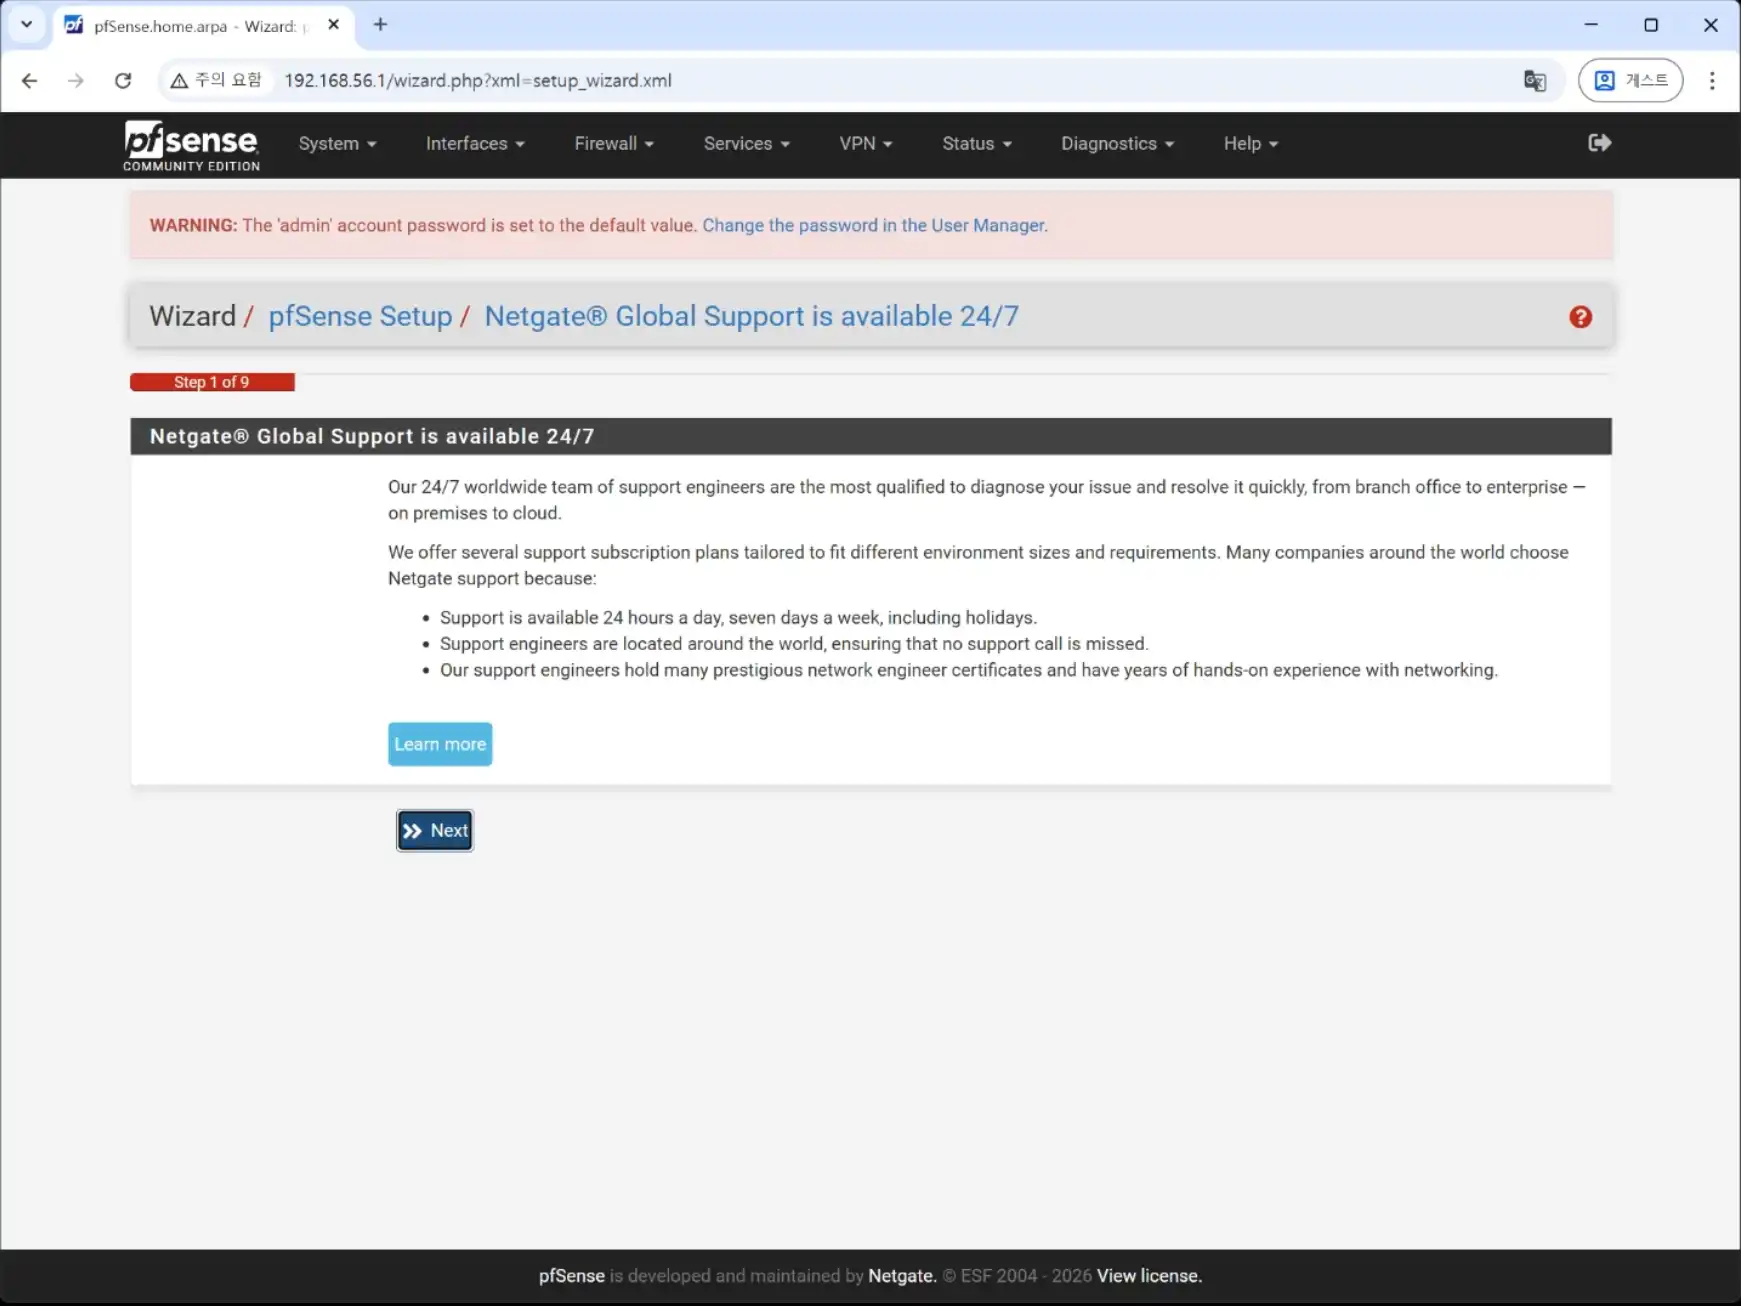
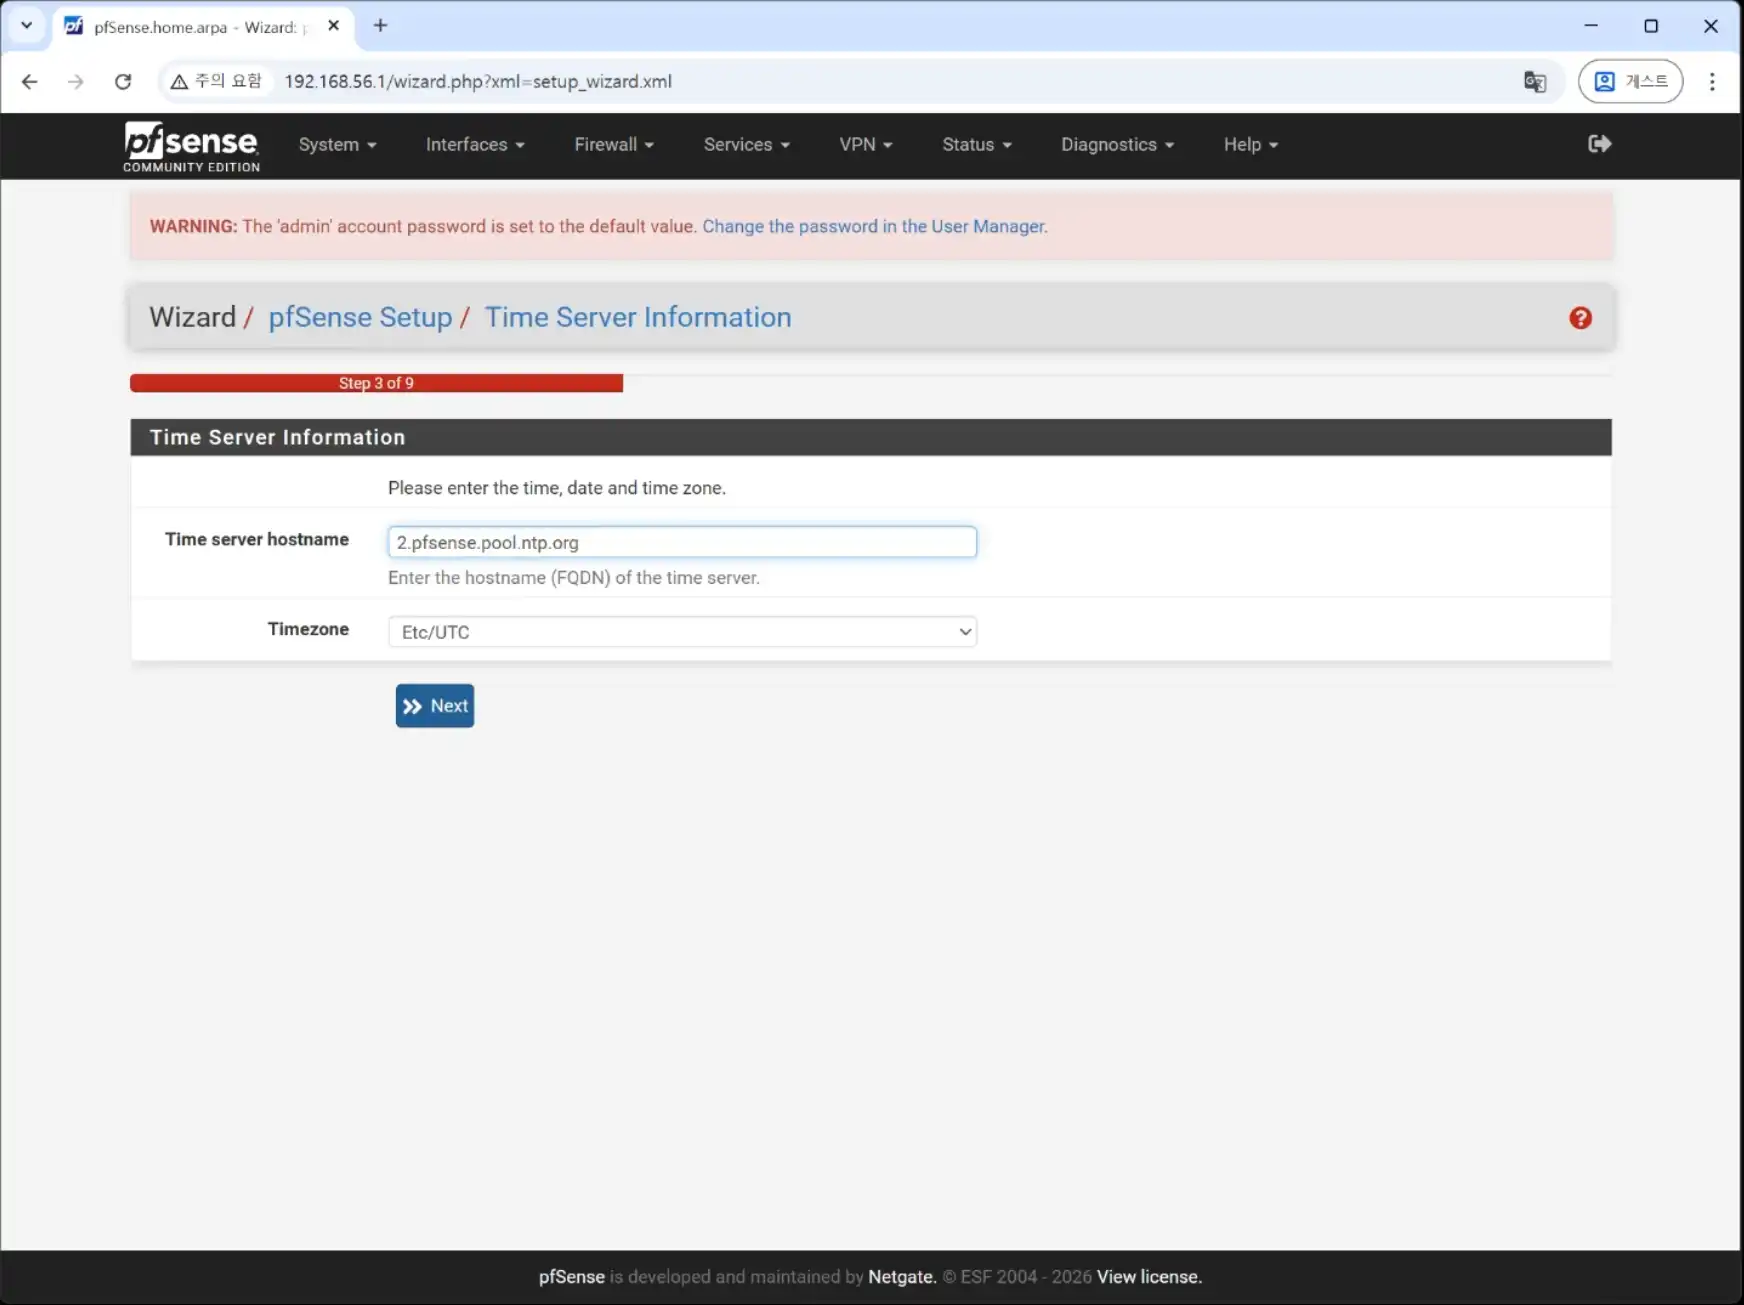
Click Next Button.
Click Next Button.
You can change the hostname to whatever you want.
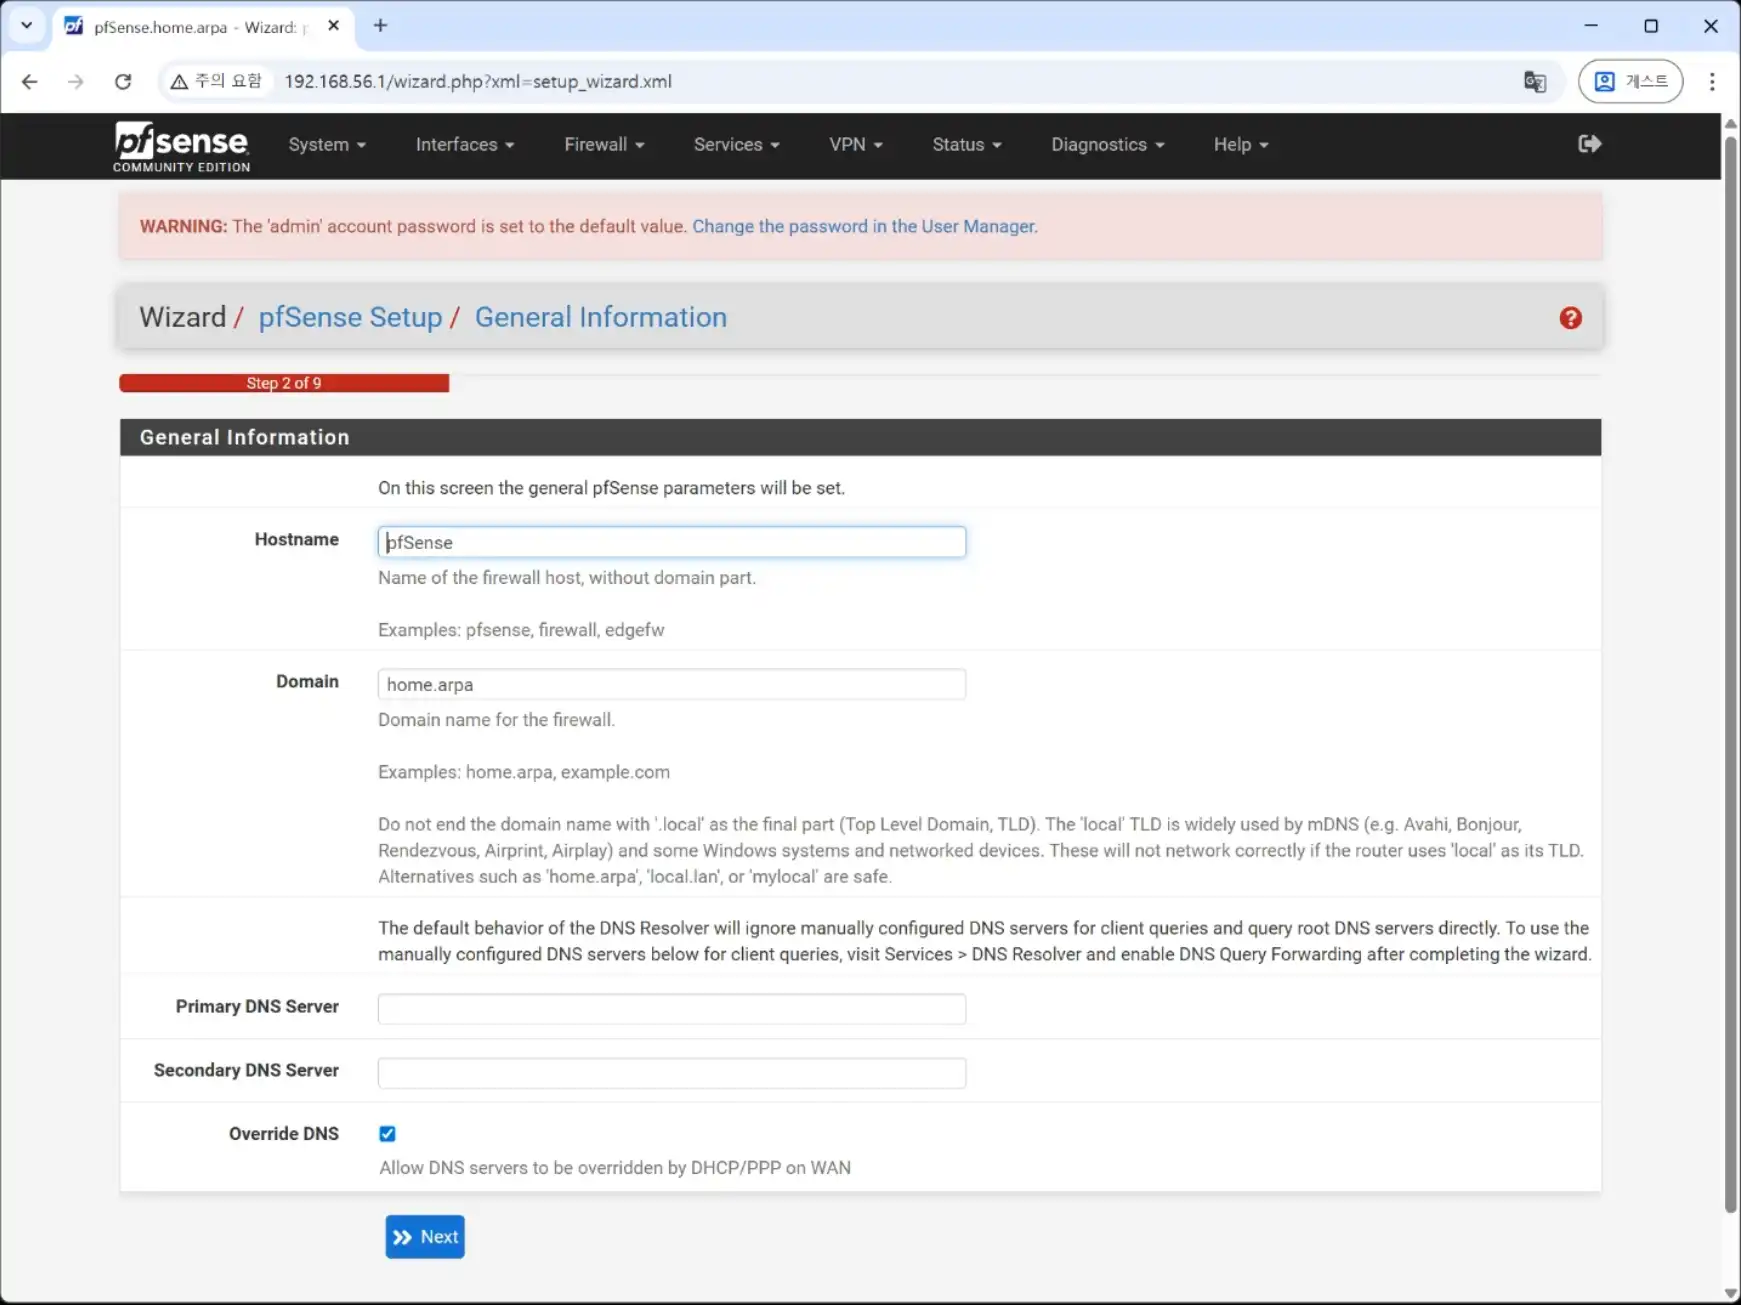
For the DNS server, I set 1.1.1.1 and 8.8.8.8.
These are the DNS servers from Cloudflare and Google.
Check “Override DNS”.
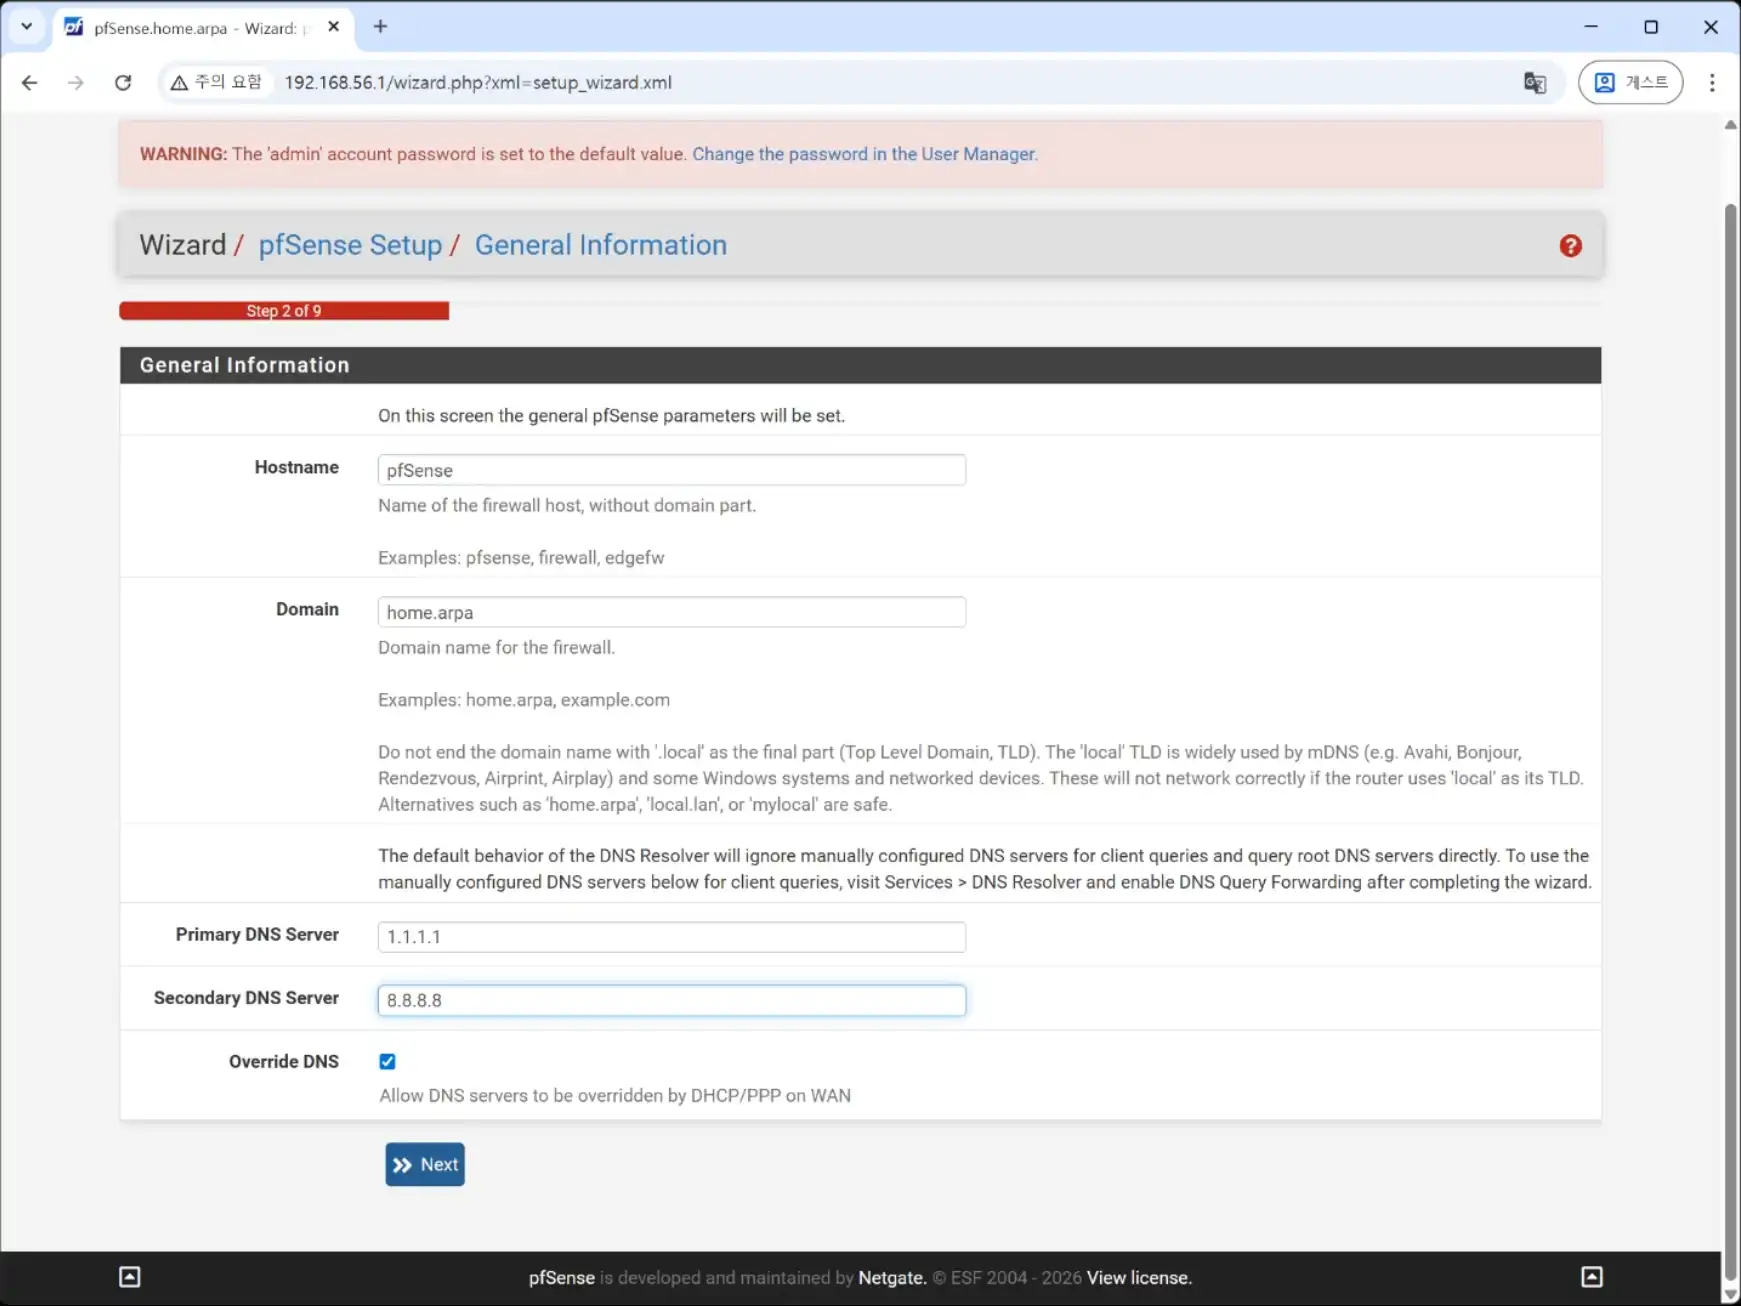
Click Next Button.
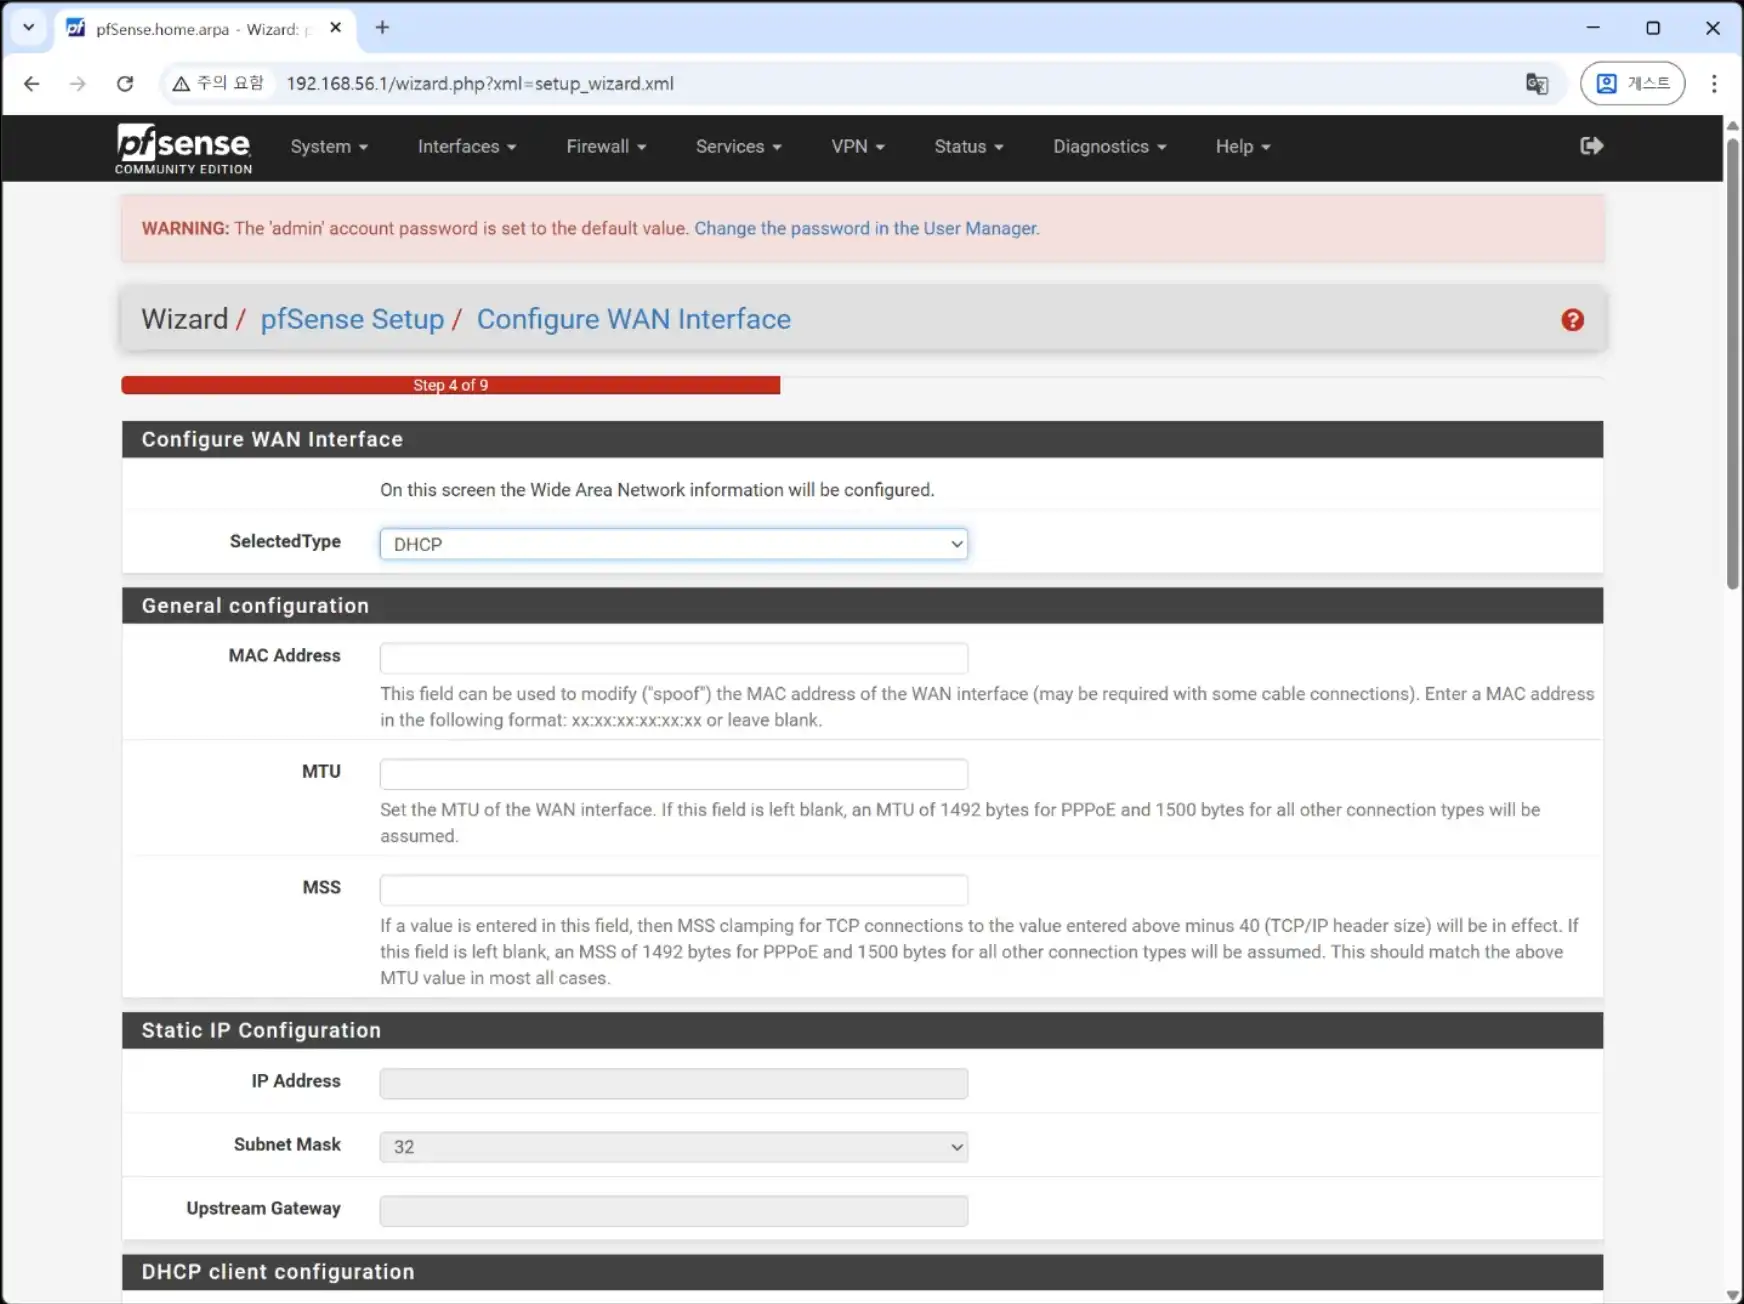
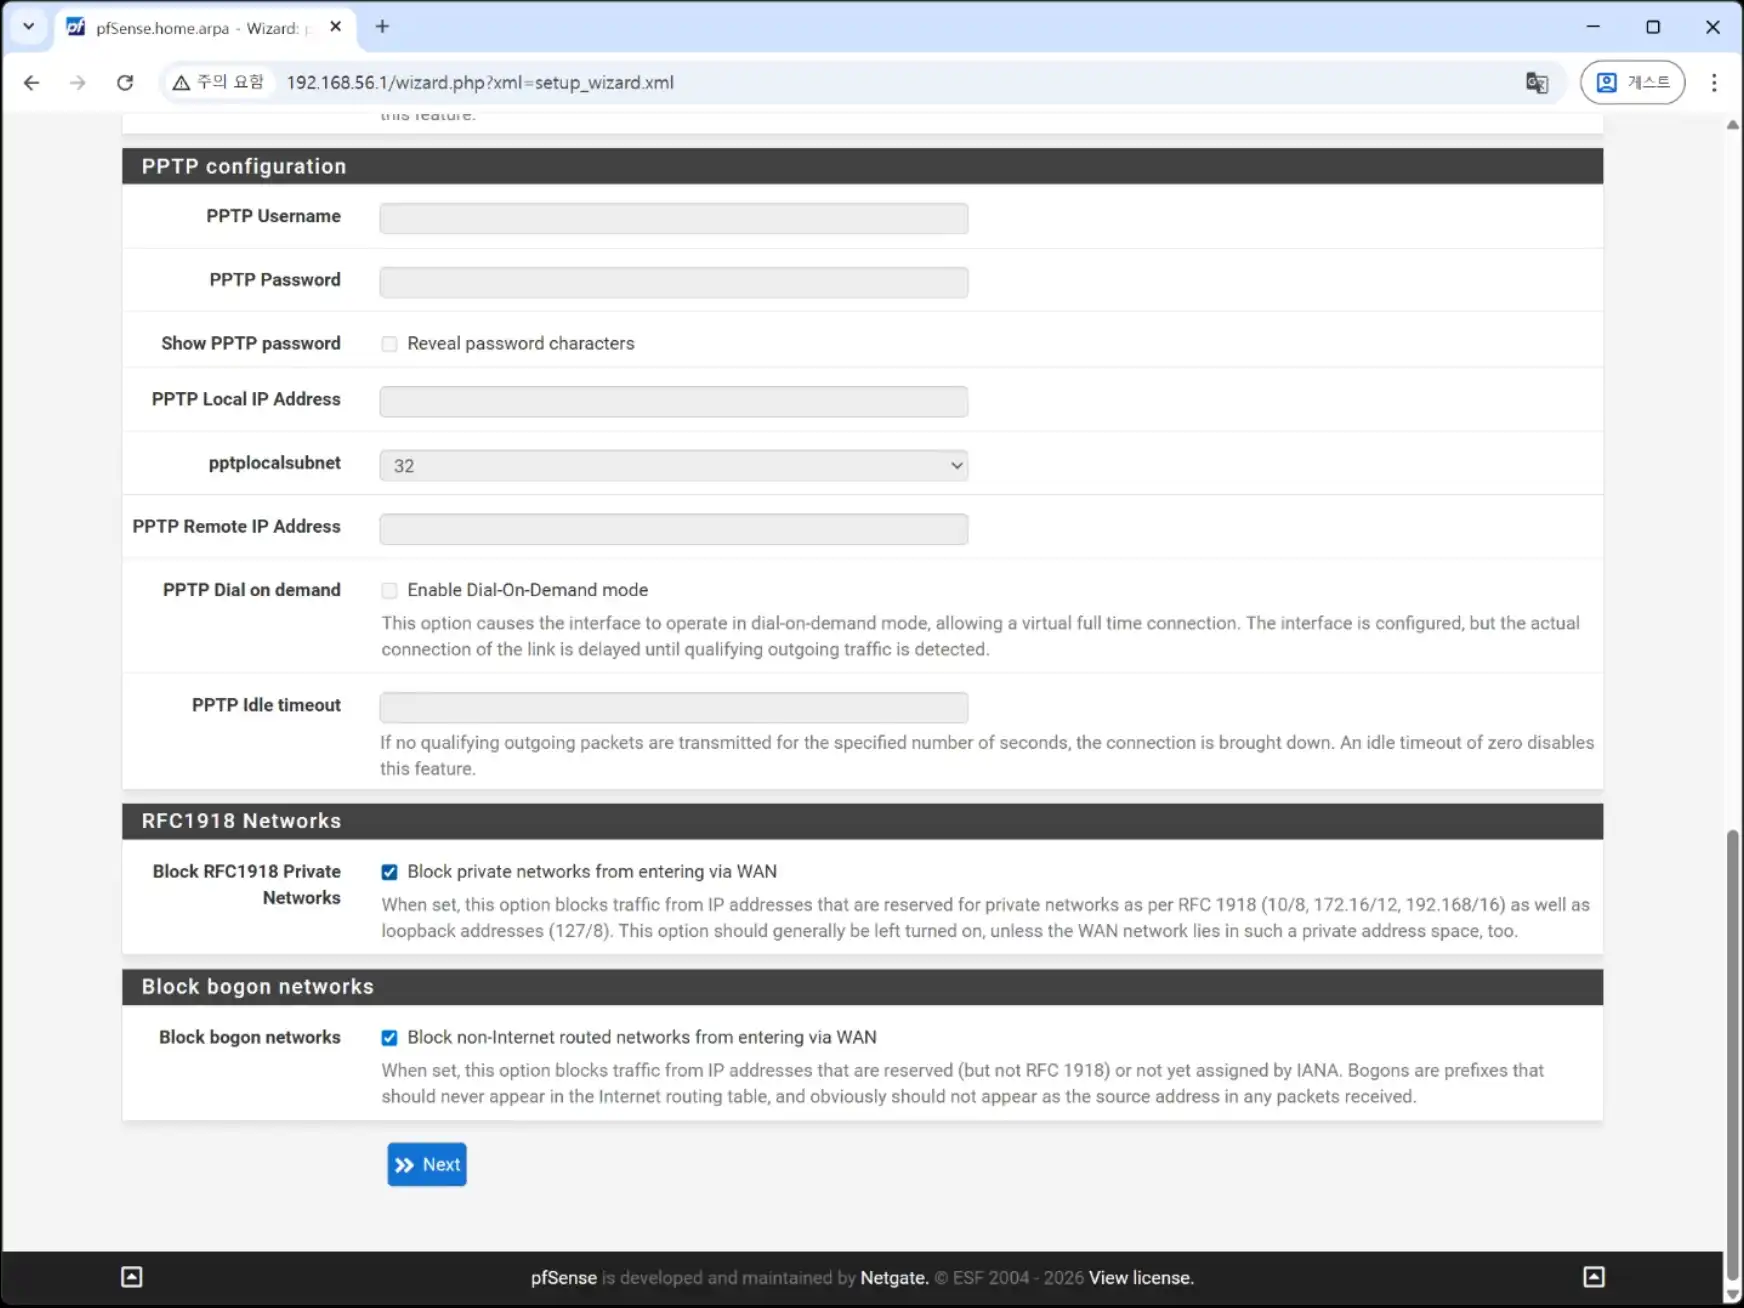
Check “Block RFC1918 Private Networks” – Block private networks from entering via WAN.
Check “Block Bogon Networks” – Block non-Internet-routed networks from entering via WAN.
Then click Next.
-Block RFC1918 Private Networks: Prevents private network IP addresses
(such as 192.168.x.x or 10.x.x.x) from accessing your WAN interface.
-Block Bogon Networks: Blocks IP ranges that are not assigned
or routed on the public Internet.
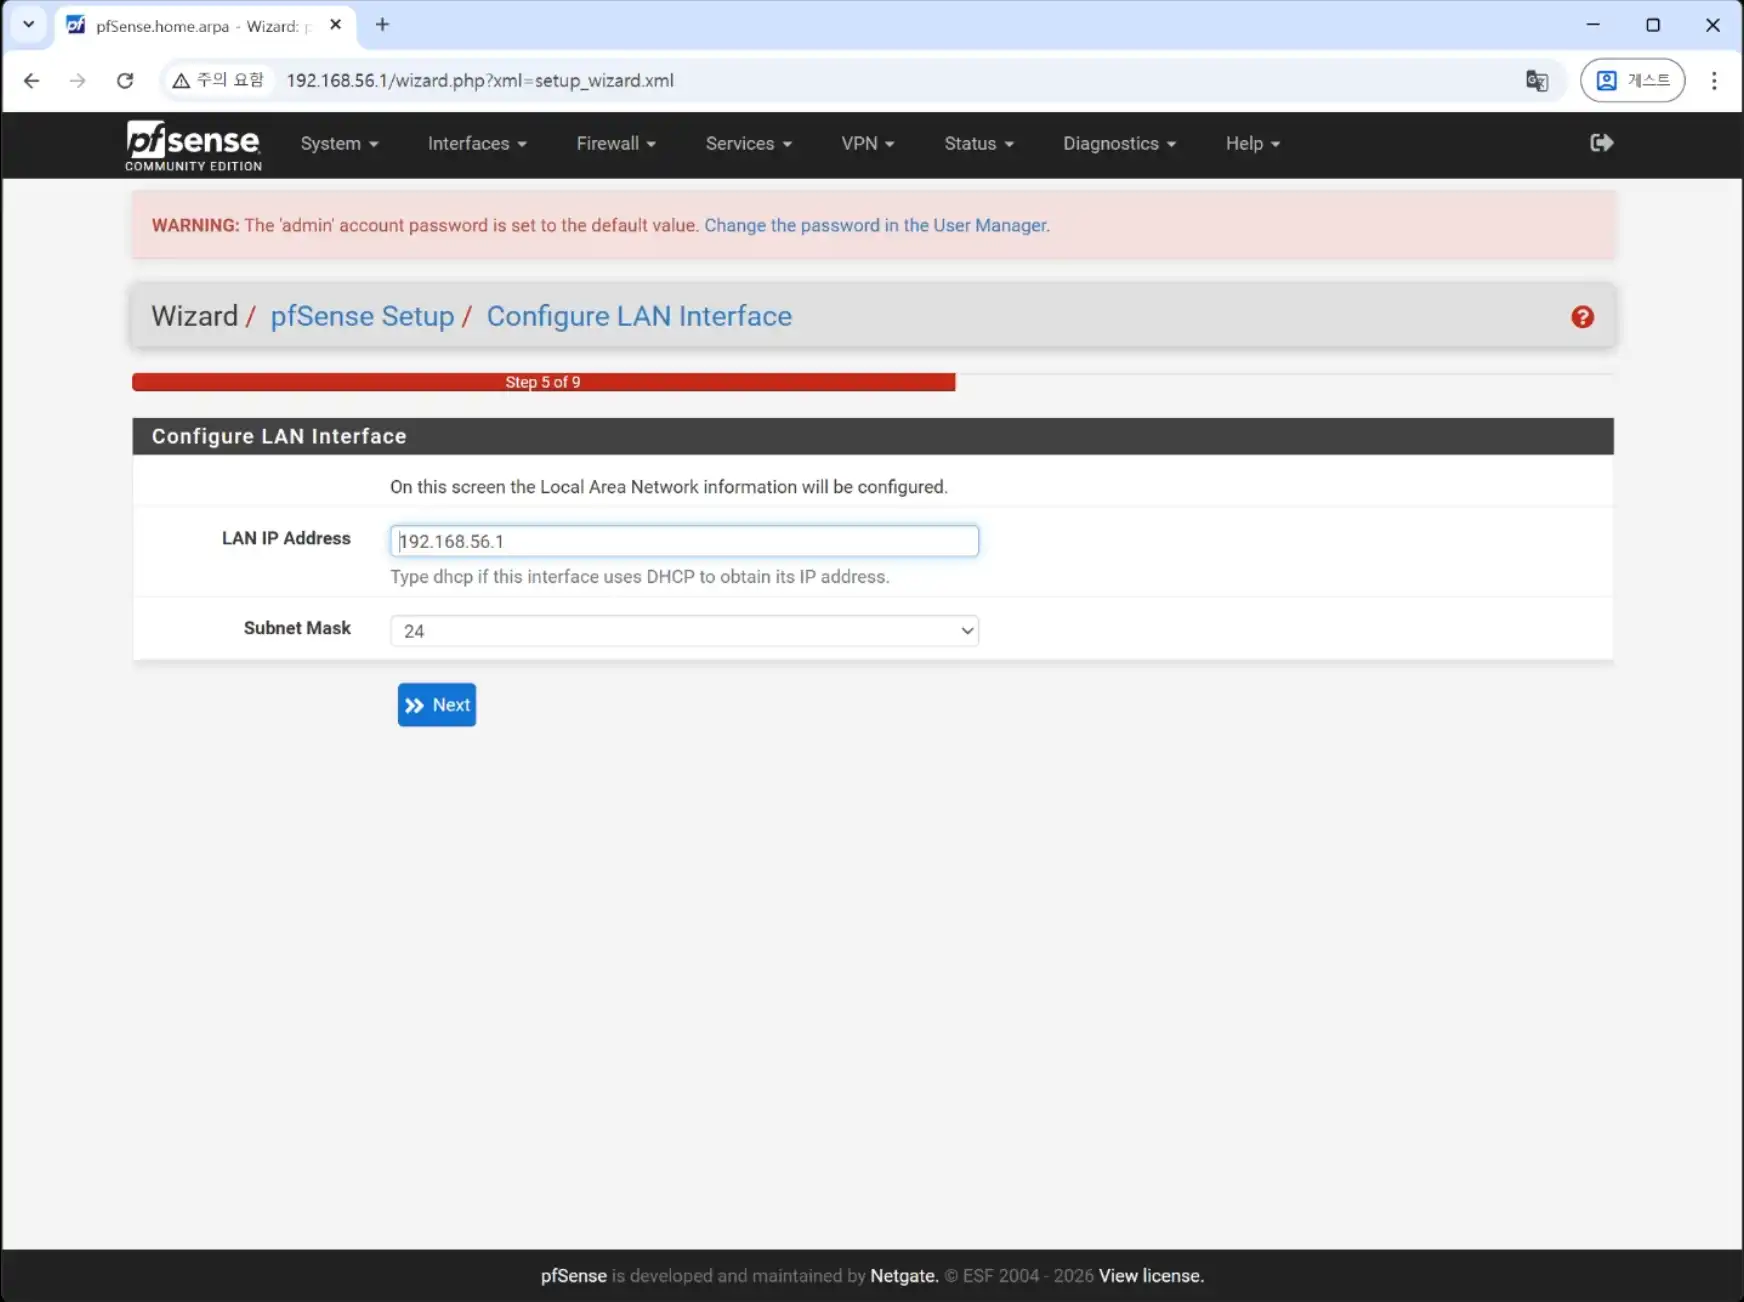
If you want to change the LAN IP address, enter the IP address you want to use.
Otherwise, click Next.
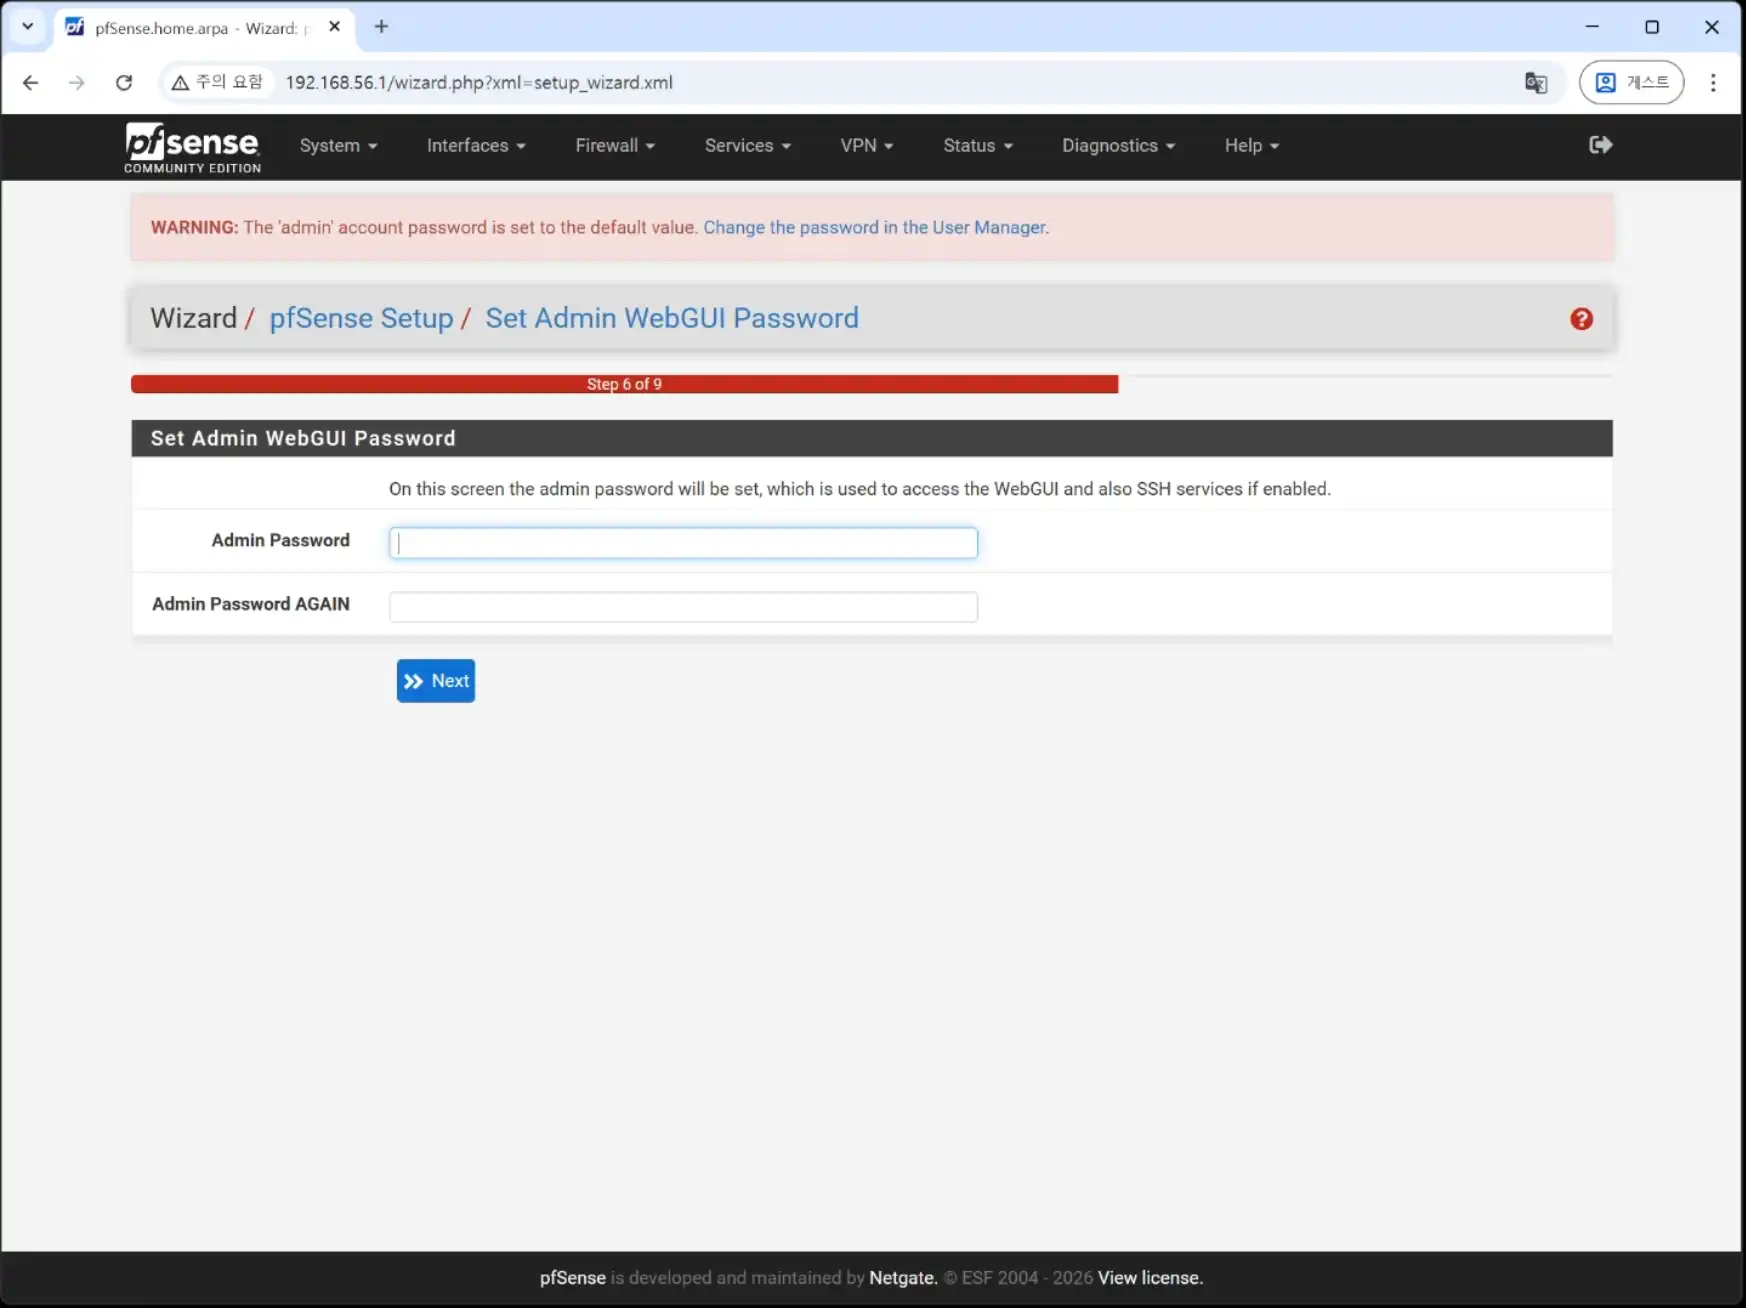
Set the admin password, then click Next.
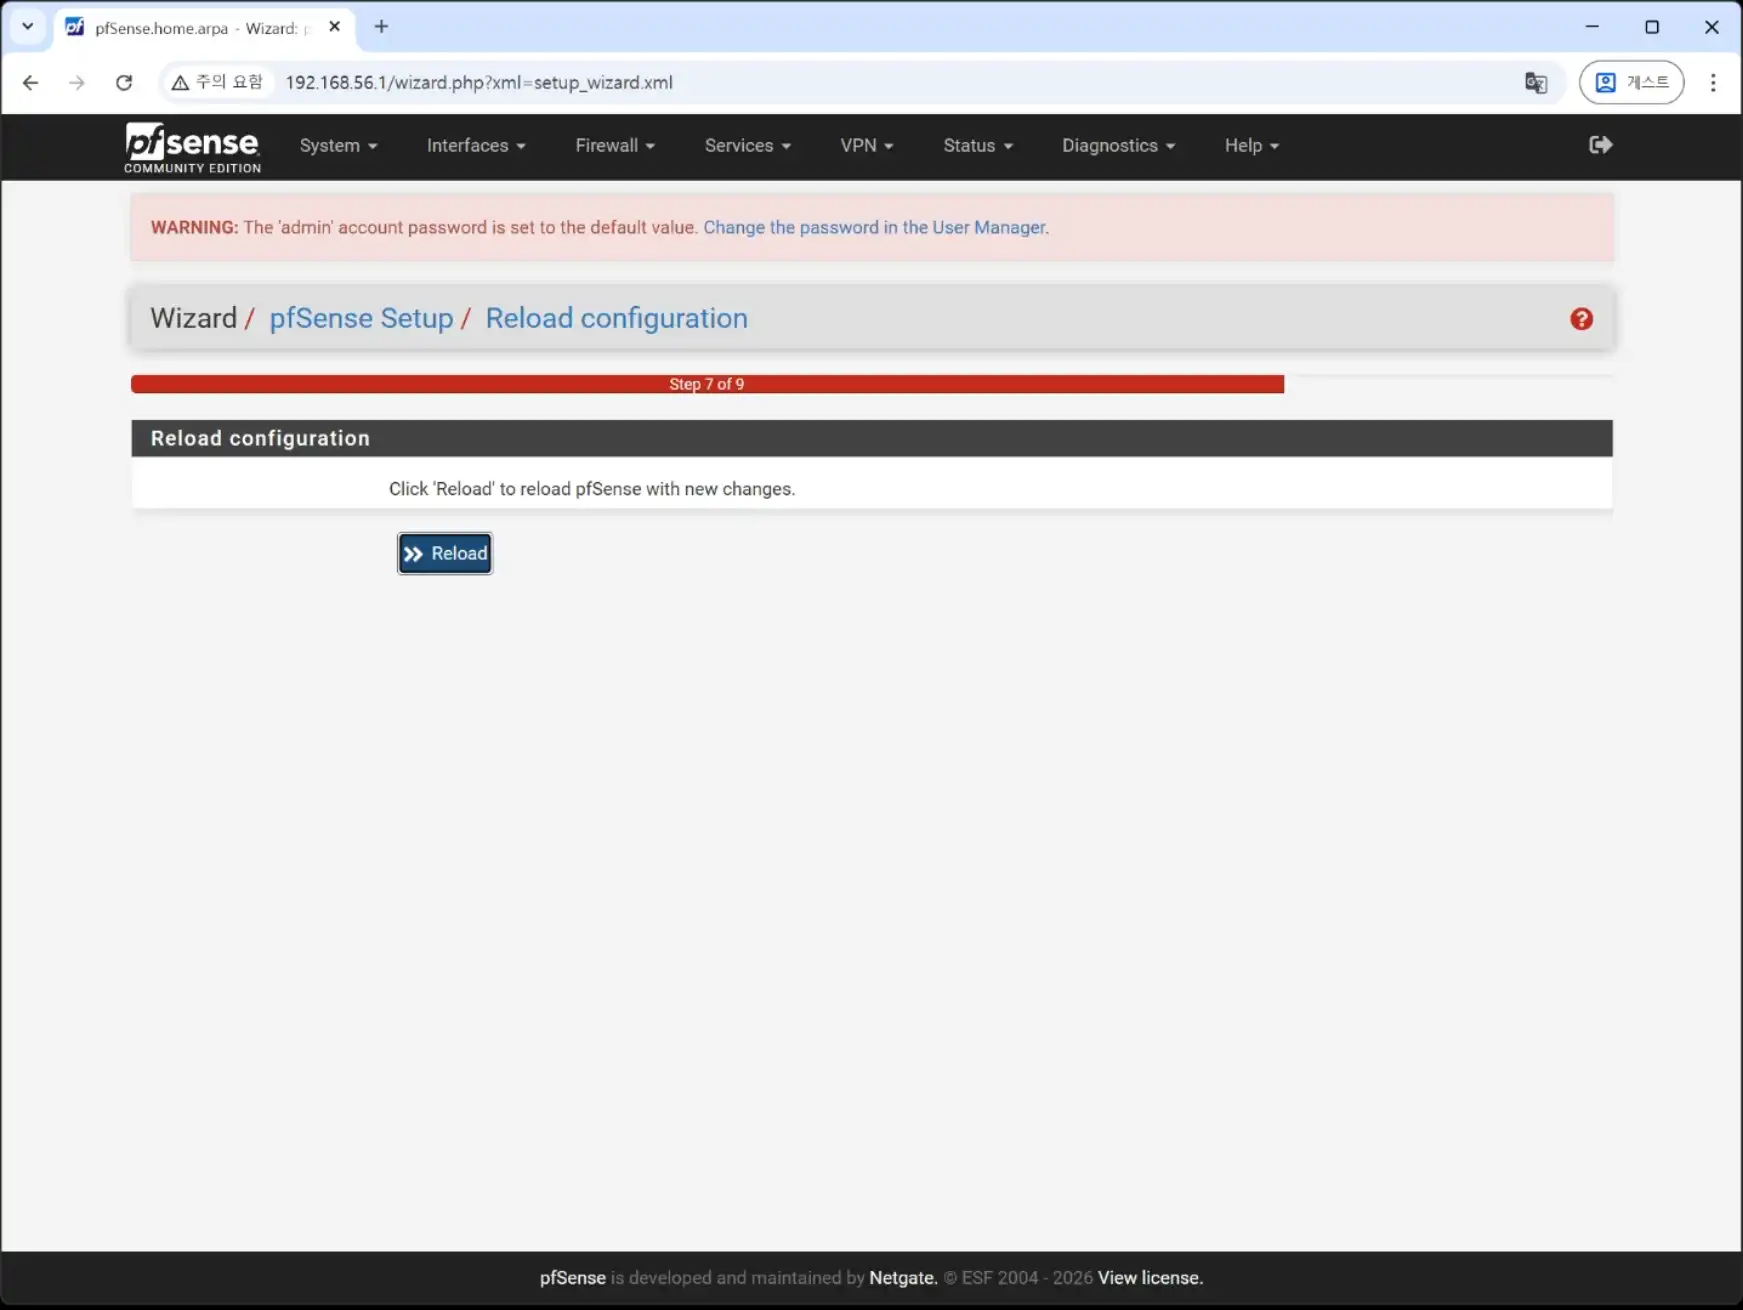
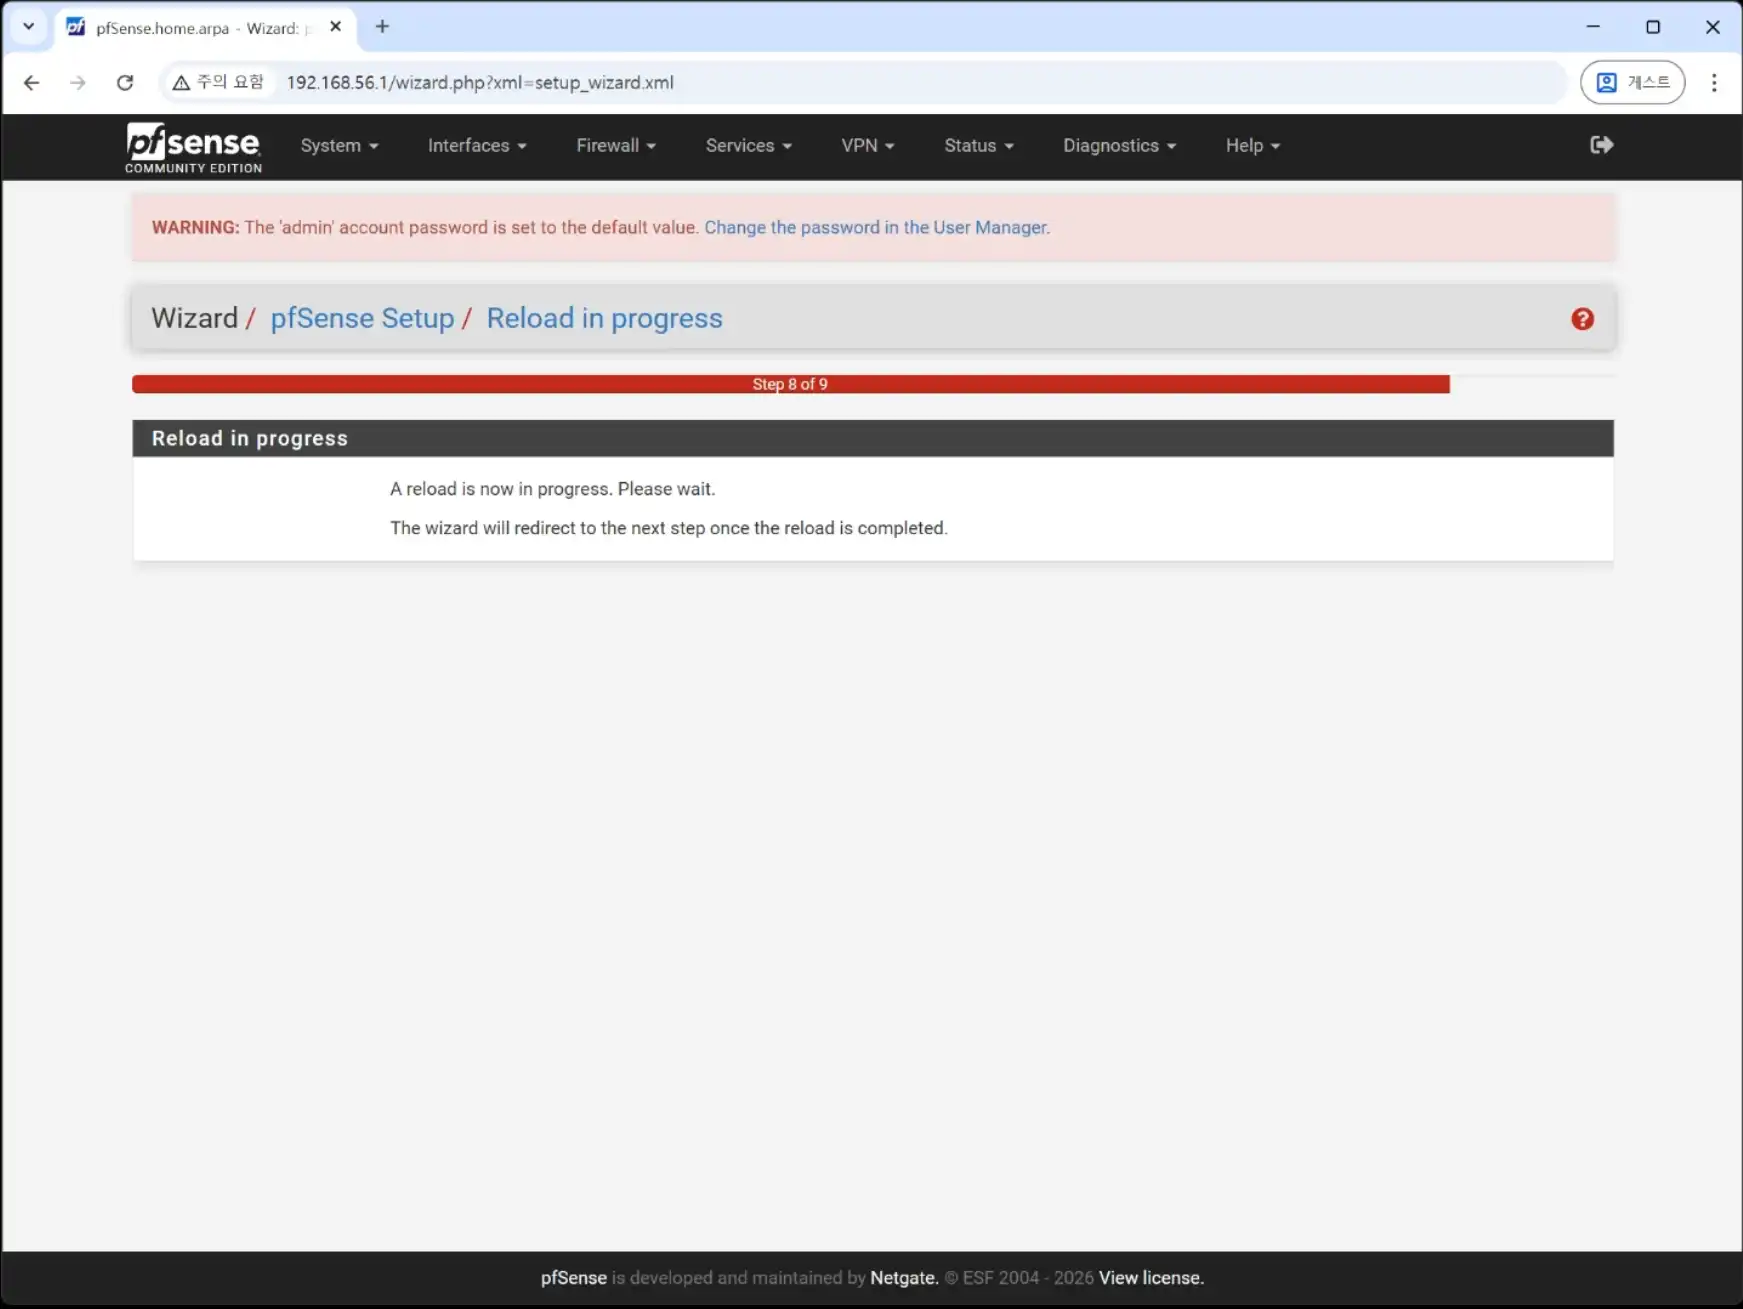
Just wait until the setup is complete.
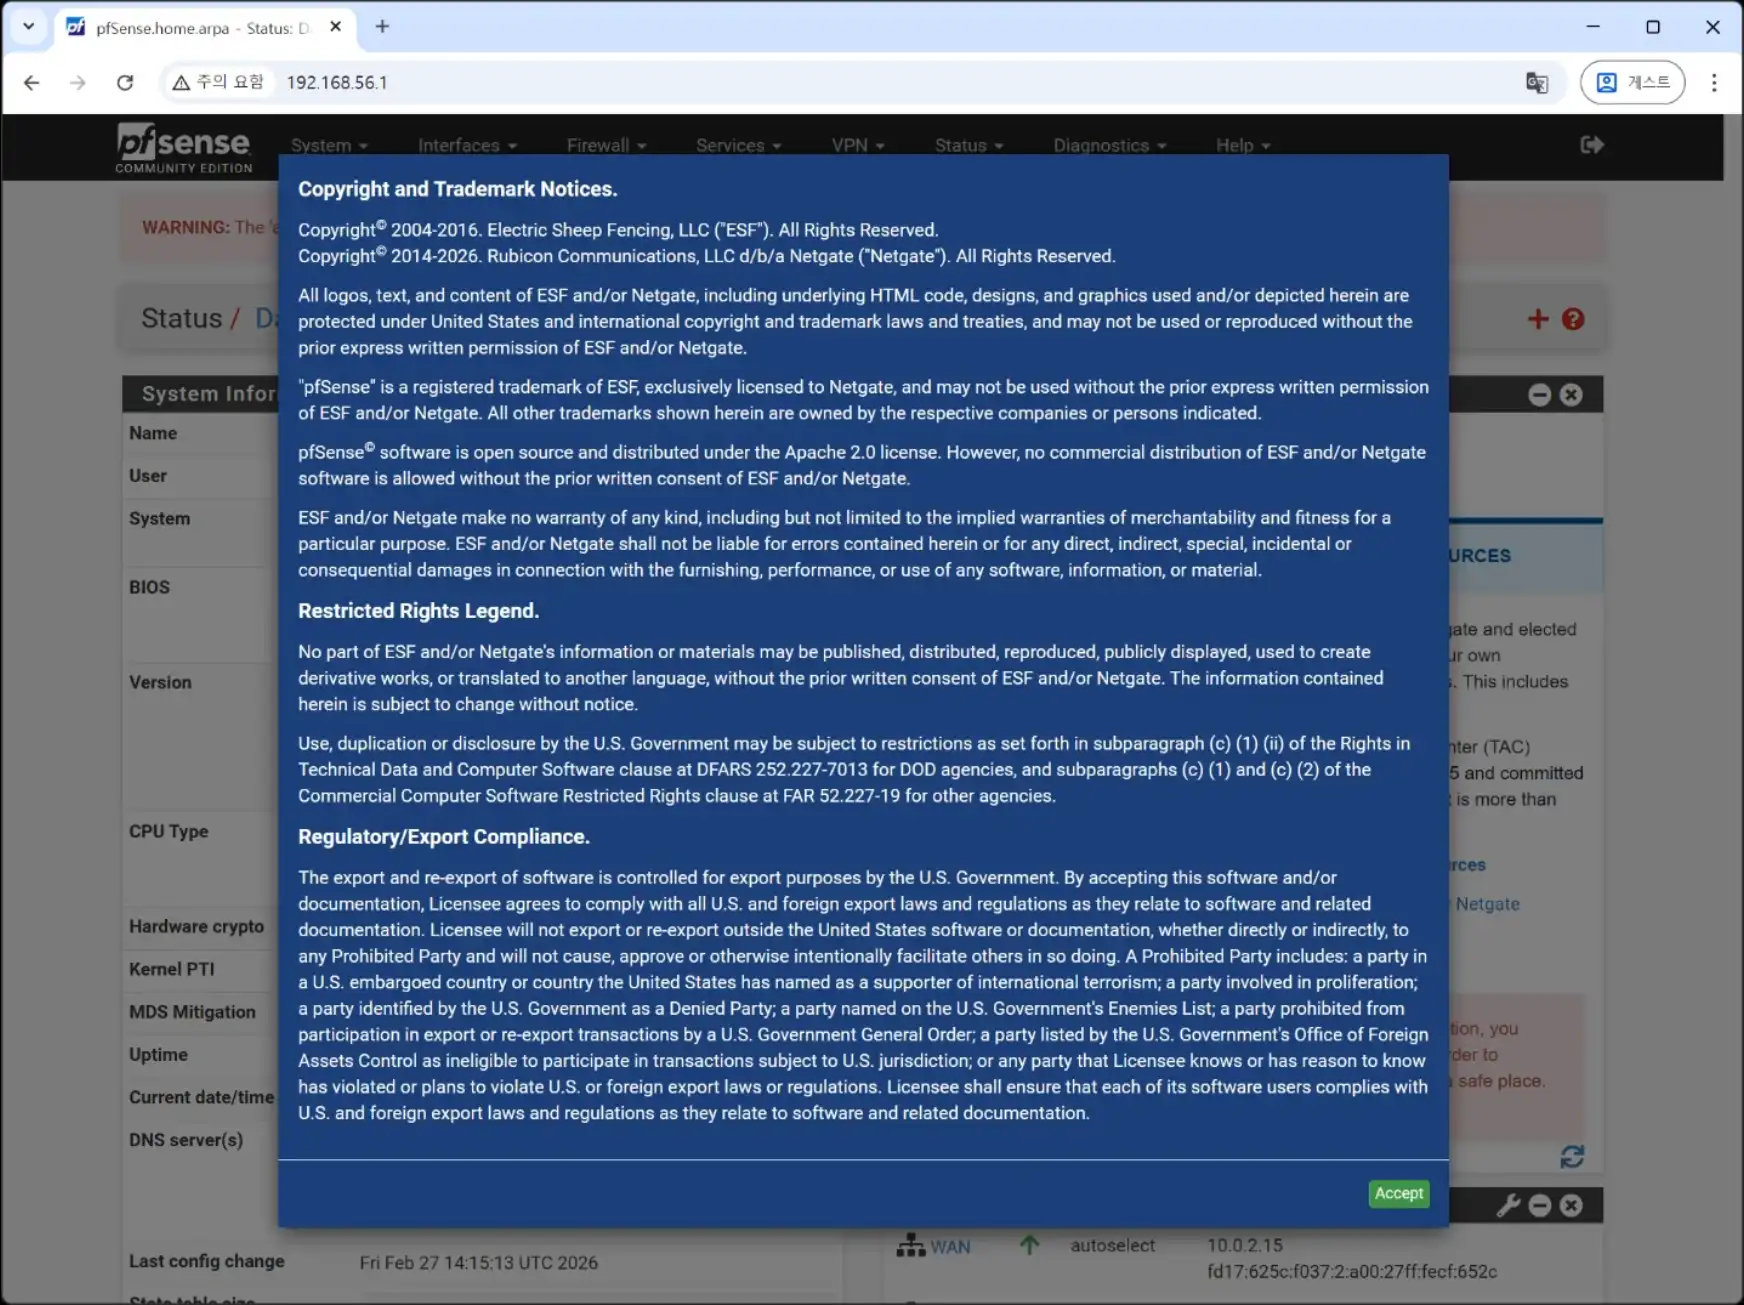
Click Accept for the notices.
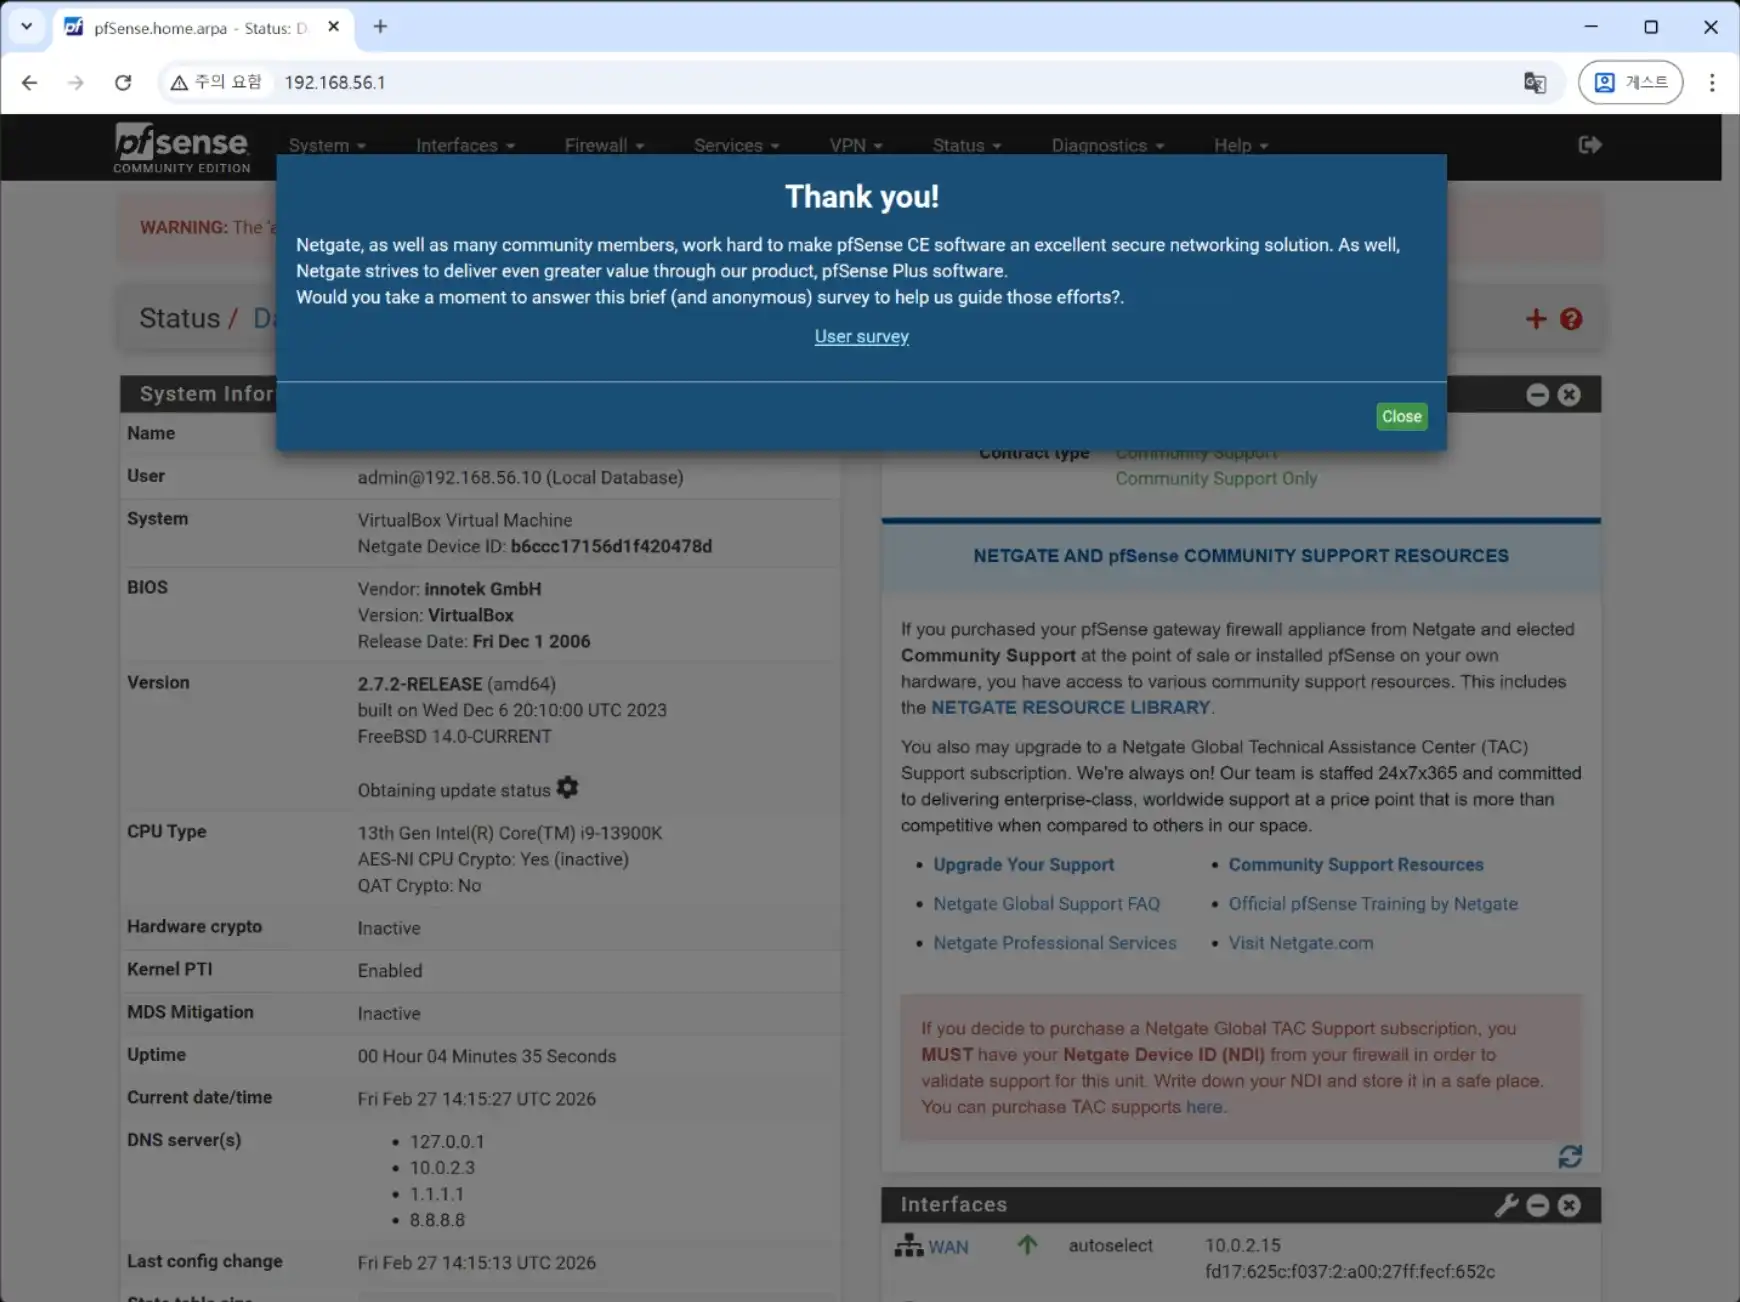
Click Close for the notices.
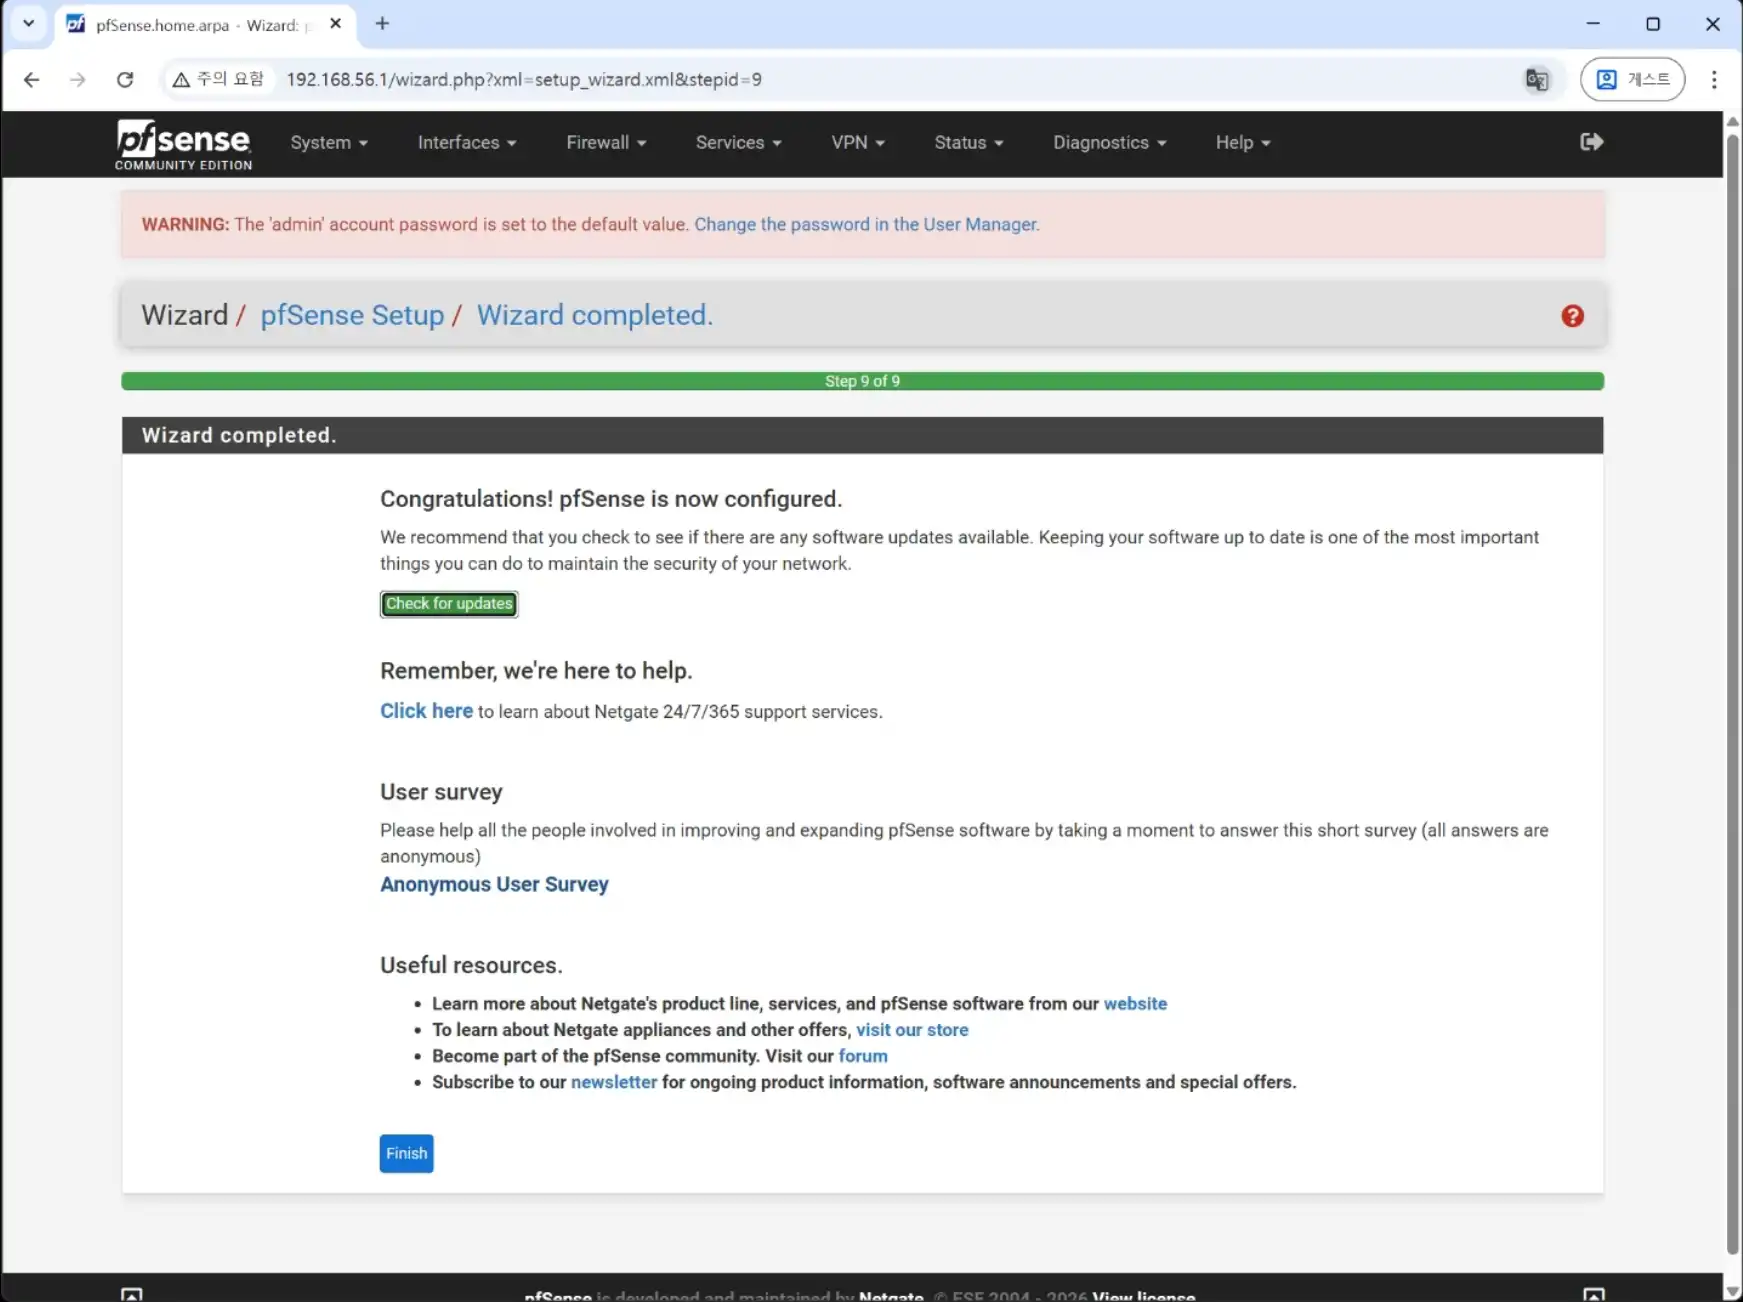
The setup is now complete. Thank you for reading.